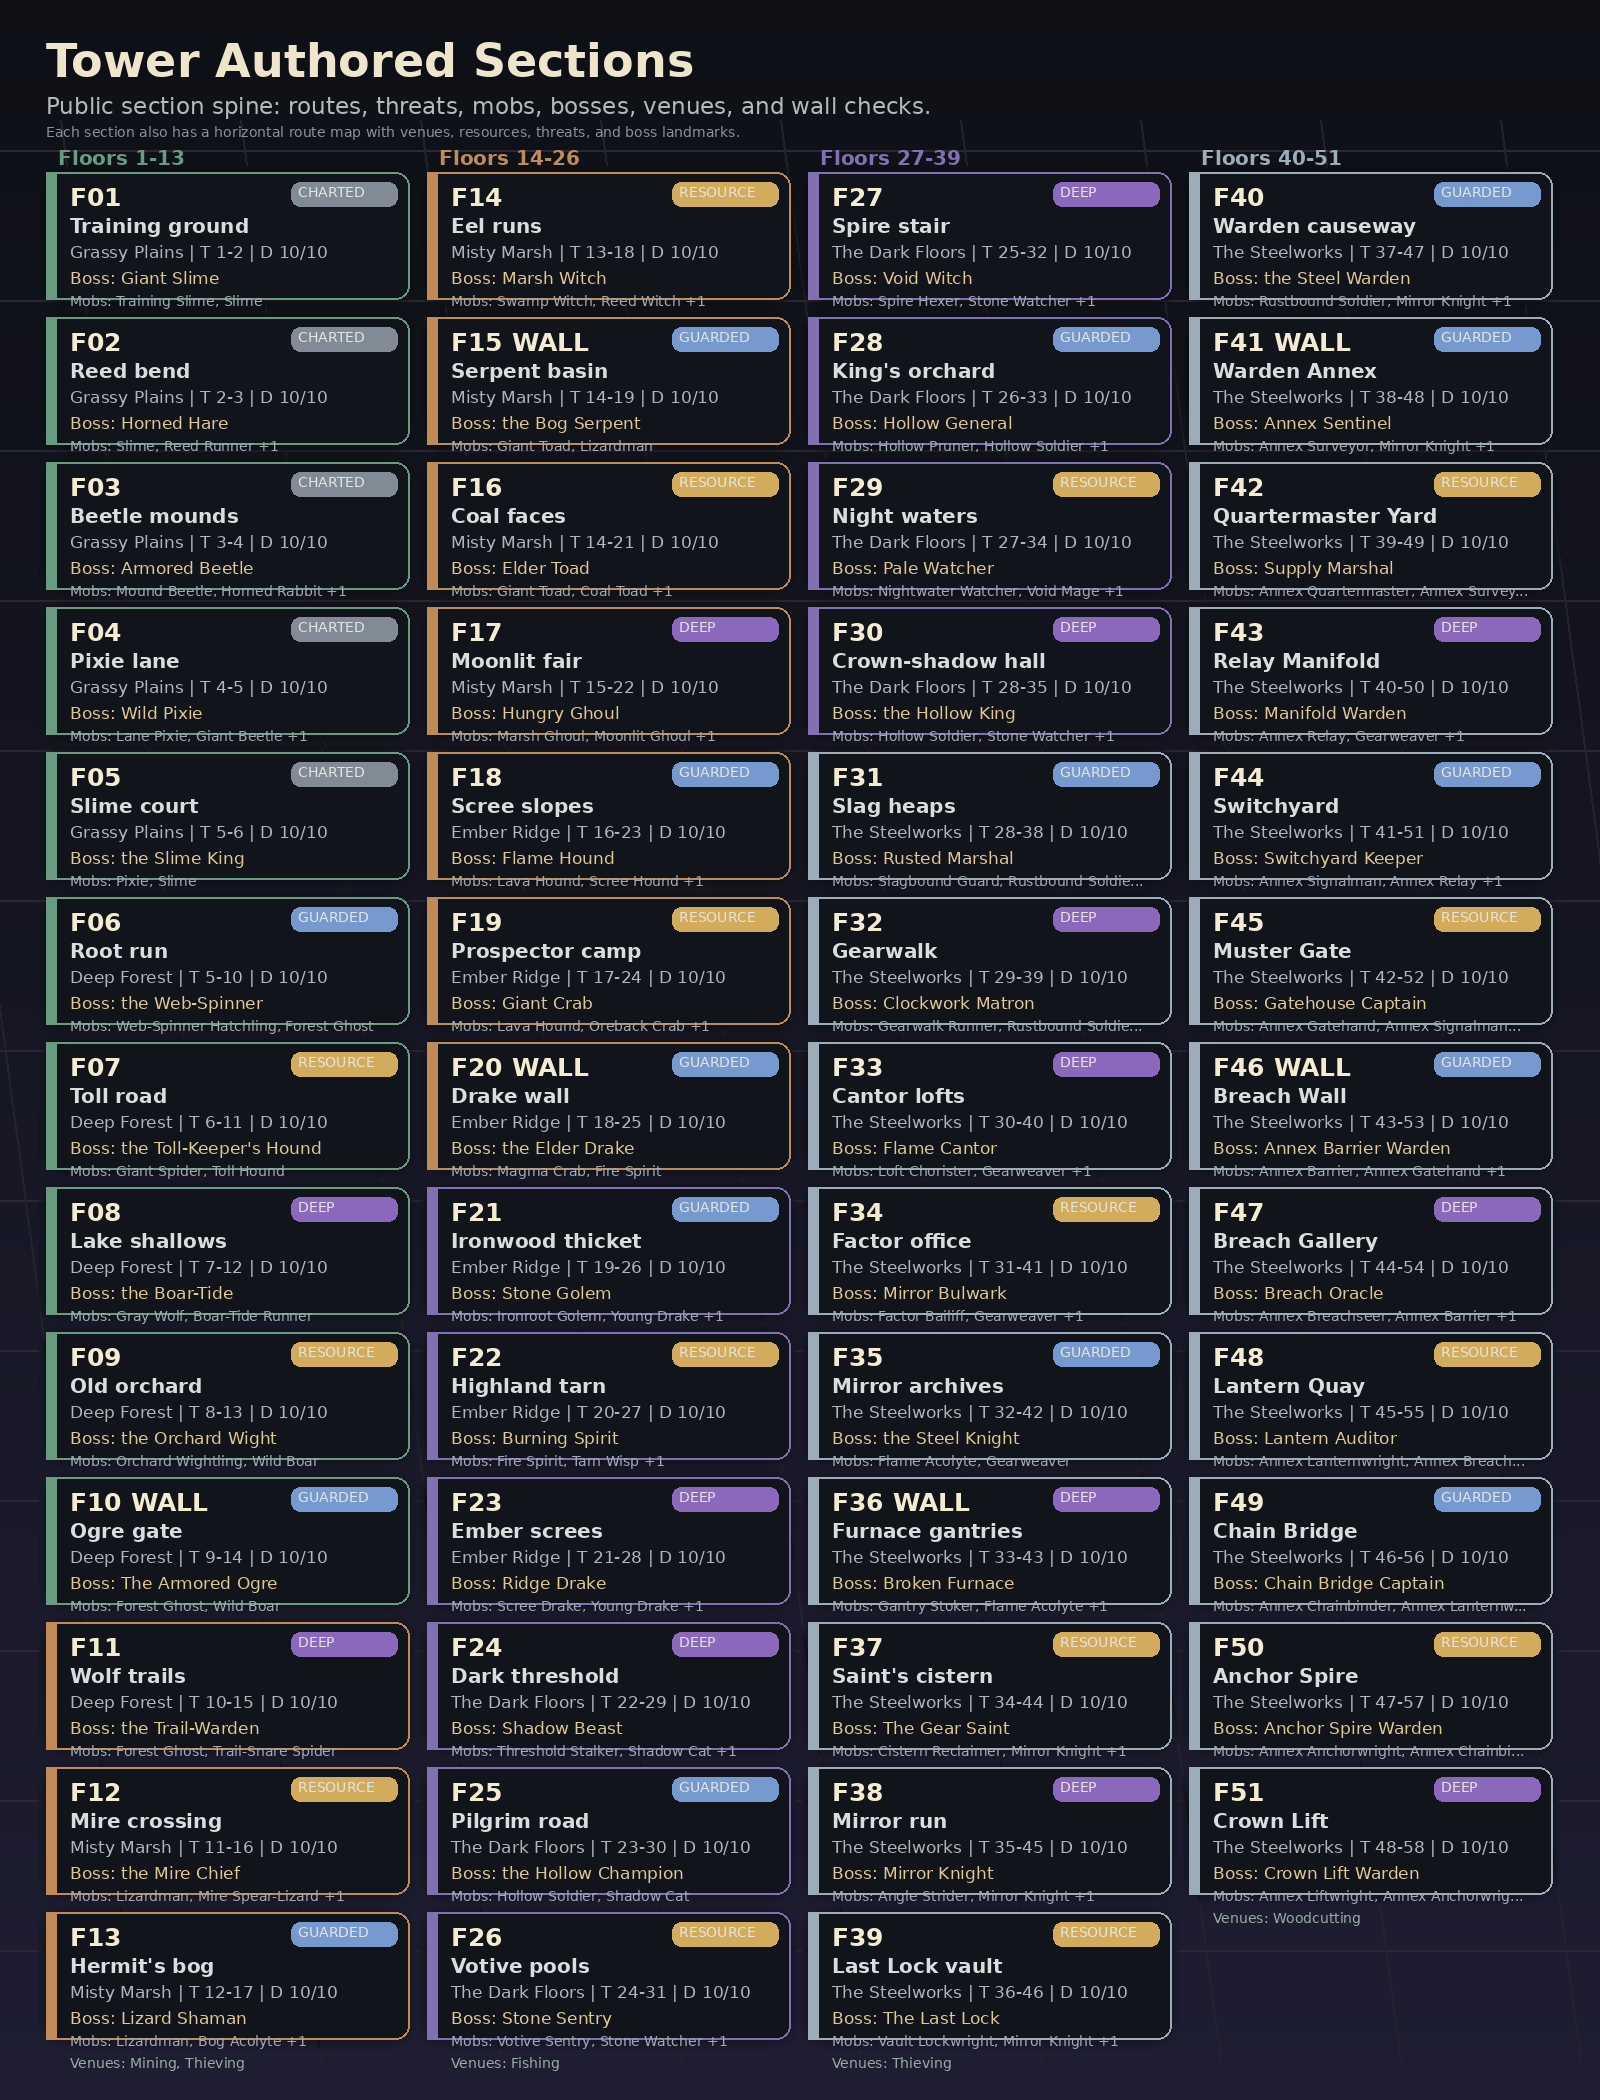
| Floor 1, Section A | 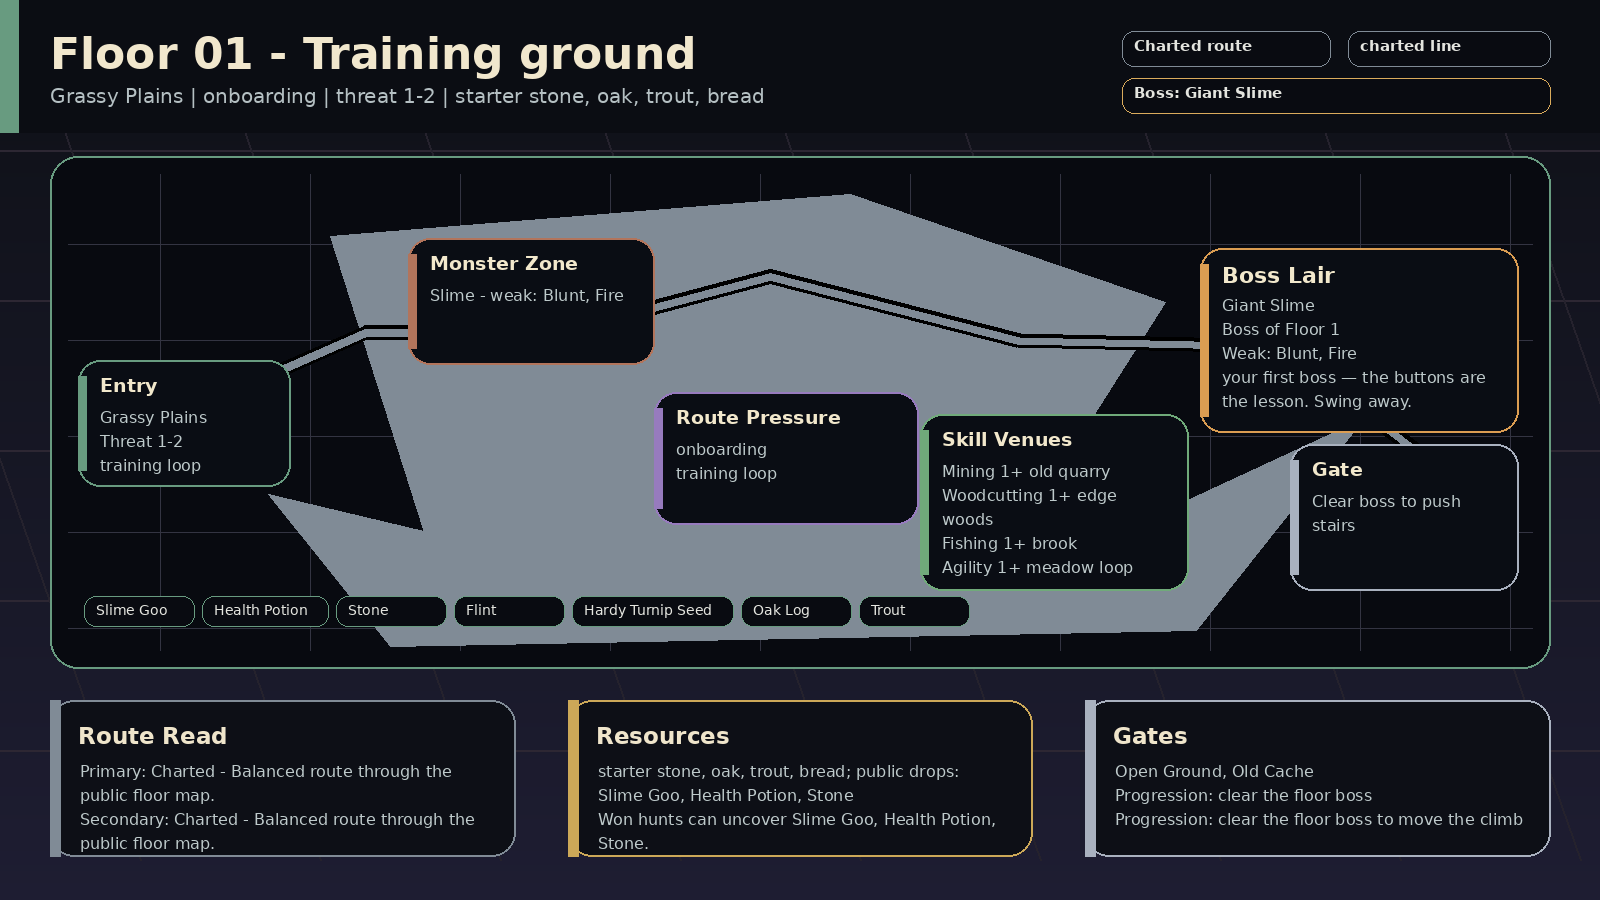 | 🌾 Lower Green | Grassy Plains | Training ground | Payoff: starter stone, oak, trout, bread; public drops: Slime Goo, Health Potion, Slime Trophy
Prep: Skill prep: Mining 1+, Woodcutting 1+, Fishing 1+
Pressure: first steps; encounters: Open Ground, Old Cache; boss: Giant Slime
Route: Route plan: Charted only until Floor 1, Section F
Progress: Progression: clear the floor boss to move the climb | Read: Training ground (first steps). The first story chain begins here.
Prep: Train Mining, Woodcutting, Fishing; prep around all starter trades.
Route: Charted only; route roles begin on Floor 1, Section F.
Trade: Supply axis: bread, trout, stone. Public demand centers on Slime Goo, Health Potion, Slime Trophy, Stone.
Boss: Giant Slime: Button Lesson warns you. Defend the Measured Bounce, then finish it with blunt or fire hits. | Read: Training ground rewards 🔨 blunt, 🔥 fire; no dominant mob resist lane stands out. Mob signatures pressure sustain, onboarding, tempo check, damage; the boss chart leans 🔨 blunt, 🔥 fire.
Damage lanes: weak: blunt, fire
Watch resists: —
Boss chart: weak: blunt, fire
Mob pressure: sustain, onboarding, tempo check, damage
Counters: blunt, fire, burst | 1-2 | 🟢 Training Slime / 🟢 Slime | 🟢 Giant Slime | ⛏️ the old quarry req 1
🌲 the edge woods req 1
🎣 the brook req 1
🏃 the meadow loop req 1
🪙 the market stalls req 1 | 🦴 Slime Goo, 🧪 Health Potion, 🟢 Slime Trophy, 🪨 Stone, 🪨 Flint, 🌱 Hardy Turnip Seed, 🪵 Oak Log, 🐟 Trout | 2% on won hunts: 🦴 Slime Goo, 🧪 Health Potion, 🟢 Slime Trophy, 🪨 Stone
Won hunts can uncover Slime Goo, Health Potion, Slime Trophy.
Choose this floor for bread, trout, stone; trade for the rest. | The first story chain begins here. | — | — | — | — | 🟢 Giant Slime Bump | — | — | Open Ground 18%
Old Cache 10% | plains, terrain, reward, standard | speed control, stamina planning, opening burst, inventory space | 10/10 |
| Floor 1, Section B | 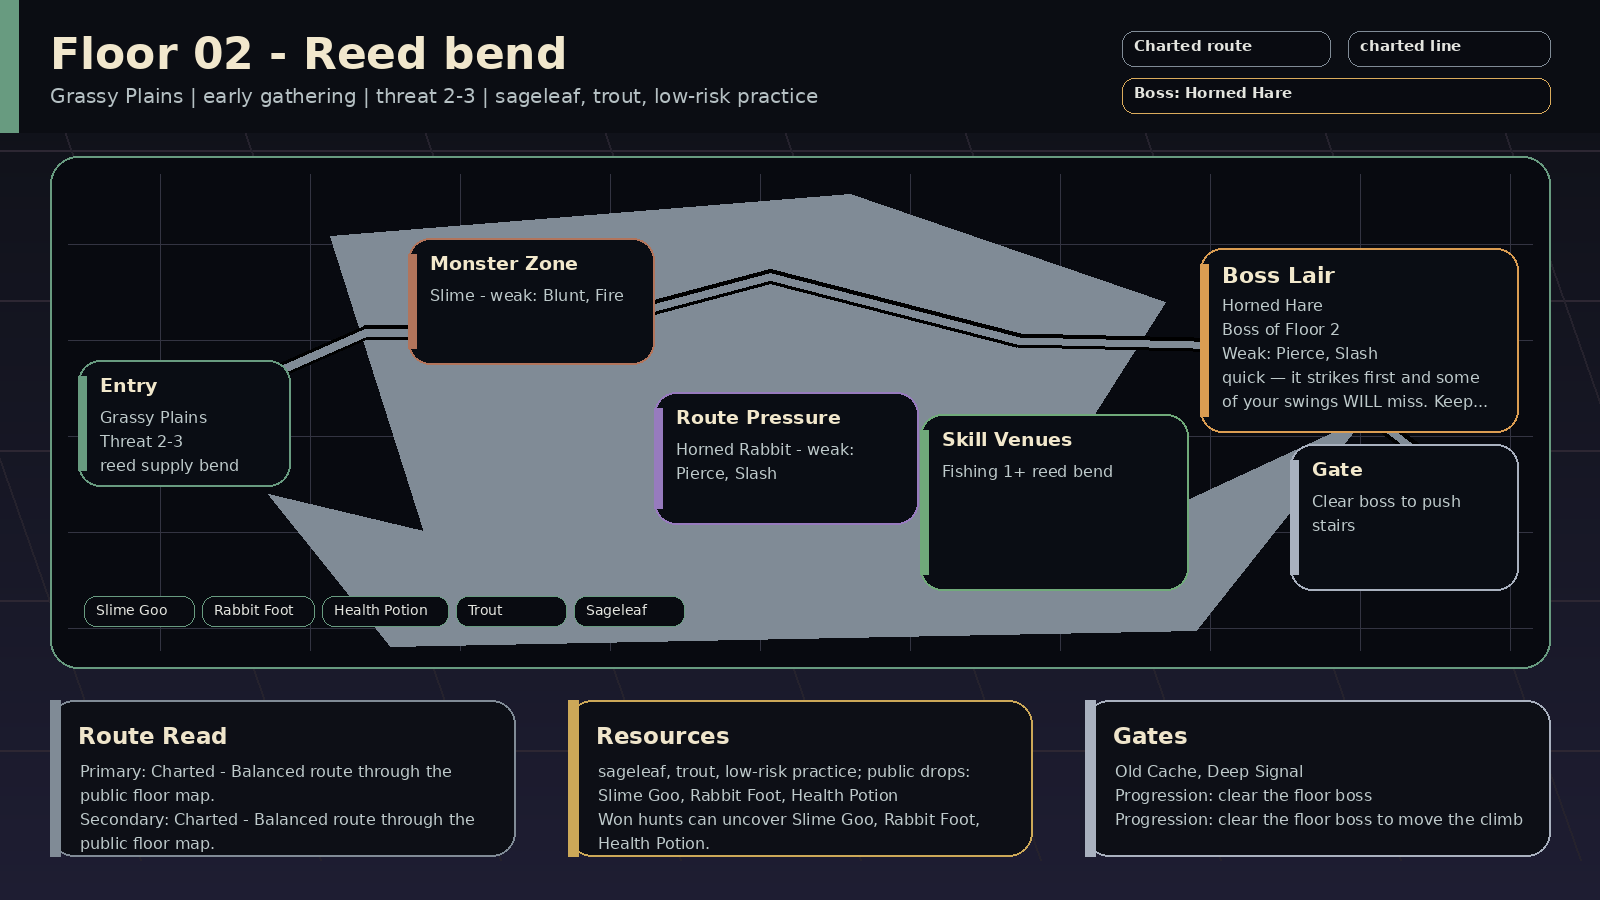 | 🌾 Lower Green | Grassy Plains | Reed bend | Payoff: sageleaf, trout, low-risk practice; public drops: Slime Goo, Rabbit Foot, Health Potion
Prep: Skill prep: Fishing 1+
Pressure: early gathering; encounters: Old Cache, Deep Signal; boss: Horned Hare
Route: Route plan: Charted only until Floor 1, Section F
Progress: Progression: clear the floor boss to move the climb | Read: Reed bend (early gathering). Odda's reed bend gives the floor a local errand.
Prep: Train Fishing; prep around fishing and herbs.
Route: Charted only; route roles begin on Floor 1, Section F.
Trade: Supply axis: sageleaf and trout. Public demand centers on Slime Goo, Rabbit Foot, Health Potion, Hare Horn.
Boss: Horned Hare: Defend the Pouncing Break that follows Reed-Bend Feint, then hit back with pierce, slash, or speed control. | Read: Reed bend rewards 🔨 blunt, 🔥 fire, 🏹 pierce, 🗡️ slash; no dominant mob resist lane stands out. Mob signatures pressure self heal, slow, positioning, tempo check; the boss chart leans 🏹 pierce, 🗡️ slash.
Damage lanes: weak: blunt, fire, pierce, slash
Watch resists: —
Boss chart: weak: pierce, slash
Mob pressure: self heal, slow, positioning, tempo check
Counters: pierce, slash, speed control, control | 2-3 | 🟢 Slime / 🐇 Reed Runner / 🐇 Horned Rabbit | 🐇 Horned Hare | 🎣 the reed bend req 1 | 🦴 Slime Goo, 🦴 Rabbit Foot, 🧪 Health Potion, 🐇 Hare Horn, 🐟 Trout, 🌿 Sageleaf | 2% on won hunts: 🦴 Slime Goo, 🦴 Rabbit Foot, 🧪 Health Potion, 🐇 Hare Horn
Won hunts can uncover Slime Goo, Rabbit Foot, Health Potion.
Choose this floor for sageleaf and trout; trade for the rest. | Odda's reed bend gives the floor a local errand. | — | — | — | — | ⚔️ Horned Hare Strike | — | — | Old Cache 10%
Deep Signal 8% | plains, reward, mystery, standard | inventory space, trade routes, gathering tools, codex checks | 10/10 |
| Floor 1, Section C | 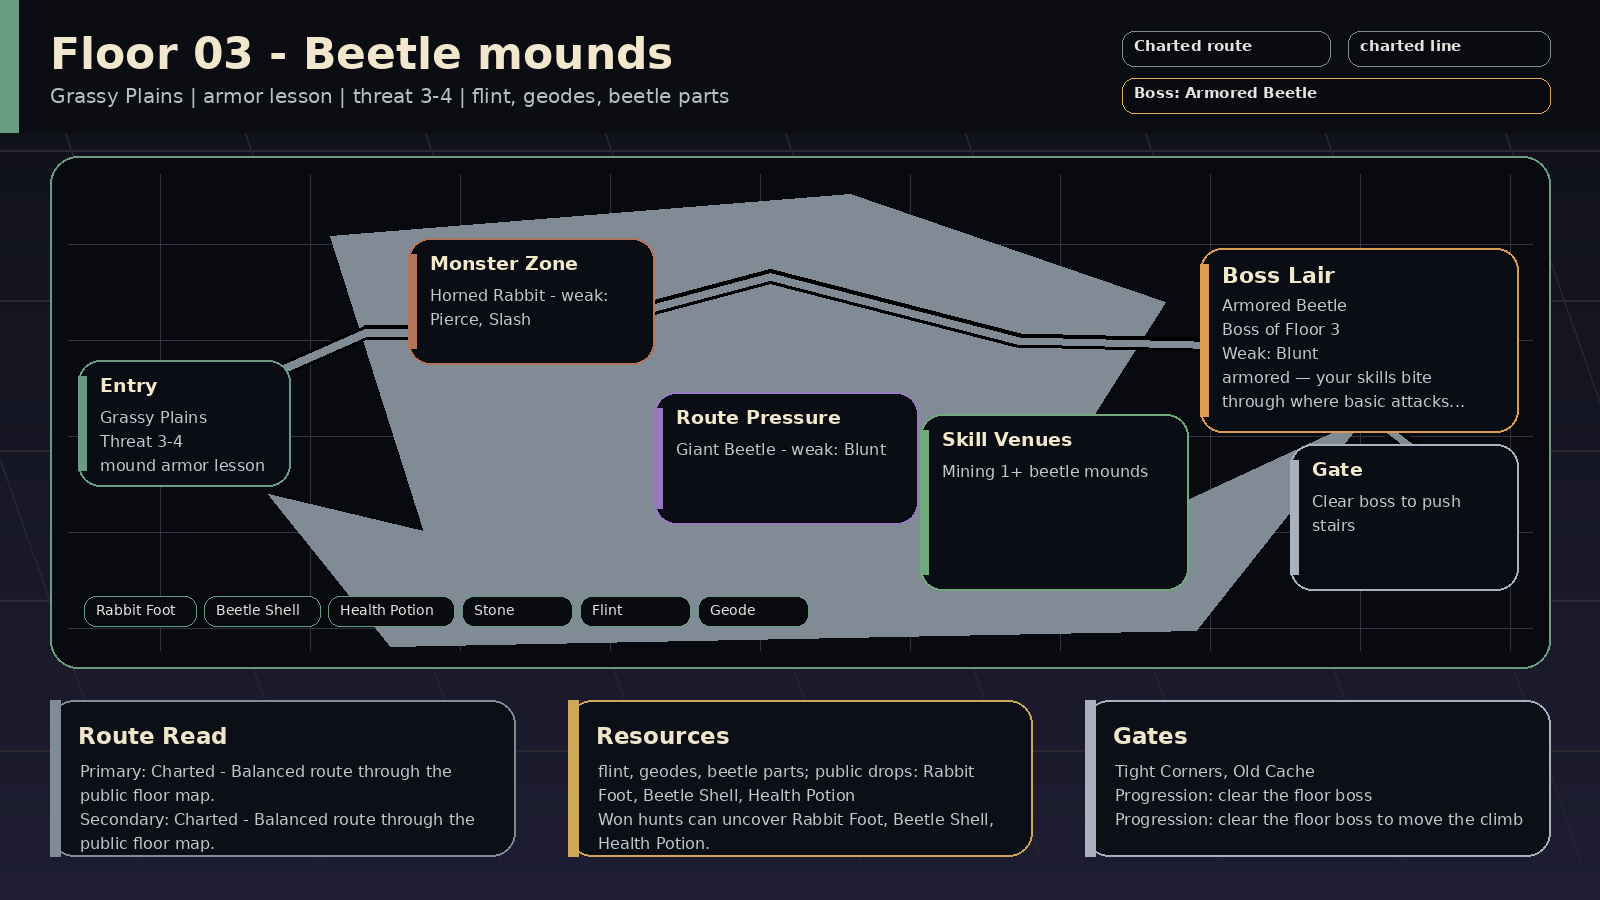 | 🌾 Lower Green | Grassy Plains | Beetle mounds | Payoff: flint, geodes, beetle parts; public drops: Beetle Shell, Rabbit Foot, Health Potion
Prep: Skill prep: Mining 1+
Pressure: armor lesson; encounters: Tight Corners, Market Caravan; boss: Armored Beetle
Route: Route plan: Charted only until Floor 1, Section F
Progress: Progression: clear the floor boss to move the climb | Read: Beetle mounds (armor lesson). Pell's mounds teach that even small floors have work.
Prep: Train Mining; prep around mining and armor parts.
Route: Charted only; route roles begin on Floor 1, Section F.
Trade: Supply axis: flint, geodes, beetle plates. Public demand centers on Beetle Shell, Rabbit Foot, Health Potion, Beetle Carapace.
Boss: Armored Beetle: Shell-Up Warning comes first. Defend the Crushing Guard, then break the Plate Gap with blunt hits. | Read: Beetle mounds rewards 🔨 blunt, 🏹 pierce, 🗡️ slash; no dominant mob resist lane stands out. Mob signatures pressure defense guard, armor break, tempo check, stance; the boss chart leans 🔨 blunt.
Damage lanes: weak: blunt, pierce, slash
Watch resists: —
Boss chart: weak: blunt
resists: slash, pierce
Mob pressure: defense guard, armor break, tempo check, stance
Counters: blunt, burst, damage type | 3-4 | 🪲 Mound Beetle / 🐇 Horned Rabbit / 🪲 Giant Beetle | 🪲 Armored Beetle | ⛏️ the beetle mounds req 1 | 🦴 Beetle Shell, 🦴 Rabbit Foot, 🧪 Health Potion, 🪲 Beetle Carapace, 🪨 Stone, 🪨 Flint, 🪩 Geode | 2% on won hunts: 🦴 Beetle Shell, 🦴 Rabbit Foot, 🧪 Health Potion, 🪲 Beetle Carapace
Won hunts can uncover Beetle Shell, Rabbit Foot, Health Potion.
Choose this floor for flint, geodes, beetle plates; trade for the rest. | Pell's mounds teach that even small floors have work. | — | — | — | — | ⚔️ Armored Beetle Strike | — | — | Tight Corners 14%
Market Caravan 10% | plains, terrain, reward, tank | blunt damage, defense pierce, longer sustain, inventory space | 10/10 |
| Floor 1, Section D | 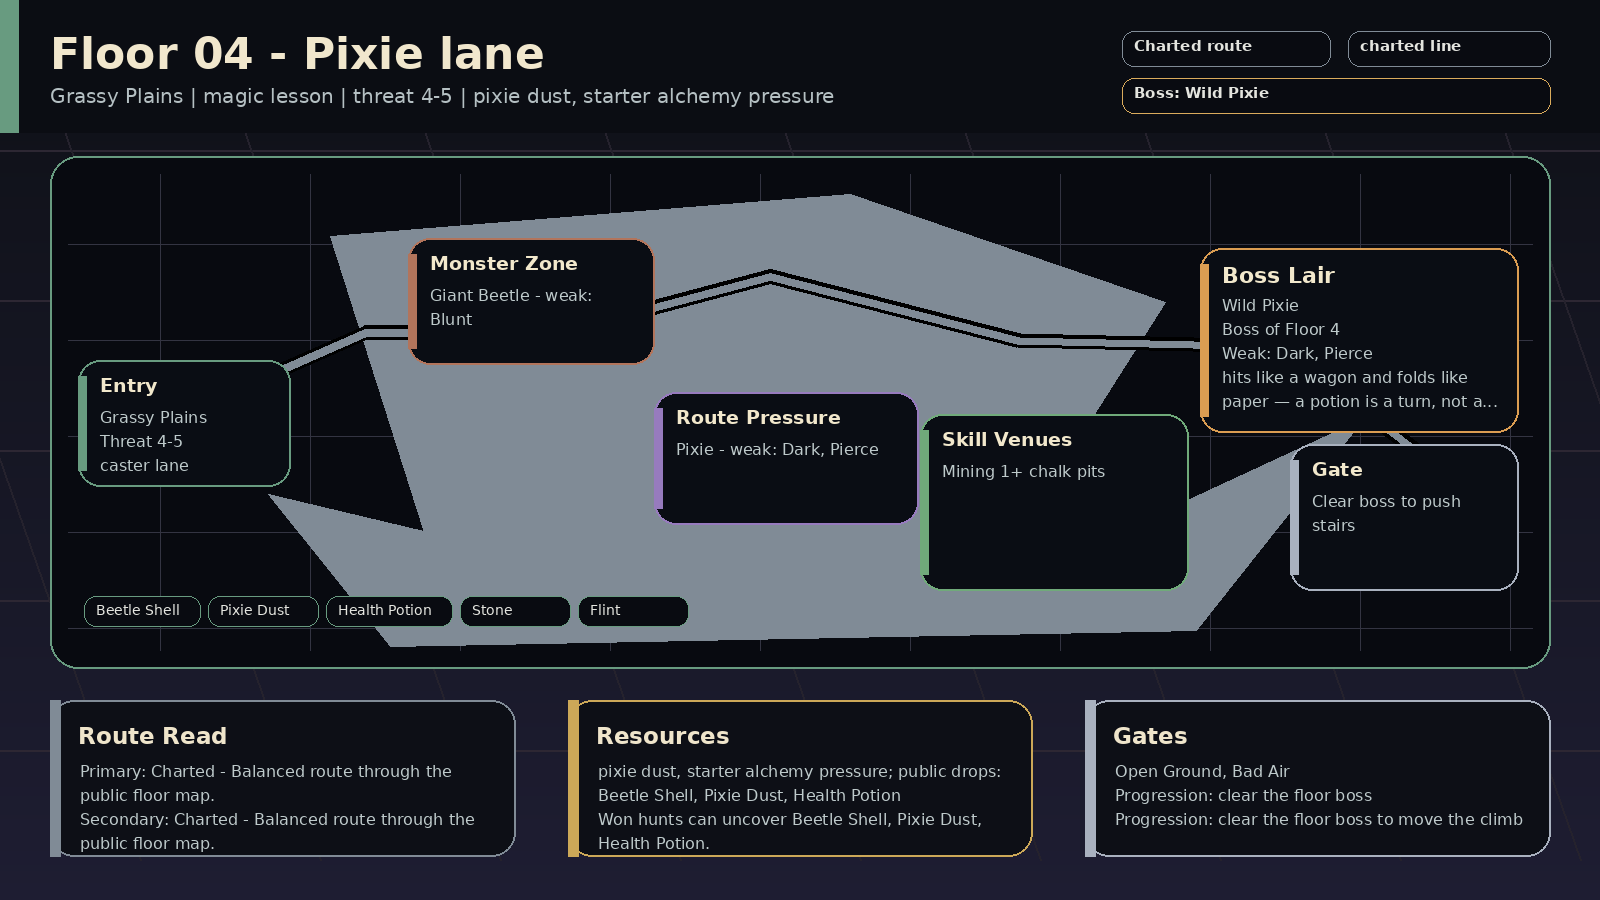 | 🌾 Lower Green | Grassy Plains | Pixie lane | Payoff: pixie dust, starter alchemy pressure; public drops: Pixie Dust, Beetle Shell, Health Potion
Prep: Skill prep: Mining 1+
Pressure: magic lesson; encounters: Open Ground, Bad Air; boss: Wild Pixie
Route: Route plan: Charted only until Floor 1, Section F
Progress: Progression: clear the floor boss to move the climb | Read: Pixie lane (magic lesson). The first caster floor. Bring the right damage type.
Prep: Train Mining; prep around alchemy and magic pressure.
Route: Charted only; route roles begin on Floor 1, Section F.
Trade: Supply axis: pixie dust and starter tonics. Public demand centers on Pixie Dust, Beetle Shell, Health Potion, Pixie Wing.
Boss: Wild Pixie: Cleanse or outrace the Pixie-Lane Hex, Defend the Ritual Burst, then punish Glitter Window with dark or pierce hits. | Read: Pixie lane rewards 🌑 dark, 🏹 pierce, 🔨 blunt; avoid relying only on 🌿 nature, 🗡️ slash. Mob signatures pressure debuff, cleanse check, tempo check, damage; the boss chart leans 🌑 dark, 🏹 pierce.
Damage lanes: weak: dark, pierce, blunt
Watch resists: resists: nature, slash
Boss chart: weak: dark, pierce
Mob pressure: debuff, cleanse check, tempo check, damage
Counters: cleanse, dark, pierce, burst | 4-5 | 🧚 Lane Pixie / 🪲 Giant Beetle / 🧚 Pixie | 🧚 Wild Pixie | ⛏️ the chalk pits req 1 | 🦴 Pixie Dust, 🦴 Beetle Shell, 🧪 Health Potion, 🧚 Pixie Wing, 🪨 Stone, 🪨 Flint | 2% on won hunts: 🦴 Pixie Dust, 🦴 Beetle Shell, 🧪 Health Potion, 🧚 Pixie Wing
Won hunts can uncover Pixie Dust, Beetle Shell, Health Potion.
Choose this floor for pixie dust and starter tonics; trade for the rest. | The first caster floor. Bring the right damage type. | — | — | — | — | ⚔️ Wild Pixie Strike | — | — | Open Ground 18%
Bad Air 12% | plains, terrain, hazard, mystic | speed control, stamina planning, opening burst, antidotes | 10/10 |
| Floor 1, Section E | 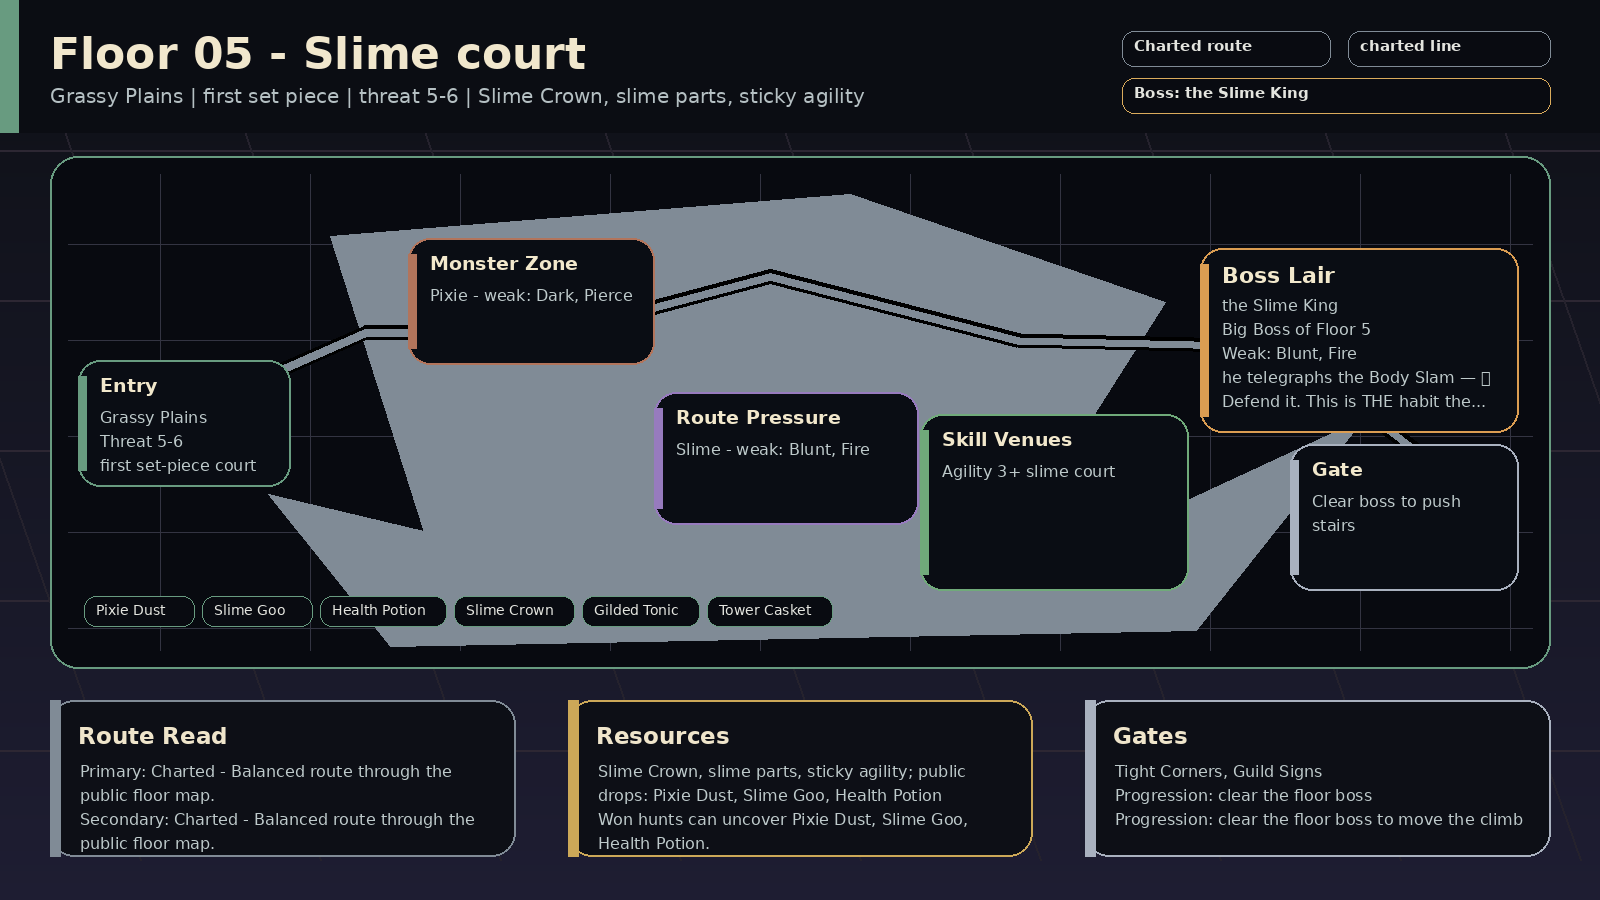 | 🌾 Lower Green | Grassy Plains | Slime court | Payoff: Slime Crown, slime parts, sticky agility; public drops: Slime Goo, Pixie Dust, Health Potion
Prep: Skill prep: Agility 3+
Pressure: first set piece; encounters: Tight Corners, Guild Signs; boss: the Slime King
Route: Route plan: Charted only until Floor 1, Section F
Progress: Progression: clear the floor boss to move the climb | Read: Slime court (first set piece). The Slime King is the first big boss fight.
Prep: Train Agility; prep around agility and sticky footing.
Route: Charted only; route roles begin on Floor 1, Section F.
Trade: Supply axis: Slime Goo repairs. Public demand centers on Slime Goo, Pixie Dust, Health Potion, Slime Crown.
Boss: the Slime King: He telegraphs the Body Slam — 🛡️ Defend it. Most bosses after him warn before their big hit, too. | Read: Slime court rewards 🔥 fire, 🌑 dark, 🏹 pierce, 🔨 blunt; avoid relying only on 🌿 nature. Mob signatures pressure sustain, defense guard, tempo check, self heal; the boss chart leans 🔨 blunt, 🔥 fire.
Damage lanes: weak: fire, dark, pierce, blunt
Watch resists: resists: nature
Boss chart: weak: blunt, fire
Mob pressure: sustain, defense guard, tempo check, self heal
Counters: fire, dark, burst, damage type | 5-6 | 🫧 Court Jelly / 🧚 Pixie / 🟢 Slime | 👑 the Slime King | 🏃 the slime court req 3 | 🦴 Slime Goo, 🦴 Pixie Dust, 🧪 Health Potion, 👑 Slime Crown, ✨ Gilded Tonic, 🎁 Tower Casket | 2% on won hunts: 🦴 Slime Goo, 🦴 Pixie Dust, 🧪 Health Potion, ✨ Gilded Tonic
Won hunts can uncover Slime Goo, Pixie Dust, Health Potion.
Choose this floor for Slime Goo repairs; trade for the rest. | The Slime King is the first big boss fight. | — | — | — | — | 🟢 Slam | — | — | Tight Corners 14%
Guild Signs 8% | plains, terrain, social, mystic | blunt damage, defense pierce, longer sustain, guild board | 10/10 |
| Floor 1, Section F | 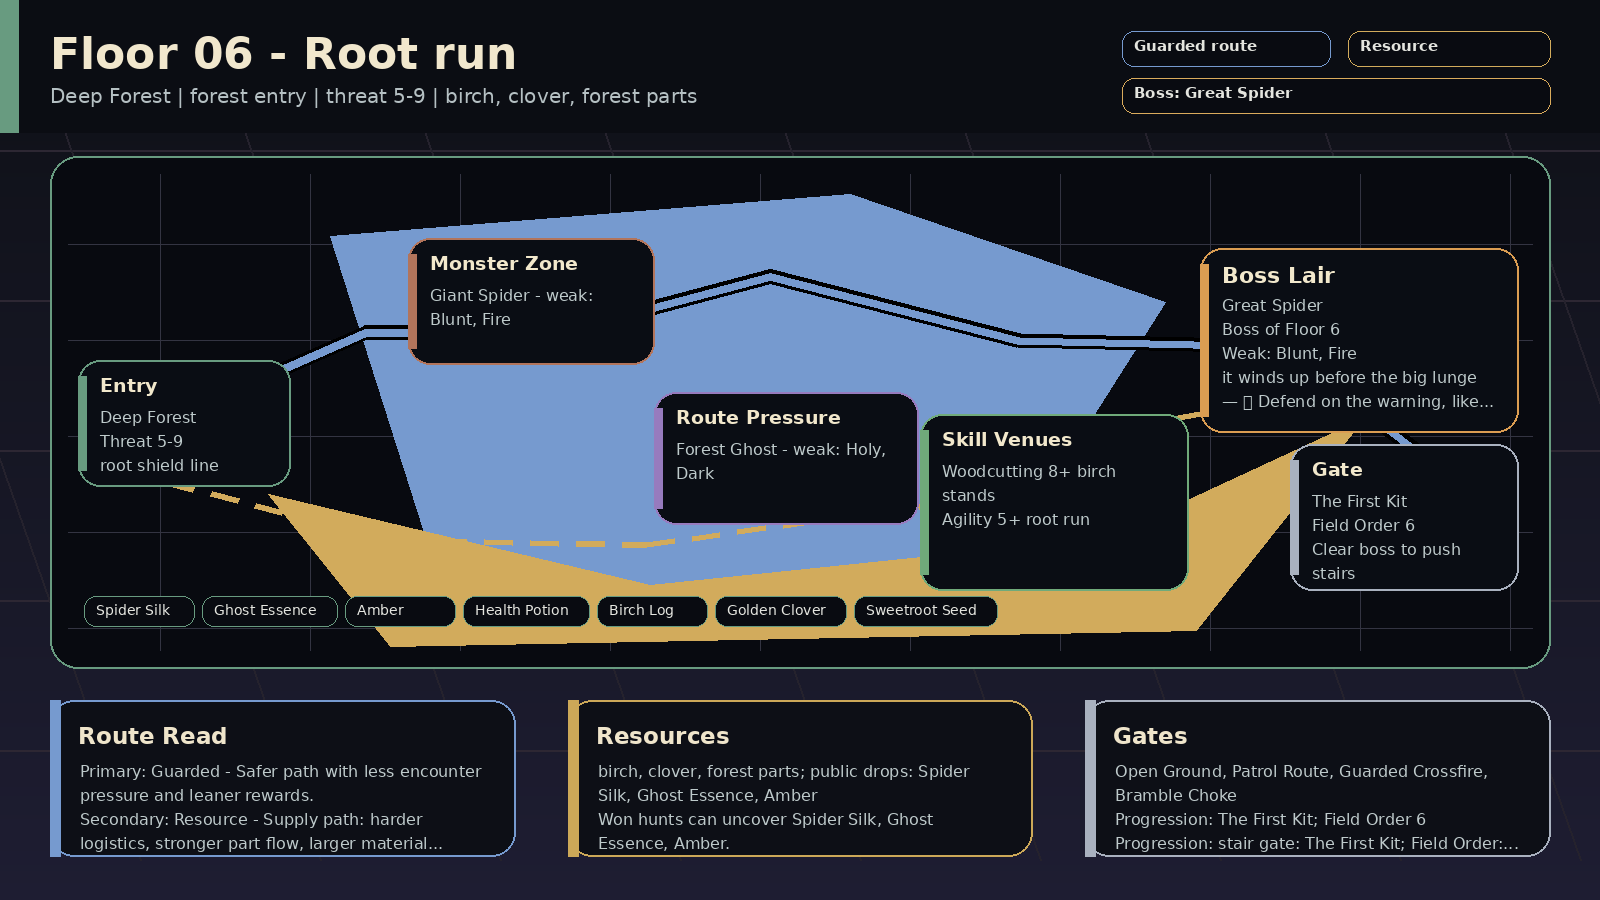 | 🌾 Lower Green | Deep Forest | Root run | Payoff: birch, clover, forest parts; public drops: Spider Silk, Ghost Essence, Amber
Prep: Skill prep: Woodcutting 8+, Agility 5+
Pressure: forest entry; encounters: Open Ground, Patrol Route; boss: the Web-Spinner
Route: Route plan: Guarded primary for root shield line; Resource secondary for woodcutting and agility
Progress: Progression: stair gate: The First Kit; Field Order: Field Order 6; room pressure 45% | Read: Root run (forest entry). The forest opens with a hot flagship spawn.
Prep: Train Woodcutting, Agility; prep around woodcutting and agility. Stair gate: The First Kit.
Route: Primary Guarded: root shield line. Secondary Resource: woodcutting and agility.
Trade: Supply axis: birch and forest parts. Public demand centers on Spider Silk, Ghost Essence, Amber, Health Potion.
Boss: the Web-Spinner: It pins the lane first — burn, break, or Defend before Snare Drop lands. Boss-room pressure can appear at 45%. | Read: Root run rewards 🔨 blunt, 🔥 fire, ✨ holy, 🌑 dark; avoid relying only on 🌿 nature, 🗡️ slash. Mob signatures pressure debuff, slow, damage; the boss chart leans 🔨 blunt, 🔥 fire.
Damage lanes: weak: blunt, fire, holy, dark
Watch resists: resists: nature, slash
Boss chart: weak: blunt, fire
resists: nature
Mob pressure: debuff, slow, damage | 5-9 | 🕸️ Web-Spinner Hatchling / 👻 Forest Ghost | 🕷️ the Web-Spinner | 🌲 the birch stands req 8
🏃 the root run req 5 | 🦴 Spider Silk, 🦴 Ghost Essence, 🟠 Amber, 🧪 Health Potion, 🕷️ Spinner Silk-Knot, 🪵 Birch Log, 🍀 Golden Clover, 🌱 Sweetroot Seed | 4% on won hunts: 🦴 Spider Silk, 🦴 Ghost Essence, 🟠 Amber, 🧪 Health Potion
Won hunts can uncover Spider Silk, Ghost Essence, Amber.
Choose this floor for birch and forest parts; trade for the rest. | The forest opens with a hot flagship spawn. | The First Kit
have one of Stone Pickaxe / Stone Felling Axe / Oak Rod
train Agility at the slime court on Floor 1, Section E
deliver 3x Slime Goo
deliver 2x Flint | Field Order 6
win Guarded route hunts on Floor 1, Section F
clear Open Ground on Floor 1, Section F
win with a spent Guarded route plan on Floor 1, Section F or later
answer boss variant lesson against: Rampart / Brambleward / Snareweb / Orebound / Scrap-Fused on Floor 1, Section F
answer Guarded boss-room pressure: Bramble Choke / Breaker Window / Guarded Crossfire / Null Chorus on Floor 1, Section F
mastery: 🛡️ Guarded climb pressure read | 🛡️ Guarded primary: root shield line
⛏️ Resource secondary: woodcutting and agility
supply: birch and forest parts | 🛡️ Guarded floor map marks root shield line; boss leans Brambleward, Rampart; can roll Guarded Watch; boss rewards guarded answers
⛏️ Resource secondary map line supports woodcutting and agility; can roll Loaded Cache; matches Patrol Route; surveys public prep supply
🌑 Deep can roll Black Signal | 🕷️ Thread Bite | 🕸️ Snareweb
🌿 Brambleward
🧱 Rampart
⛓️ Orebound | 🌿 Bramble Choke
⏱️ Split Beat
📦 Supply Audit | Open Ground 18%
Patrol Route 16% | forest, terrain, patrol, swift | speed control, stamina planning, opening burst, full HP | 10/10 |
| Floor 1, Section G | 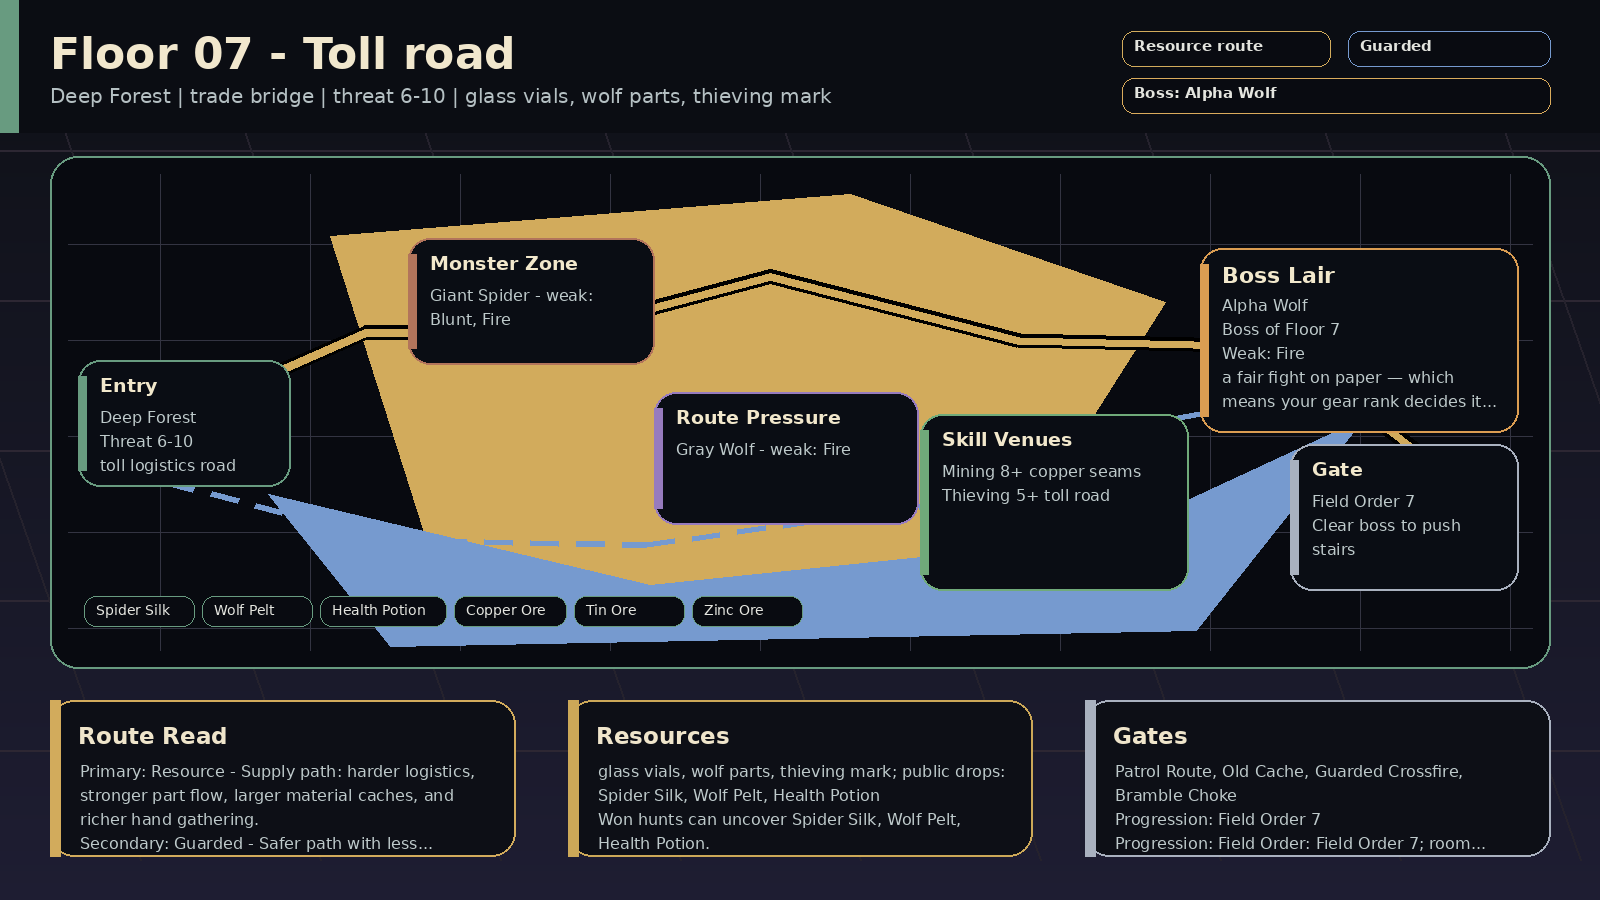 | 🌾 Lower Green | Deep Forest | Toll road | Payoff: glass vials, wolf parts, thieving mark; public drops: Spider Silk, Hound Fang, Health Potion
Prep: Skill prep: Mining 8+, Thieving 5+
Pressure: trade bridge; encounters: Patrol Route, Old Cache; boss: the Toll-Keeper's Hound
Route: Route plan: Resource primary for toll logistics road; Guarded secondary for thieving and trade tools
Progress: Progression: Field Order: Field Order 7; room pressure 45% | Read: Toll road (trade bridge). The peddler route links combat, thieving, and trade.
Prep: Train Mining, Thieving; prep around thieving and trade tools. Field Order: Field Order 7.
Route: Primary Resource: toll logistics road. Secondary Guarded: thieving and trade tools.
Trade: Supply axis: glass vials and wolf parts. Public demand centers on Spider Silk, Hound Fang, Health Potion, Toll Collar.
Boss: the Toll-Keeper's Hound: The toll marker warns before the takedown — Defend, then punish with fire or burst. Boss-room pressure can appear at 45%. | Read: Toll road rewards 🔨 blunt, 🔥 fire; avoid relying only on 🌿 nature, ❄️ frost. Mob signatures pressure debuff, slow, stance, damage guard; the boss chart leans 🔥 fire.
Damage lanes: weak: blunt, fire
Watch resists: resists: nature, frost
Boss chart: weak: fire
resists: frost
Mob pressure: debuff, slow, stance, damage guard | 6-10 | 🕷️ Giant Spider / 🐺 Toll Hound | 🐺 the Toll-Keeper's Hound | ⛏️ the copper seams req 8
🪙 the toll road req 5 | 🦴 Spider Silk, 🦴 Hound Fang, 🧪 Health Potion, 🐺 Toll Collar, 🪨 Copper Ore, 🪨 Tin Ore, 🪨 Zinc Ore | 4% on won hunts: 🦴 Spider Silk, 🦴 Hound Fang, 🧪 Health Potion, 🐺 Toll Collar
Won hunts can uncover Spider Silk, Hound Fang, Health Potion.
Choose this floor for glass vials and wolf parts; trade for the rest. | The peddler route links combat, thieving, and trade. | — | Field Order 7
win Resource route hunts on Floor 1, Section G
clear Patrol Route on Floor 1, Section G
recover Resource supply for Spider Silk / Health Potion / Zinc Ore on Floor 1, Section G
win with a spent Supply Contract on Floor 1, Section G or later
answer boss variant lesson against: Orebound / Seam-Sealed / Supply-Locked / Toll-Ledger / Rampart / Scrap-Fused on Floor 1, Section G
mastery: ⛏️ Resource climb pressure read | ⛏️ Resource primary: toll logistics road
🛡️ Guarded secondary: thieving and trade tools
supply: glass vials and wolf parts | ⛏️ Resource floor map marks toll logistics road; boss leans Orebound, Toll-Ledger; can roll Loaded Cache; matches Old Cache, Patrol Route; boss has supply-line pressure; surveys public prep supply
🛡️ Guarded secondary map line supports thieving and trade tools; boss leans Rampart; can roll Guarded Watch; boss rewards guarded answers
🌑 Deep can roll Black Signal | 🐺 Roadside Bite | ⛓️ Orebound
📒 Toll-Ledger
📦 Supply-Locked
🧱 Rampart | 🌿 Bramble Choke
📦 Supply Audit
📒 Toll Audit | Patrol Route 16%
Old Cache 10% | forest, patrol, reward, swift | full HP, correct damage type, escape plan, inventory space | 10/10 |
| Floor 1, Section H | 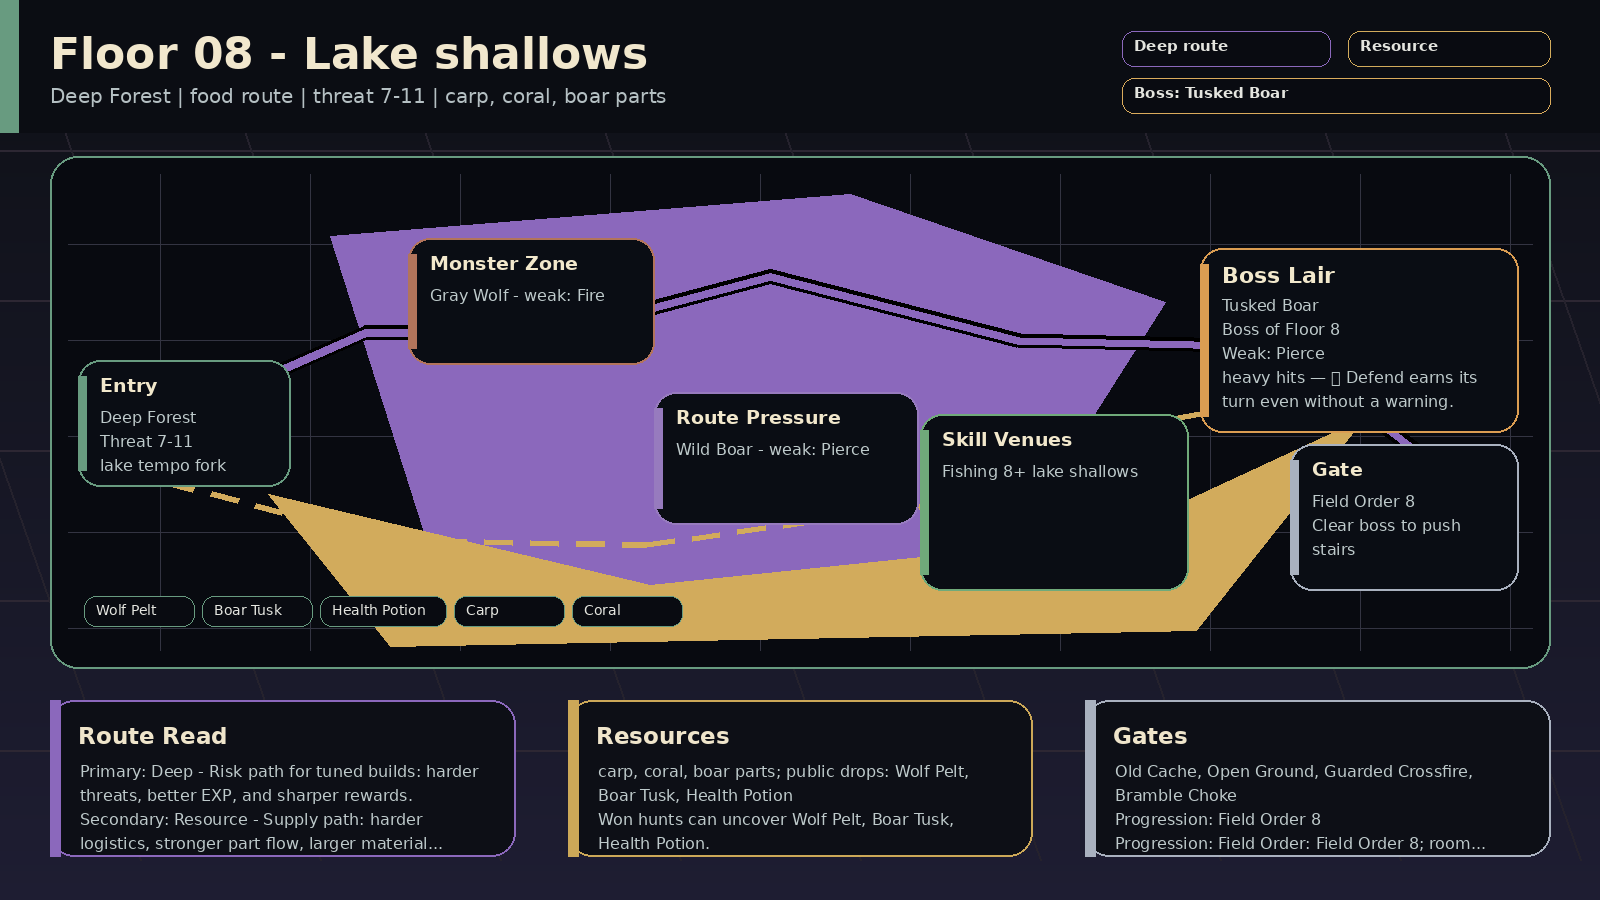 | 🌾 Lower Green | Deep Forest | Lake shallows | Payoff: carp, coral, boar parts; public drops: Wolf Pelt, Boar Tusk, Health Potion
Prep: Skill prep: Fishing 8+
Pressure: food route; encounters: Old Cache, Open Ground; boss: the Boar-Tide
Route: Route plan: Deep primary for lake tempo fork; Resource secondary for fishing and food prep
Progress: Progression: Field Order: Field Order 8; room pressure 45% | Read: Lake shallows (food route). A safer supply floor before the Ogre climb.
Prep: Train Fishing; prep around fishing and food prep. Field Order: Field Order 8.
Route: Primary Deep: lake tempo fork. Secondary Resource: fishing and food prep.
Trade: Supply axis: carp, coral, boar parts. Public demand centers on Wolf Pelt, Boar Tusk, Health Potion, Tide Tusk.
Boss: the Boar-Tide: The wave gives a warning, but the cutback does not — Defend low-guard turns and punish with pierce. Boss-room pressure can appear at 45%. | Read: Lake shallows rewards 🔥 fire, 🏹 pierce; avoid relying only on ❄️ frost, 🔨 blunt. Mob signatures pressure stance, damage guard, damage, debuff; the boss chart leans 🏹 pierce.
Damage lanes: weak: fire, pierce
Watch resists: resists: frost, blunt
Boss chart: weak: pierce
Mob pressure: stance, damage guard, damage, debuff | 7-11 | 🐺 Gray Wolf / 🐗 Boar-Tide Runner | 🐗 the Boar-Tide | 🎣 the lake shallows req 8 | 🦴 Wolf Pelt, 🦴 Boar Tusk, 🧪 Health Potion, 🐗 Tide Tusk, 🐟 Carp, 🪸 Coral | 4% on won hunts: 🦴 Wolf Pelt, 🦴 Boar Tusk, 🧪 Health Potion, 🐗 Tide Tusk
Won hunts can uncover Wolf Pelt, Boar Tusk, Health Potion.
Choose this floor for carp, coral, boar parts; trade for the rest. | A safer supply floor before the Ogre climb. | — | Field Order 8
win Deep route hunts on Floor 1, Section H
clear Old Cache on Floor 1, Section H
win with a spent Deep route plan on Floor 1, Section H or later
answer boss variant lesson against: Eclipse / Brambleward / Rampart / Snareweb / Orebound / Scrap-Fused on Floor 1, Section H
answer Deep boss-room pressure: Split Beat / Blight Count / Nocturne Refrain / Null Chorus on Floor 1, Section H
mastery: 🌑 Deep climb pressure read | 🌑 Deep primary: lake tempo fork
⛏️ Resource secondary: fishing and food prep
supply: carp, coral, boar parts | 🌑 Deep floor map marks lake tempo fork; can roll Black Signal
⛏️ Resource secondary map line supports fishing and food prep; boss leans Orebound; can roll Loaded Cache; matches Old Cache; surveys public prep supply
🛡️ Guarded boss leans Brambleward, Rampart; can roll Guarded Watch; boss rewards guarded answers | 🐗 Tusk Rake | 🌿 Brambleward
🧱 Rampart
🕸️ Snareweb
⛓️ Orebound | 🌿 Bramble Choke
⏱️ Split Beat
📦 Supply Audit | Old Cache 10%
Open Ground 18% | forest, reward, terrain, standard | inventory space, trade routes, gathering tools, speed control | 10/10 |
| Floor 1, Section I | 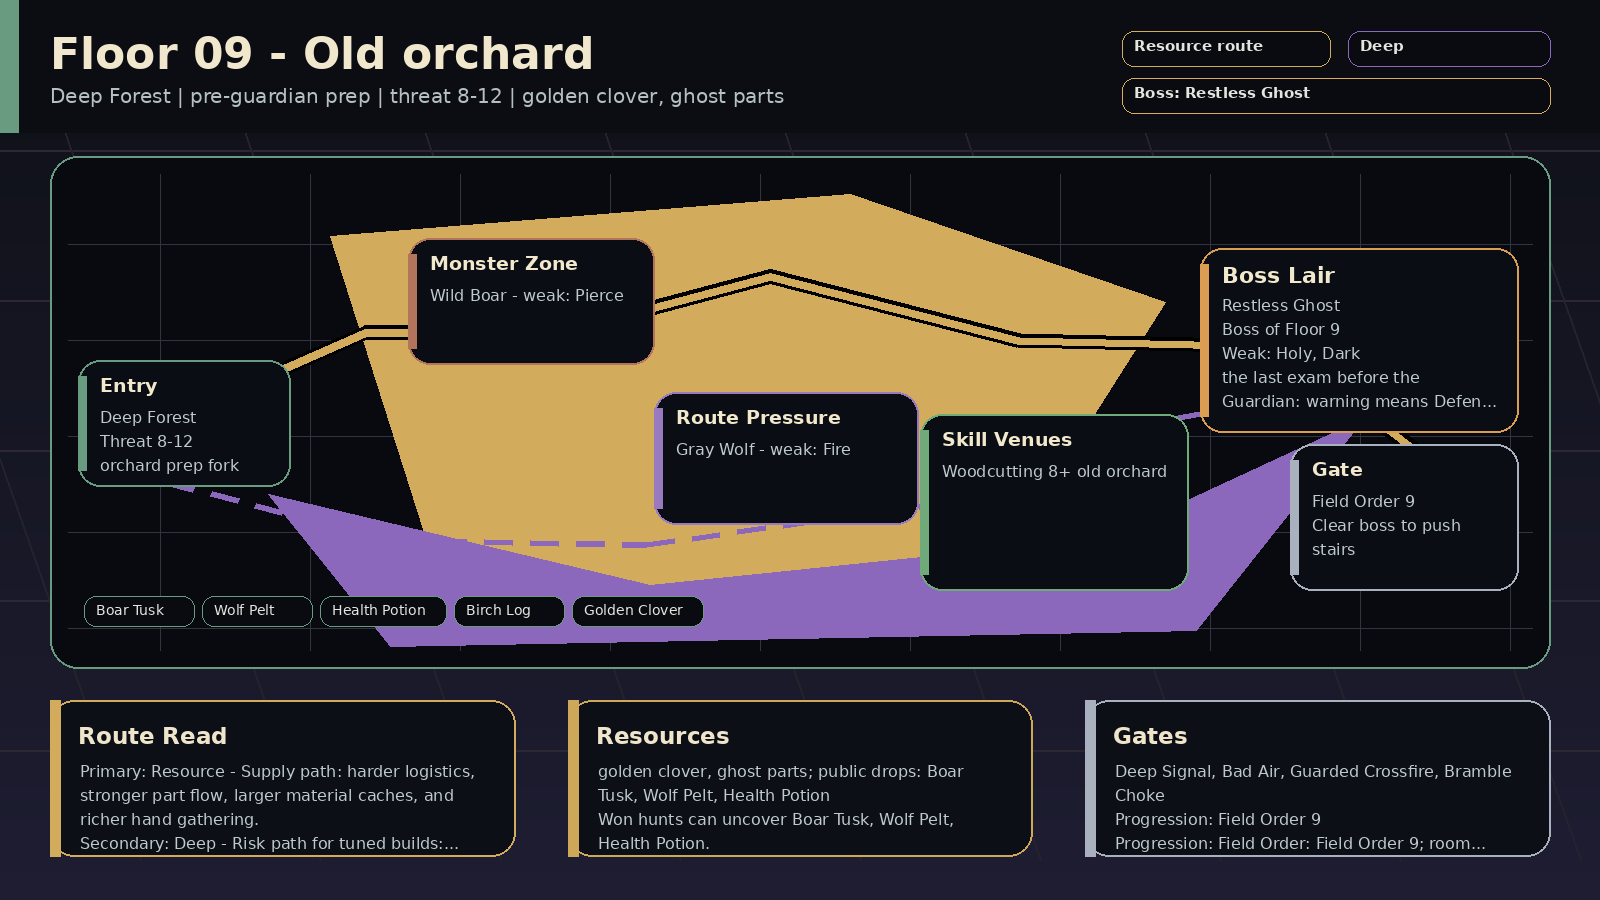 | 🌾 Lower Green | Deep Forest | Old orchard | Payoff: golden clover, ghost parts; public drops: Ghost Essence, Amber, Boar Tusk
Prep: Skill prep: Woodcutting 8+
Pressure: pre-guardian prep; encounters: Deep Signal, Failing Light; boss: the Orchard Wight
Route: Route plan: Resource primary for orchard prep fork; Deep secondary for woodcutting and ghost pressure
Progress: Progression: Field Order: Field Order 9; room pressure 45% | Read: Old orchard (pre-guardian prep). The last stop before the Ogre — the section where you tune your kit.
Prep: Train Woodcutting; prep around woodcutting and ghost pressure. Field Order: Field Order 9.
Route: Primary Resource: orchard prep fork. Secondary Deep: woodcutting and ghost pressure.
Trade: Supply axis: golden clover and ghost essence. Public demand centers on Ghost Essence, Amber, Boar Tusk, Health Potion.
Boss: the Orchard Wight: The last fight before the Ogre: Defend the warning, drink when low, and answer with holy, dark, or blunt hits. Boss-room pressure can appear at 45%. | Read: Old orchard rewards ✨ holy, 🌑 dark, 🔨 blunt, 🏹 pierce; avoid relying only on 🗡️ slash. Mob signatures pressure damage, curse, cleanse check; the boss chart leans ✨ holy, 🌑 dark, 🔨 blunt.
Damage lanes: weak: holy, dark, blunt, pierce
Watch resists: resists: slash
Boss chart: weak: holy, dark, blunt
Mob pressure: damage, curse, cleanse check | 8-12 | 👻 Orchard Wightling / 🐗 Wild Boar | 👻 the Orchard Wight | 🌲 the old orchard req 8 | 🦴 Ghost Essence, 🟠 Amber, 🦴 Boar Tusk, 🧪 Health Potion, 👻 Wight Lantern, 🪵 Birch Log, 🍀 Golden Clover | 4% on won hunts: 🦴 Ghost Essence, 🟠 Amber, 🦴 Boar Tusk, 🧪 Health Potion
Won hunts can uncover Ghost Essence, Amber, Boar Tusk.
Choose this floor for golden clover and ghost essence; trade for the rest. | The last stop before the Ogre — the section where you tune your kit. | — | Field Order 9
win Resource route hunts on Floor 1, Section I
clear Deep Signal on Floor 1, Section I
recover Resource supply for Boar Tusk / Health Potion / Birch Log on Floor 1, Section I
win with a spent Supply Contract on Floor 1, Section I or later
answer boss variant lesson against: Orebound / Seam-Sealed / Supply-Locked / Toll-Ledger / Eclipse / Snareweb / Rampart / Scrap-Fused on Floor 1, Section I
mastery: ⛏️ Resource climb pressure read | ⛏️ Resource primary: orchard prep fork
🌑 Deep secondary: woodcutting and ghost pressure
supply: golden clover and ghost essence | ⛏️ Resource floor map marks orchard prep fork; boss leans Toll-Ledger; can roll Loaded Cache; surveys public prep supply
🌑 Deep secondary map line supports woodcutting and ghost pressure; boss leans Eclipse; can roll Black Signal; matches Deep Signal
🛡️ Guarded can roll Guarded Watch; boss rewards guarded answers | 👻 Row Touch | 🌘 Eclipse
🕸️ Snareweb
📒 Toll-Ledger
⛓️ Orebound | 💧 Blight Count
🎼 Nocturne Refrain
⏱️ Split Beat | Deep Signal 8%
Failing Light 12% | forest, mystery, hazard, mystic | codex checks, quest journal, wiki map, accuracy through skills | 10/10 |
| Floor 1, Section J | 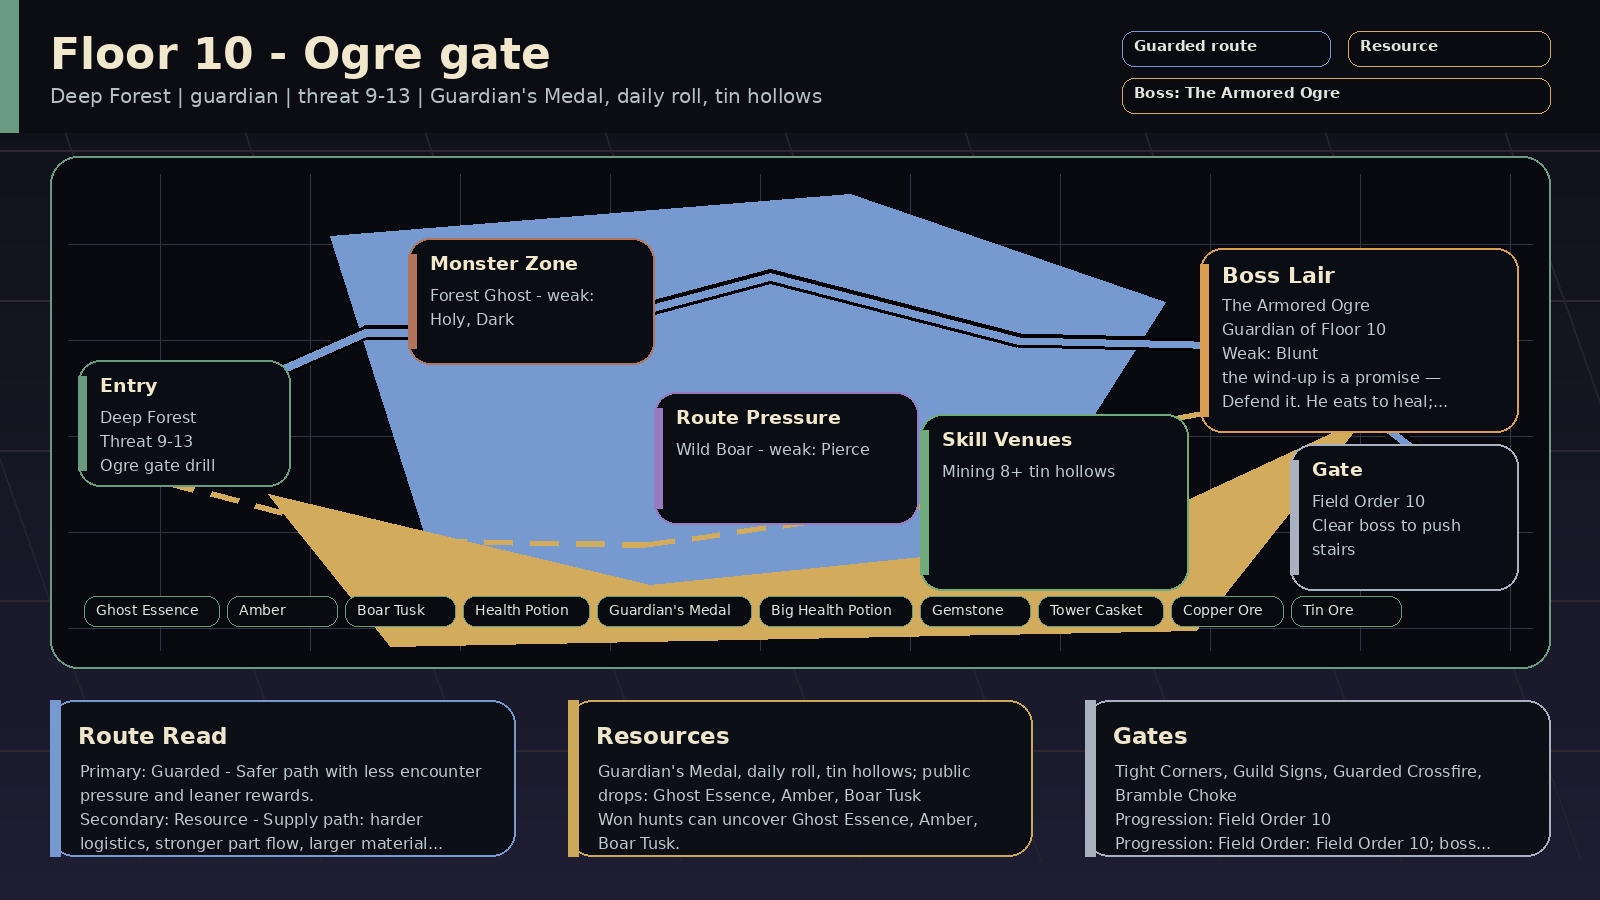 | 🌾 Lower Green | Deep Forest | Ogre gate | Payoff: Guardian's Medal, daily roll, tin hollows; public drops: Boar Tusk, Ghost Essence, Amber
Prep: Skill prep: Mining 8+
Pressure: guardian; encounters: Tight Corners, Guild Signs; boss: The Armored Ogre
Route: Route plan: Guarded primary for Ogre gate drill; Resource secondary for guardian prep
Progress: Progression: Field Order: Field Order 10; boss entry: What the Howling Means | Read: Ogre gate (guardian). The Armored Ogre holds the first wall.
Prep: Train Mining; prep around guardian prep. Field Order: Field Order 10.
Route: Primary Guarded: Ogre gate drill. Secondary Resource: guardian prep.
Trade: Supply axis: Guardian's Medal and tin hollows. Public demand centers on Boar Tusk, Ghost Essence, Amber, Health Potion.
Boss: The Armored Ogre: The wind-up is a promise — Defend it. He eats to heal; out-damage the bites. | Read: Ogre gate rewards 🔥 fire, 🗡️ slash, ✨ holy, 🌑 dark; avoid relying only on 🔨 blunt. Mob signatures pressure heavy hit, telegraph, bleed, damage; the boss chart leans 🔨 blunt.
Damage lanes: weak: fire, slash, holy, dark, pierce
Watch resists: resists: blunt
Boss chart: weak: blunt
Mob pressure: heavy hit, telegraph, bleed, damage
Counters: defend, cleanse, fire, slash | 9-13 | 👹 Gatewatch Brute / 👻 Forest Ghost / 🐗 Wild Boar | 👹 The Armored Ogre | ⛏️ the tin hollows req 8 | 🦴 Boar Tusk, 🦴 Ghost Essence, 🟠 Amber, 🧪 Health Potion, 🎖️ Guardian's Medal, 🧪 Big Health Potion, 💎 Gemstone, 🎁 Tower Casket | 4% on won hunts: 🦴 Boar Tusk, 🦴 Ghost Essence, 🟠 Amber, 🧪 Health Potion
Won hunts can uncover Boar Tusk, Ghost Essence, Amber.
Choose this floor for Guardian's Medal and tin hollows; trade for the rest. | The Armored Ogre holds the first wall. | — | Field Order 10
win Guarded route hunts on Floor 1, Section J
clear Tight Corners on Floor 1, Section J
defeat the Armored Ogre | 🛡️ Guarded primary: Ogre gate drill
⛏️ Resource secondary: guardian prep
supply: Guardian's Medal and tin hollows | 🛡️ Guarded floor map marks Ogre gate drill; boss leans Brambleward, Countermarch; can roll Guarded Watch; matches Guild Signs, Tight Corners; safer prep before a set-piece floor; boss rewards guarded answers
⛏️ Resource secondary map line supports guardian prep; boss leans Cache Splitter, Shortfall; can roll Loaded Cache; matches Guild Signs; surveys public prep supply; helps the next stair's logistics
🌑 Deep can roll Black Signal | 🏏 Club Swing | — | — | Tight Corners 14%
Guild Signs 8% | forest, terrain, social, brute | blunt damage, defense pierce, longer sustain, guild board | 10/10 |
| Floor 1, Section K | 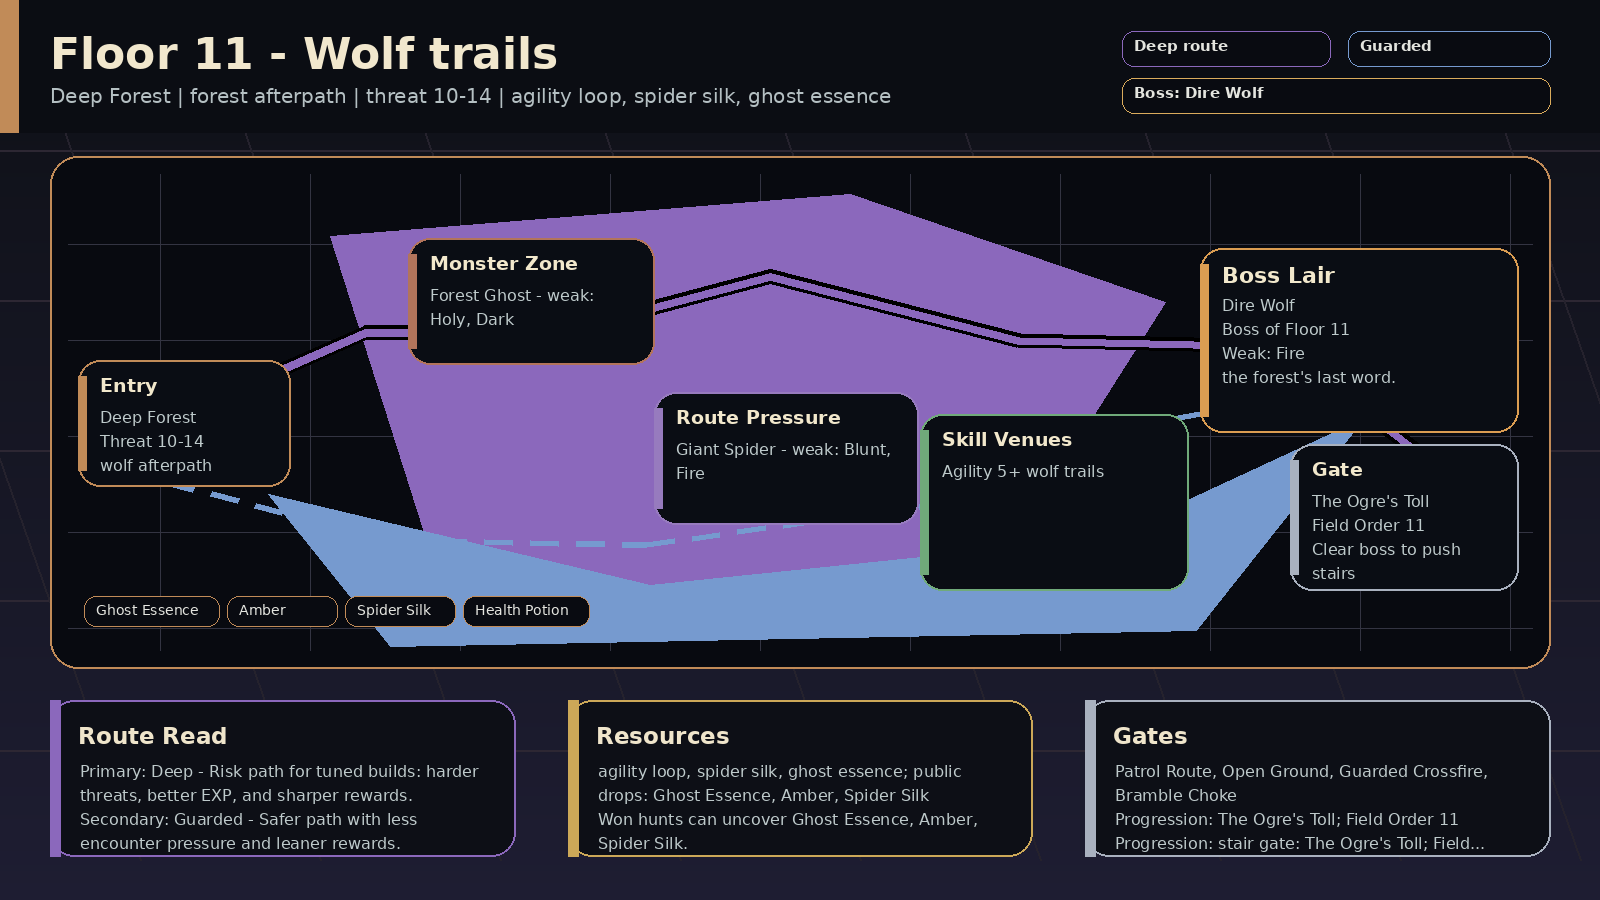 | 🌫️ Wet Ridge | Deep Forest | Wolf trails | Payoff: agility loop, spider silk, ghost essence; public drops: Ghost Essence, Amber, Spider Silk
Prep: Skill prep: Agility 5+
Pressure: forest afterpath; encounters: Patrol Route, Open Ground; boss: the Trail-Warden
Route: Route plan: Deep primary for wolf afterpath; Guarded secondary for agility and trail control
Progress: Progression: stair gate: The Ogre's Toll; Field Order: Field Order 11; room pressure 60% | Read: Wolf trails (forest afterpath). Harl's trail leads deeper into the forest.
Prep: Train Agility; prep around agility and trail control. Stair gate: The Ogre's Toll.
Route: Primary Deep: wolf afterpath. Secondary Guarded: agility and trail control.
Trade: Supply axis: spider silk and ghost essence. Public demand centers on Ghost Essence, Amber, Spider Silk, Health Potion.
Boss: the Trail-Warden: Bring speed control. Defend after the howl and punish with fire, pierce, or blunt hits. Boss-room pressure can appear at 60%. | Read: Wolf trails rewards ✨ holy, 🌑 dark, 🔨 blunt, 🔥 fire; avoid relying only on 🗡️ slash, 🌿 nature. Mob signatures pressure damage, debuff, slow; the boss chart leans 🔥 fire, 🏹 pierce, 🔨 blunt.
Damage lanes: weak: holy, dark, blunt, fire
Watch resists: resists: slash, nature
Boss chart: weak: fire, pierce, blunt
Mob pressure: damage, debuff, slow | 10-14 | 👻 Forest Ghost / 🕷️ Trail-Snare Spider | 🐺 the Trail-Warden | 🏃 the wolf trails req 5 | 🦴 Ghost Essence, 🟠 Amber, 🦴 Spider Silk, 🧪 Health Potion, 🐺 Warden Pelt | 4% on won hunts: 🦴 Ghost Essence, 🟠 Amber, 🦴 Spider Silk, 🧪 Health Potion
Won hunts can uncover Ghost Essence, Amber, Spider Silk.
Choose this floor for spider silk and ghost essence; trade for the rest. | Harl's trail leads deeper into the forest. | The Ogre's Toll
defeat the Armored Ogre
train Thieving at the toll road on Floor 1, Section G
have one of Bronze Pickaxe / Bronze Felling Axe / Birch Rod
deliver 2x Bronze Bar | Field Order 11
win 2x Deep route hunts on Floor 1, Section K
clear Patrol Route on Floor 1, Section K
win with a spent Deep route plan on Floor 1, Section K or later
answer boss variant lesson against: Tempo-Locked / Quicksilver / Snareweb / Countermarch / Formation Lock on Floor 1, Section K
answer Deep boss-room pressure: Split Beat / Blight Count / Nocturne Refrain / Null Chorus on Floor 1, Section K
mastery: 🌑 Deep climb pressure read | 🌑 Deep primary: wolf afterpath
🛡️ Guarded secondary: agility and trail control
supply: spider silk and ghost essence | 🌑 Deep floor map marks wolf afterpath; boss leans Tempo-Locked; can roll Black Signal
🛡️ Guarded secondary map line supports agility and trail control; boss leans Countermarch, Formation Lock; can roll Guarded Watch; boss rewards guarded answers
⛏️ Resource can roll Loaded Cache; matches Patrol Route; surveys public prep supply | 🐺 Trail Bite | 💨 Quicksilver
🕸️ Snareweb
⏱️ Tempo-Locked
🥁 Countermarch | 🌿 Bramble Choke
⏱️ Split Beat
📦 Supply Audit | Patrol Route 16%
Open Ground 18% | forest, patrol, terrain, mystic | full HP, correct damage type, escape plan, speed control | 10/10 |
| Floor 1, Section L | 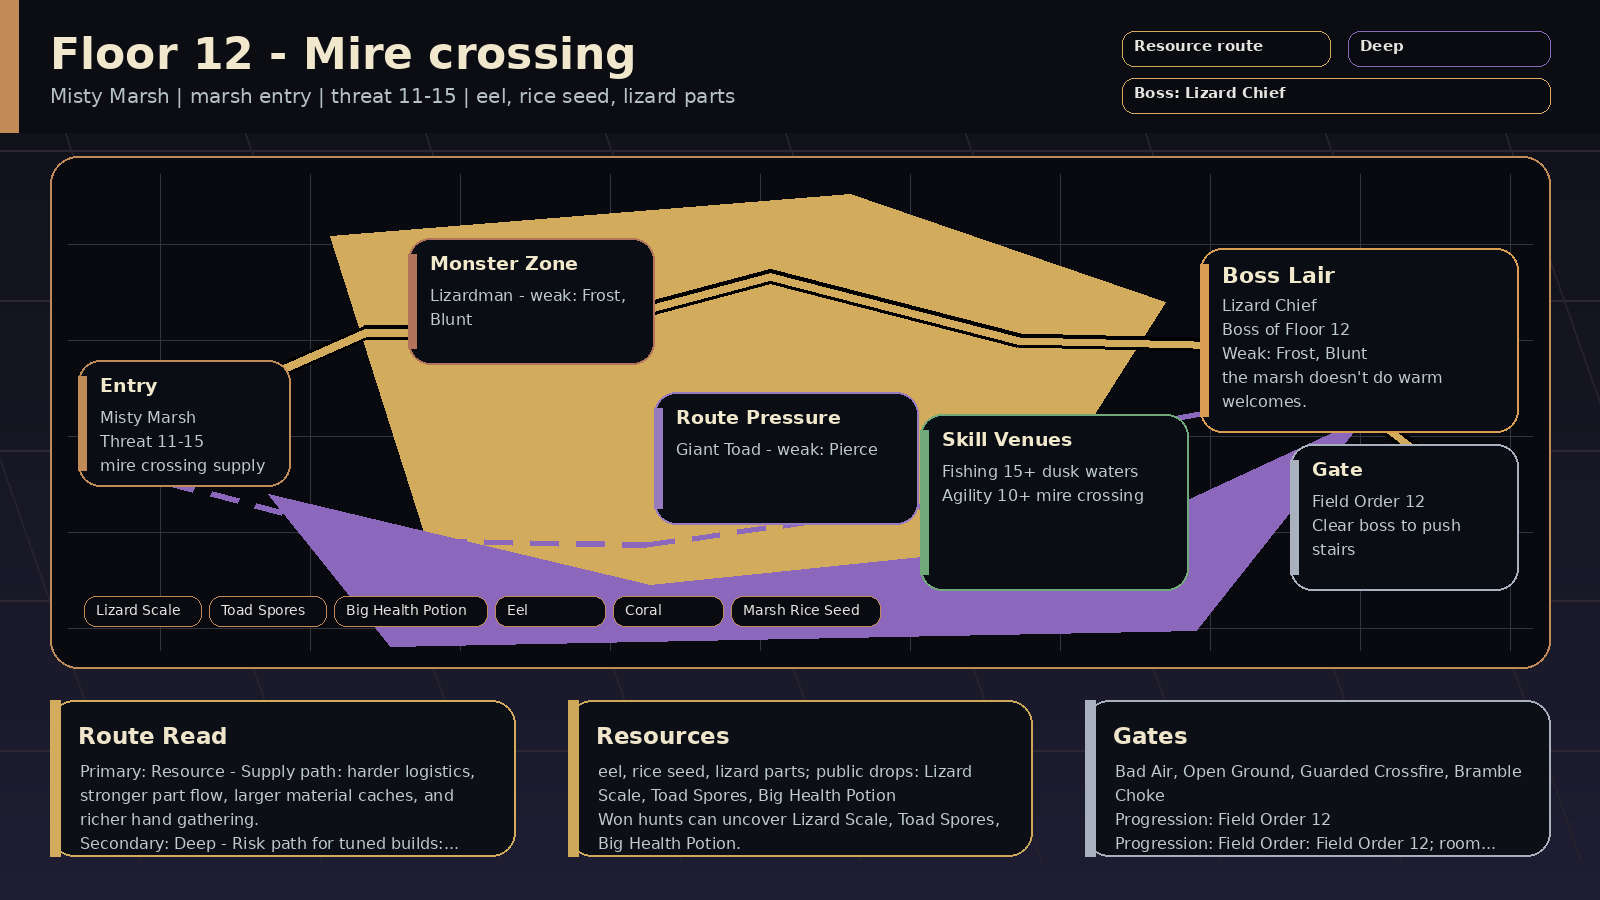 | 🌫️ Wet Ridge | Misty Marsh | Mire crossing | Payoff: eel, rice seed, lizard parts; public drops: Lizard Scale, Toad Spores, Big Health Potion
Prep: Skill prep: Fishing 15+, Agility 10+
Pressure: marsh entry; encounters: Bad Air, Open Ground; boss: the Mire Chief
Route: Route plan: Resource primary for mire crossing supply; Deep secondary for fishing and wet footing
Progress: Progression: Field Order: Field Order 12; room pressure 60% | Read: Mire crossing (marsh entry). The marsh opens with wet footing and hotter Threat.
Prep: Train Fishing, Agility; prep around fishing and wet footing. Field Order: Field Order 12.
Route: Primary Resource: mire crossing supply. Secondary Deep: fishing and wet footing.
Trade: Supply axis: eel and rice seed. Public demand centers on Lizard Scale, Toad Spores, Big Health Potion, Mire Crown.
Boss: the Mire Chief: Defend the Bog Overhand, keep supplies ready, and answer with frost, blunt, or pierce hits. Boss-room pressure can appear at 60%. | Read: Mire crossing rewards ❄️ frost, 🔨 blunt, 🏹 pierce; avoid relying only on 🌿 nature. Mob signatures pressure damage, debuff, slow; the boss chart leans ❄️ frost, 🔨 blunt, 🏹 pierce.
Damage lanes: weak: frost, blunt, pierce
Watch resists: resists: nature
Boss chart: weak: frost, blunt, pierce
Mob pressure: damage, debuff, slow | 11-15 | 🦎 Lizardman / 🦎 Mire Spear-Lizard / 🐸 Giant Toad | 🦎 the Mire Chief | 🎣 the dusk waters req 15
🏃 the mire crossing req 10 | 🦴 Lizard Scale, 🦴 Toad Spores, 🧪 Big Health Potion, 🦎 Mire Crown, 🐟 Eel, 🪸 Coral, 🌱 Marsh Rice Seed | 4% on won hunts: 🦴 Lizard Scale, 🦴 Toad Spores, 🧪 Big Health Potion, 🦎 Mire Crown
Won hunts can uncover Lizard Scale, Toad Spores, Big Health Potion.
Choose this floor for eel and rice seed; trade for the rest. | The marsh opens with wet footing and hotter Threat. | — | Field Order 12
win 2x Resource route hunts on Floor 1, Section L
clear Bad Air on Floor 1, Section L
recover Resource supply for Lizard Scale / Big Health Potion / Eel on Floor 1, Section L
win with a spent Supply Contract on Floor 1, Section L or later
answer boss variant lesson against: Seam-Sealed / Supply-Locked / Cache Splitter / Shortfall / Toll-Ledger / Crusher / Linebreaker / Rupturing on Floor 1, Section L
mastery: ⛏️ Resource climb pressure read | ⛏️ Resource primary: mire crossing supply
🌑 Deep secondary: fishing and wet footing
supply: eel and rice seed | ⛏️ Resource floor map marks mire crossing supply; boss leans Cache Splitter, Shortfall; can roll Loaded Cache; boss has supply-line pressure; surveys public prep supply
🌑 Deep secondary map line supports fishing and wet footing; can roll Black Signal; matches Bad Air
🛡️ Guarded boss leans Linebreaker; can roll Guarded Watch; boss rewards guarded answers | 🔱 Mire Spear | 📦 Cache Splitter
💥 Crusher
🧱 Linebreaker
🩸 Rupturing | 💧 Blight Count
🎼 Nocturne Refrain
🎼 Null Chorus | Bad Air 12%
Open Ground 18% | marsh, hazard, terrain, brute | antidotes, cleanse skills, food belt, speed control | 10/10 |
| Floor 1, Section M | 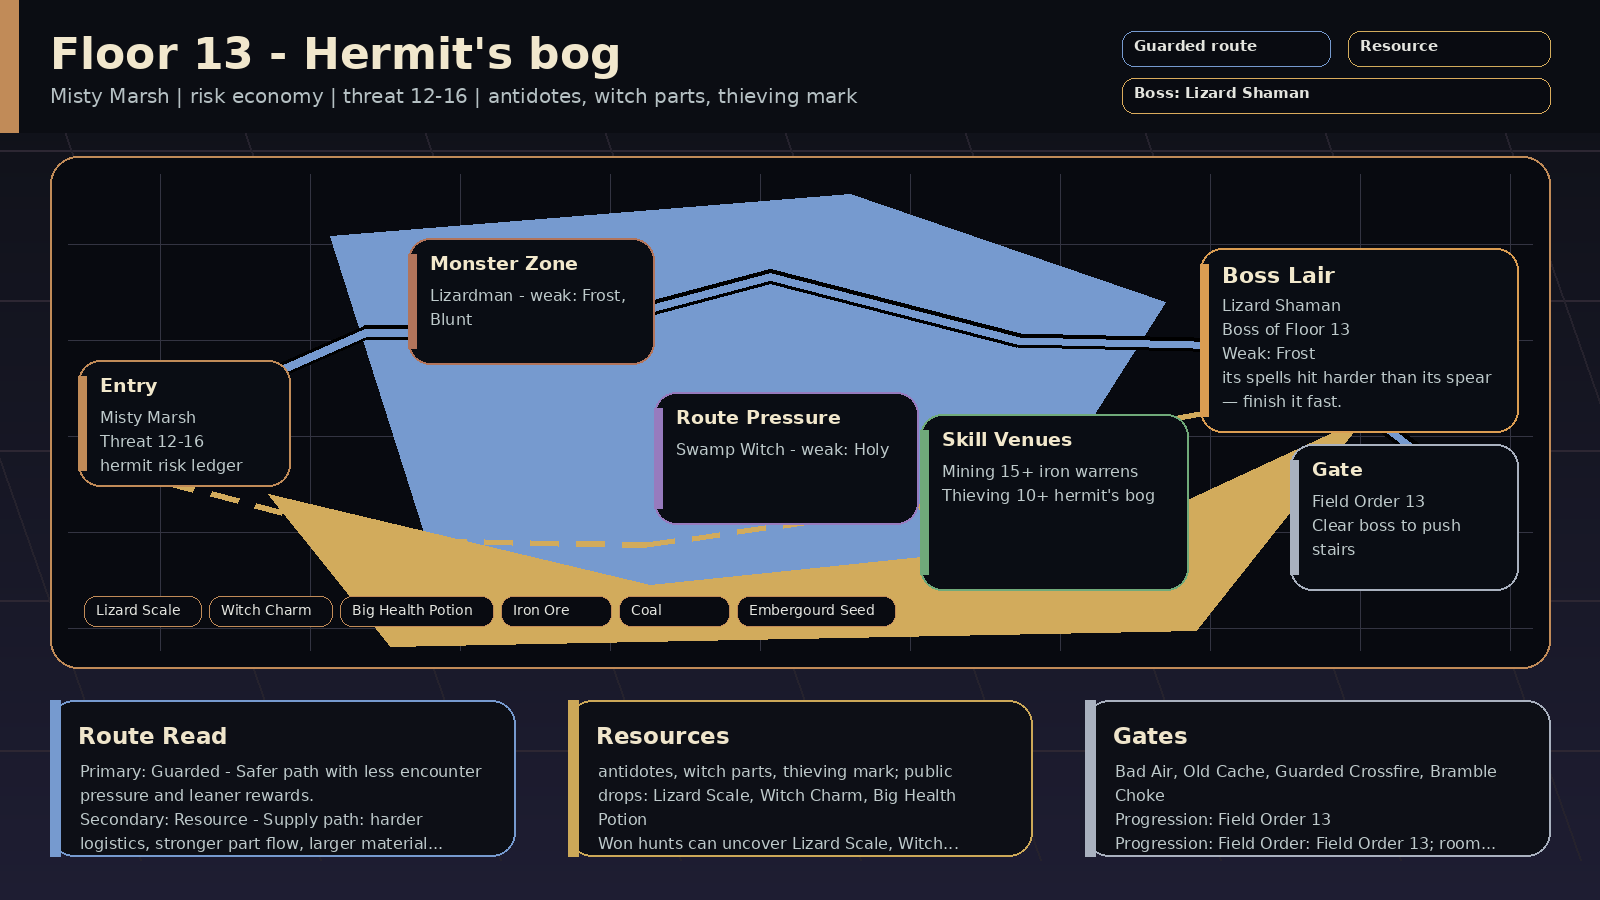 | 🌫️ Wet Ridge | Misty Marsh | Hermit's bog | Payoff: antidotes, witch parts, thieving mark; public drops: Lizard Scale, Witch Charm, Big Health Potion
Prep: Skill prep: Mining 15+, Thieving 10+
Pressure: risk economy; encounters: Bad Air, Old Cache; boss: Lizard Shaman
Route: Route plan: Guarded primary for hermit's bog run; Resource secondary for thieving and antidotes
Progress: Progression: Field Order: Field Order 13; room pressure 60% | Read: Hermit's bog (risk economy). The hermit's boot bank is worth picking.
Prep: Train Mining, Thieving; prep around thieving and antidotes. Field Order: Field Order 13.
Route: Primary Guarded: hermit's bog run. Secondary Resource: thieving and antidotes.
Trade: Supply axis: witch charms and boot-bank marks. Public demand centers on Lizard Scale, Witch Charm, Big Health Potion, Shaman Totem.
Boss: Lizard Shaman: Cleanse the curse, Defend the Ledger Burst, and answer with frost, pierce, or blunt hits. Boss-room pressure can appear at 60%. | Read: Hermit's bog rewards ❄️ frost, 🔨 blunt, ✨ holy, 🏹 pierce; avoid relying only on 🌿 nature, 🌑 dark. Mob signatures pressure damage, curse, cleanse check, tempo check; the boss chart leans ❄️ frost, 🏹 pierce, 🔨 blunt.
Damage lanes: weak: frost, blunt, holy, pierce
Watch resists: resists: nature, dark
Boss chart: weak: frost, pierce, blunt
Mob pressure: damage, curse, cleanse check, tempo check
Counters: cleanse, frost, holy, burst | 12-16 | 🦎 Lizardman / 🕯️ Bog Acolyte / 🧙 Swamp Witch | 🦎 Lizard Shaman | ⛏️ the iron warrens req 15
🪙 the hermit's bog req 10 | 🦴 Lizard Scale, 🦴 Witch Charm, 🧪 Big Health Potion, 🦎 Shaman Totem, 🪨 Iron Ore, 🪨 Coal, 🌱 Embergourd Seed | 4% on won hunts: 🦴 Lizard Scale, 🦴 Witch Charm, 🧪 Big Health Potion, 🦎 Shaman Totem
Won hunts can uncover Lizard Scale, Witch Charm, Big Health Potion.
Choose this floor for witch charms and boot-bank marks; trade for the rest. | The hermit's boot bank is worth picking. | — | Field Order 13
win 2x Guarded route hunts on Floor 1, Section M
clear Bad Air on Floor 1, Section M
win with a spent Guarded route plan on Floor 1, Section M or later
answer boss variant lesson against: Cache Splitter / Cachebound / Shortfall / Storm Guard / Toll-Ledger / Sentinel / Rampart / Bastion on Floor 1, Section M
answer Guarded boss-room pressure: Bramble Choke / Null Chorus / Breaker Window / Guarded Crossfire on Floor 1, Section M
mastery: 🛡️ Guarded climb pressure read | 🛡️ Guarded primary: hermit's bog run
⛏️ Resource secondary: thieving and antidotes
supply: witch charms and boot-bank marks | 🛡️ Guarded floor map marks hermit's bog run; can roll Guarded Watch; boss rewards guarded answers
⛏️ Resource secondary map line supports thieving and antidotes; boss leans Cachebound, Cache Splitter; can roll Loaded Cache; matches Old Cache; boss has supply-line pressure; surveys public prep supply
🌑 Deep boss leans Tempo-Locked; can roll Black Signal; matches Bad Air | 🔱 Charm Spear | 📦 Cache Splitter
📦 Cachebound
🧾 Shortfall
⛈️ Storm Guard | 💧 Blight Count
🌿 Bramble Choke
🧰 Cache Collapse | Bad Air 12%
Old Cache 10% | marsh, hazard, reward, brute | antidotes, cleanse skills, food belt, inventory space | 10/10 |
| Floor 1, Section N | 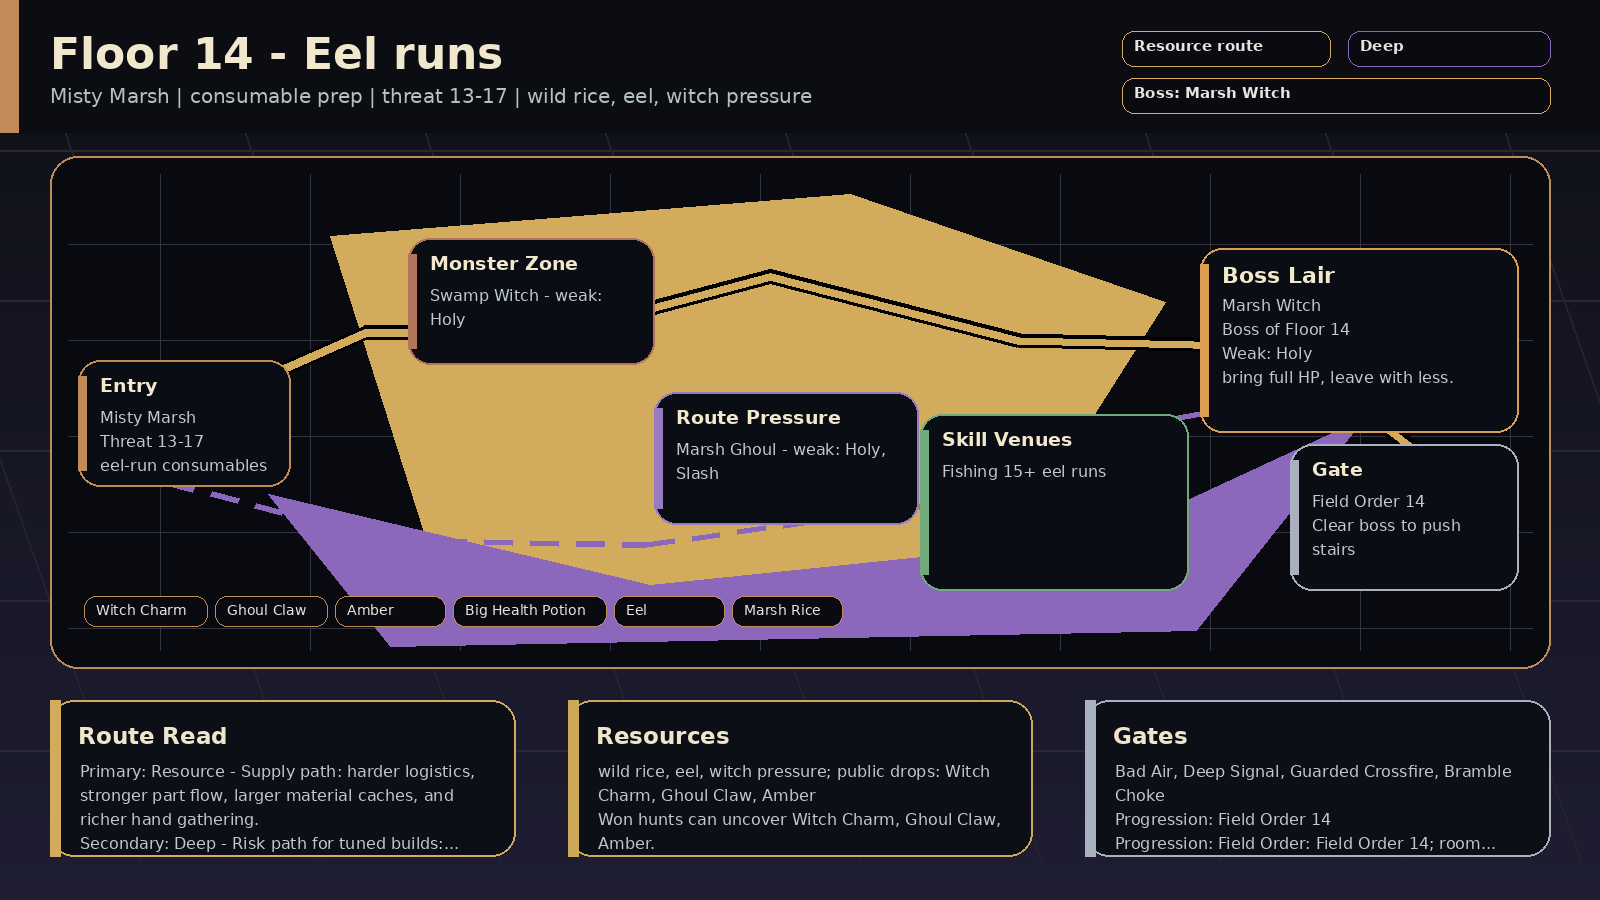 | 🌫️ Wet Ridge | Misty Marsh | Eel runs | Payoff: wild rice, eel, witch pressure; public drops: Witch Charm, Ghoul Claw, Amber
Prep: Skill prep: Fishing 15+
Pressure: consumable prep; encounters: Bad Air, Narrow Stair; boss: Marsh Witch
Route: Route plan: Resource primary for eel-run consumables; Deep secondary for cooking and alchemy prep
Progress: Progression: Field Order: Field Order 14; room pressure 60% | Read: Eel runs (consumable prep). A potion-and-food floor before the Serpent.
Prep: Train Fishing; prep around cooking and alchemy prep. Field Order: Field Order 14.
Route: Primary Resource: eel-run consumables. Secondary Deep: cooking and alchemy prep.
Trade: Supply axis: wild rice and eel. Public demand centers on Witch Charm, Ghoul Claw, Amber, Big Health Potion.
Boss: Marsh Witch: Cleanse the poison, Defend the Draught Burst, and answer with holy, dark, blunt, or pierce hits. Boss-room pressure can appear at 60%. | Read: Eel runs rewards ✨ holy, 🌑 dark, 🏹 pierce, 🗡️ slash; avoid relying only on 🌿 nature. Mob signatures pressure curse, cleanse check, poison, resource check; the boss chart leans ✨ holy, 🌑 dark, 🔨 blunt.
Damage lanes: weak: holy, dark, pierce, slash
Watch resists: resists: nature
Boss chart: weak: holy, dark, blunt, pierce
Mob pressure: curse, cleanse check, poison, resource check
Counters: cleanse, holy, dark, burst | 13-17 | 🧙 Swamp Witch / 🧙 Reed Witch / 🧟 Marsh Ghoul | 🧙 Marsh Witch | 🎣 the eel runs req 15 | 🦴 Witch Charm, 🦴 Ghoul Claw, 🟠 Amber, 🧪 Big Health Potion, 🧙 Witch Hat, 🐟 Eel, 🌾 Marsh Rice | 4% on won hunts: 🦴 Witch Charm, 🦴 Ghoul Claw, 🟠 Amber, 🧪 Big Health Potion
Won hunts can uncover Witch Charm, Ghoul Claw, Amber.
Choose this floor for wild rice and eel; trade for the rest. | A potion-and-food floor before the Serpent. | — | Field Order 14
win 2x Resource route hunts on Floor 1, Section N
clear Bad Air on Floor 1, Section N
recover Resource supply for Big Health Potion / Eel / Marsh Rice on Floor 1, Section N
win with a spent Supply Contract on Floor 1, Section N or later
answer boss variant lesson against: Cachebound / Seam-Sealed / Supply-Locked / Cache Splitter / Shortfall / Toll-Ledger / Tempo-Locked on Floor 1, Section N
mastery: ⛏️ Resource climb pressure read | ⛏️ Resource primary: eel-run consumables
🌑 Deep secondary: cooking and alchemy prep
supply: wild rice and eel | ⛏️ Resource floor map marks eel-run consumables; boss leans Cachebound, Cache Splitter; can roll Loaded Cache; boss has supply-line pressure; surveys public prep supply
🌑 Deep secondary map line supports cooking and alchemy prep; boss leans Tempo-Locked; can roll Black Signal; matches Bad Air
🛡️ Guarded can roll Guarded Watch; boss rewards guarded answers | 🕯️ Kettle Jab | 📦 Cache Splitter
📦 Cachebound
⛏️ Seam-Sealed
🧾 Shortfall | 💧 Blight Count
🎼 Nocturne Refrain
🎼 Null Chorus | Bad Air 12%
Narrow Stair 14% | marsh, hazard, terrain, mystic | antidotes, cleanse skills, food belt, opening burst | 10/10 |
| Floor 1, Section O | 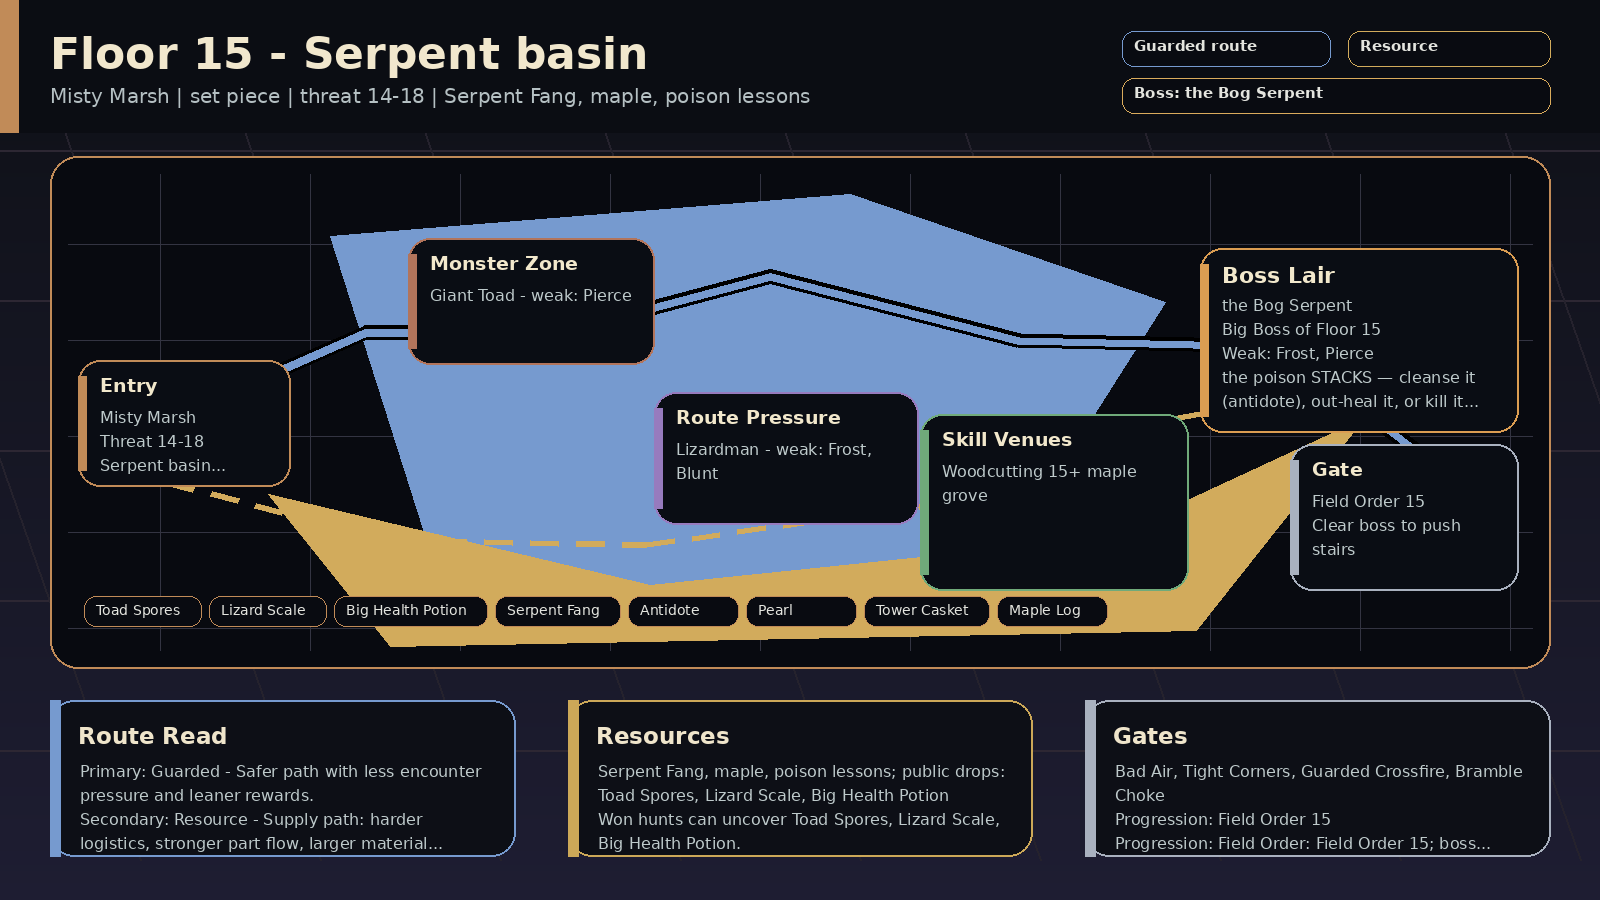 | 🌫️ Wet Ridge | Misty Marsh | Serpent basin | Payoff: Serpent Fang, maple, poison lessons; public drops: Lizard Scale, Toad Spores, Big Health Potion
Prep: Skill prep: Woodcutting 15+
Pressure: set piece; encounters: Bad Air, Tight Corners; boss: the Bog Serpent
Route: Route plan: Guarded primary for Serpent basin cleanse check; Resource secondary for poison prep
Progress: Progression: Field Order: Field Order 15; boss entry: The Serpent Kit | Read: Serpent basin (set piece). The Bog Serpent teaches cleanse and pacing.
Prep: Train Woodcutting; prep around poison prep. Field Order: Field Order 15.
Route: Primary Guarded: Serpent basin cleanse check. Secondary Resource: poison prep.
Trade: Supply axis: Serpent Fang and maple. Public demand centers on Lizard Scale, Toad Spores, Big Health Potion, Serpent Fang.
Boss: the Bog Serpent: The poison STACKS — cleanse it (antidote), out-heal it, or kill it first. | Read: Serpent basin rewards 🔨 blunt, ❄️ frost, 🏹 pierce; avoid relying only on 🌿 nature. Mob signatures pressure poison, debuff, cleanse check, damage; the boss chart leans ❄️ frost, 🏹 pierce.
Damage lanes: weak: blunt, frost, pierce
Watch resists: resists: nature
Boss chart: weak: frost, pierce
resists: nature
Mob pressure: poison, debuff, cleanse check, damage
Counters: cleanse, antidote, blunt, frost | 14-18 | 🐍 Basin Serpent / 🐸 Giant Toad / 🦎 Lizardman | 🐍 the Bog Serpent | 🌲 the maple grove req 15 | 🦴 Lizard Scale, 🦴 Toad Spores, 🧪 Big Health Potion, 🐍 Serpent Fang, 🧴 Antidote, ⚪ Pearl, 🎁 Tower Casket, 🪵 Maple Log | 4% on won hunts: 🦴 Lizard Scale, 🦴 Toad Spores, 🧪 Big Health Potion, 🧴 Antidote
Won hunts can uncover Lizard Scale, Toad Spores, Big Health Potion.
Choose this floor for Serpent Fang and maple; trade for the rest. | The Bog Serpent teaches cleanse and pacing. | — | Field Order 15
win 2x Guarded route hunts on Floor 1, Section O
clear Tight Corners on Floor 1, Section O
defeat the Bog Serpent | 🛡️ Guarded primary: Serpent basin cleanse check
⛏️ Resource secondary: poison prep
supply: Serpent Fang and maple | 🛡️ Guarded floor map marks Serpent basin cleanse check; can roll Guarded Watch; matches Tight Corners; safer prep before a set-piece floor; boss rewards guarded answers
⛏️ Resource secondary map line supports poison prep; boss leans Blight Ledger, Cache Splitter; can roll Loaded Cache; surveys public prep supply; helps the next stair's logistics
🌑 Deep boss leans Blight Ledger; can roll Black Signal; matches Bad Air | 🦷 Bite | — | — | Bad Air 12%
Tight Corners 14% | marsh, hazard, terrain, swift | antidotes, cleanse skills, food belt, blunt damage | 10/10 |
| Floor 1, Section P | 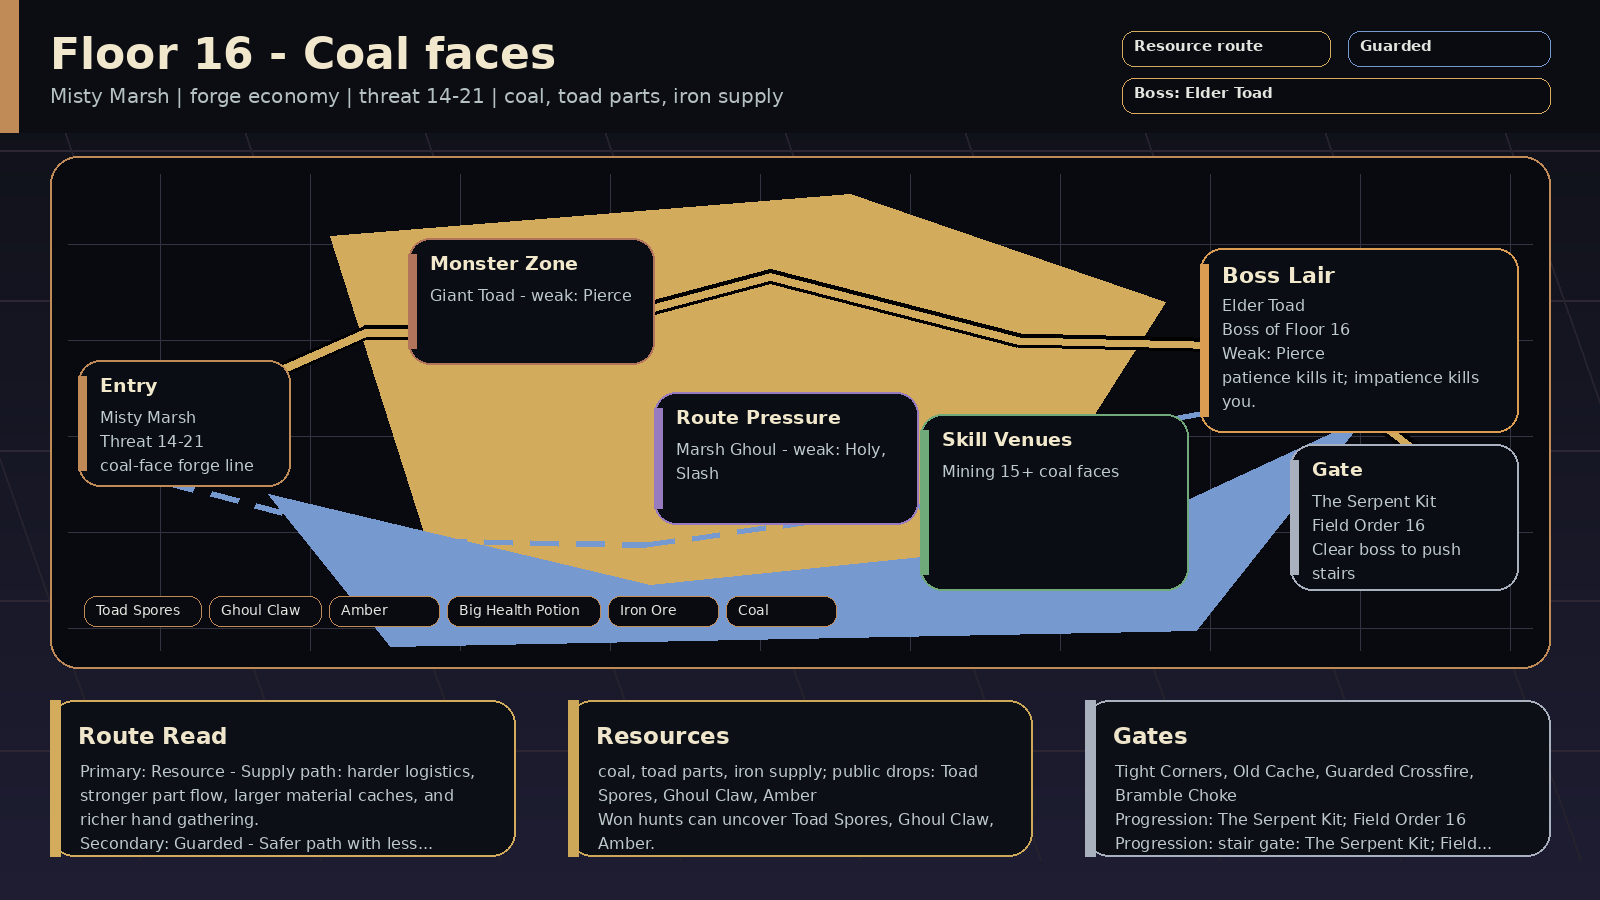 | 🌫️ Wet Ridge | Misty Marsh | Coal faces | Payoff: coal, toad parts, iron supply; public drops: Toad Spores, Ghoul Claw, Amber
Prep: Skill prep: Mining 15+
Pressure: forge economy; encounters: Failing Light, Old Cache; boss: Elder Toad
Route: Route plan: Resource primary for coal-face forge line; Guarded secondary for smithing support
Progress: Progression: stair gate: The Serpent Kit; Field Order: Field Order 16; room pressure 60% | Read: Coal faces (forge economy). A smithing support floor for the middle climb.
Prep: Train Mining; prep around smithing support. Stair gate: The Serpent Kit.
Route: Primary Resource: coal-face forge line. Secondary Guarded: smithing support.
Trade: Supply axis: coal and iron supply. Public demand centers on Toad Spores, Ghoul Claw, Amber, Big Health Potion.
Boss: Elder Toad: Defend the Crushing Guard, wait for Plate Shift, and crack the seam with pierce or blunt hits. Boss-room pressure can appear at 60%. | Read: Coal faces rewards 🏹 pierce, 🔨 blunt, ✨ holy, 🗡️ slash; avoid relying only on ❄️ frost, 🔥 fire. Mob signatures pressure damage, debuff, slow, burn; the boss chart leans 🏹 pierce, 🔨 blunt.
Damage lanes: weak: pierce, blunt, holy, slash
Watch resists: resists: frost, fire
Boss chart: weak: pierce, blunt
Mob pressure: damage, debuff, slow, burn
Counters: cleanse, pierce, blunt, burst | 14-21 | 🐸 Giant Toad / 🐸 Coal Toad / 🧟 Marsh Ghoul | 🐸 Elder Toad | ⛏️ the coal faces req 15 | 🦴 Toad Spores, 🦴 Ghoul Claw, 🟠 Amber, 🧪 Big Health Potion, 🐸 Toad Warts, 🪨 Iron Ore, 🪨 Coal | 4% on won hunts: 🦴 Toad Spores, 🦴 Ghoul Claw, 🟠 Amber, 🧪 Big Health Potion
Won hunts can uncover Toad Spores, Ghoul Claw, Amber.
Choose this floor for coal and iron supply; trade for the rest. | A smithing support floor for the middle climb. | The Serpent Kit
have Antidote
train Fishing at the eel runs on Floor 1, Section N
have one of Bronze Pickaxe / Bronze Felling Axe / Birch Rod
deliver 4x Witch Charm | Field Order 16
win 2x Resource route hunts on Floor 1, Section P
clear Old Cache on Floor 1, Section P
recover Resource supply for Iron Ore / Coal / Toad Spores on Floor 1, Section P
win with a spent Supply Contract on Floor 1, Section P or later
answer boss variant lesson against: Seam-Sealed / Relay-Bound / Brambleward / Ironroot / Countermarch / Shieldwall / Cachebound / Orebound on Floor 1, Section P
mastery: ⛏️ Resource climb pressure read | ⛏️ Resource primary: coal-face forge line
🛡️ Guarded secondary: smithing support
supply: coal and iron supply | ⛏️ Resource floor map marks coal-face forge line; boss leans Seam-Sealed; can roll Loaded Cache; matches Old Cache; boss has supply-line pressure; surveys public prep supply
🛡️ Guarded secondary map line supports smithing support; boss leans Bastion, Brambleward; can roll Guarded Watch; boss rewards guarded answers
🌑 Deep can roll Black Signal | 👅 Coal Tongue | 🌿 Brambleward
🌲 Ironroot
⛏️ Seam-Sealed
🥁 Countermarch | 🌿 Bramble Choke
🧰 Cache Collapse
📦 Supply Audit | Failing Light 12%
Old Cache 10% | marsh, hazard, reward, tank | accuracy through skills, scout reads, defend timing, inventory space | 10/10 |
| Floor 1, Section Q | 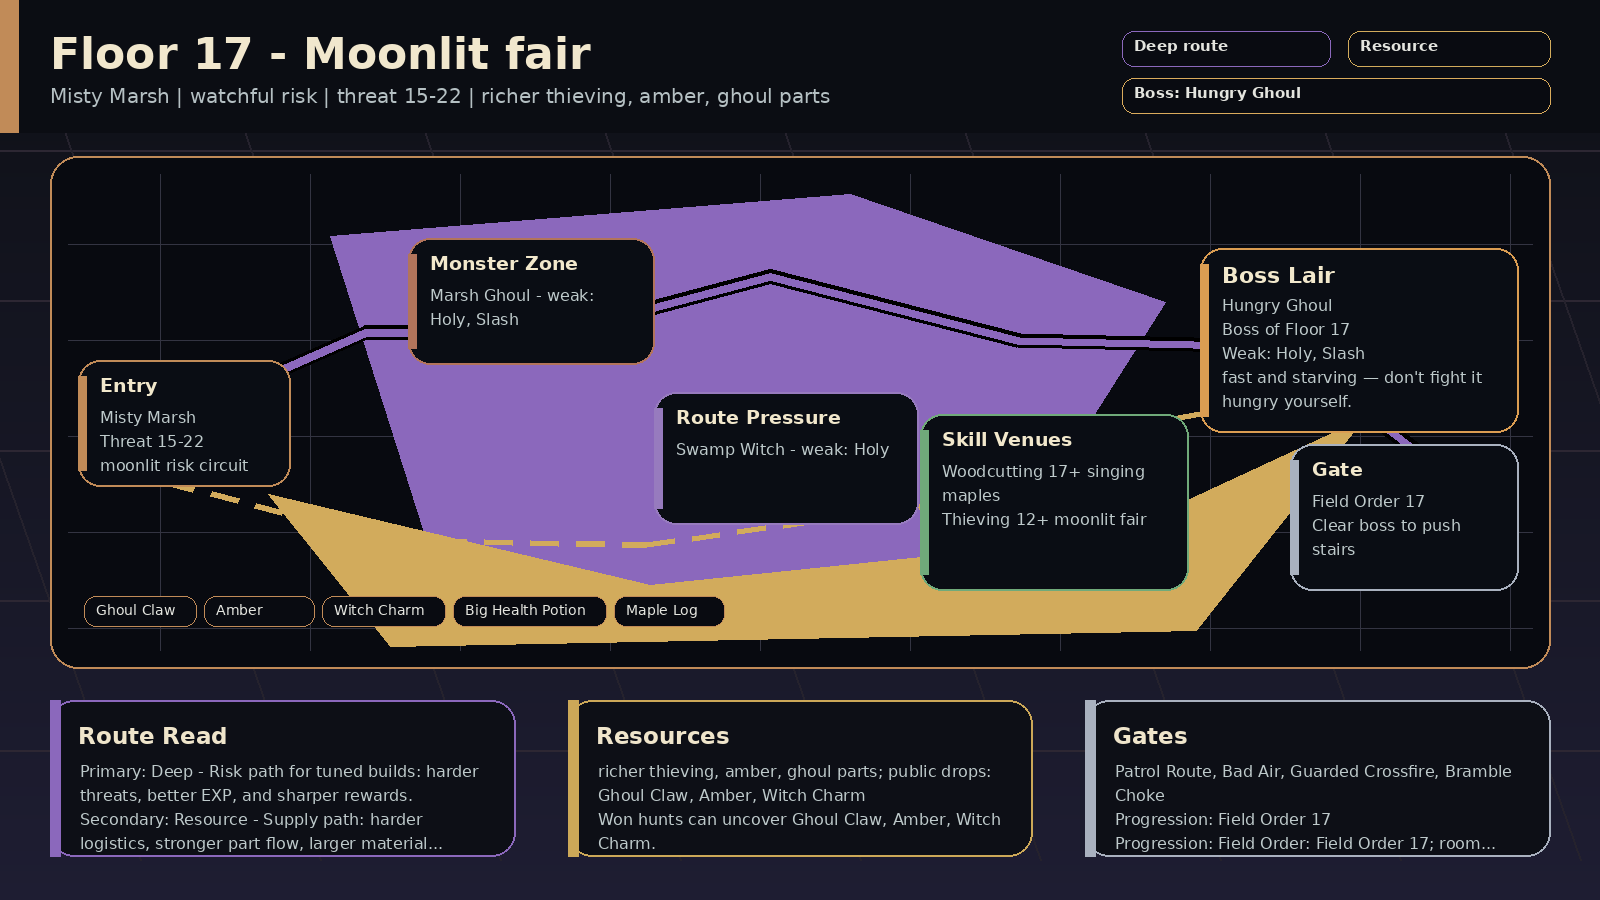 | 🌫️ Wet Ridge | Misty Marsh | Moonlit fair | Payoff: richer thieving, amber, ghoul parts; public drops: Ghoul Claw, Amber, Witch Charm
Prep: Skill prep: Woodcutting 17+, Thieving 12+
Pressure: watchful risk; encounters: Patrol Route, Bad Air; boss: Hungry Ghoul
Route: Route plan: Deep primary for moonlit risk circuit; Resource secondary for thieving and tempo
Progress: Progression: Field Order: Field Order 17; room pressure 60% | Read: Moonlit fair (watchful risk). The fair rewards brave hands and punishes sloppy ones.
Prep: Train Woodcutting, Thieving; prep around thieving and tempo. Field Order: Field Order 17.
Route: Primary Deep: moonlit risk circuit. Secondary Resource: thieving and tempo.
Trade: Supply axis: amber and richer marks. Public demand centers on Ghoul Claw, Amber, Witch Charm, Big Health Potion.
Boss: Hungry Ghoul: Use control on Moonlit Feint, Defend the Ravenous Pounce, and punish the opening after Purse-Line Read with holy, slash, pierce, or dark hits. Boss-room pressure can appear at 60%. | Read: Moonlit fair rewards ✨ holy, 🗡️ slash, 🏹 pierce, 🌑 dark; no dominant mob resist lane stands out. Mob signatures pressure bleed, cleanse check, risk check, tempo check; the boss chart leans ✨ holy, 🗡️ slash, 🏹 pierce.
Damage lanes: weak: holy, slash, pierce, dark
Watch resists: —
Boss chart: weak: holy, slash, pierce, dark
Mob pressure: bleed, cleanse check, risk check, tempo check
Counters: cleanse, holy, slash, control | 15-22 | 🧟 Marsh Ghoul / 🧟 Moonlit Ghoul / 🧙 Swamp Witch | 🧟 Hungry Ghoul | 🌲 the singing maples req 17
🪙 the moonlit fair req 12 | 🦴 Ghoul Claw, 🟠 Amber, 🦴 Witch Charm, 🧪 Big Health Potion, 🧟 Ghoul Tooth, 🪵 Maple Log | 4% on won hunts: 🦴 Ghoul Claw, 🟠 Amber, 🦴 Witch Charm, 🧪 Big Health Potion
Won hunts can uncover Ghoul Claw, Amber, Witch Charm.
Choose this floor for amber and richer marks; trade for the rest. | The fair rewards brave hands and punishes sloppy ones. | — | Field Order 17
win 2x Deep route hunts on Floor 1, Section Q
clear Bad Air on Floor 1, Section Q
win with a spent Deep route plan on Floor 1, Section Q or later
answer boss variant lesson against: Cache Splitter / Quicksilver / Ravenous / Rupturing / Shortfall / Blackwake on Floor 1, Section Q
answer Deep boss-room pressure: Blight Count / Nocturne Refrain / Null Chorus / Split Beat on Floor 1, Section Q
mastery: 🌑 Deep climb pressure read | 🌑 Deep primary: moonlit risk circuit
⛏️ Resource secondary: thieving and tempo
supply: amber and richer marks | 🌑 Deep floor map marks moonlit risk circuit; can roll Black Signal; matches Bad Air
⛏️ Resource secondary map line supports thieving and tempo; boss leans Cache Splitter, Shortfall; can roll Loaded Cache; matches Patrol Route; boss has supply-line pressure; surveys public prep supply
🛡️ Guarded can roll Guarded Watch; boss rewards guarded answers | 🩸 Hungry Swipe | 📦 Cache Splitter
💨 Quicksilver
🦷 Ravenous
🩸 Rupturing | 💧 Blight Count
🌿 Bramble Choke
🎼 Nocturne Refrain | Patrol Route 16%
Bad Air 12% | marsh, patrol, hazard, swift | full HP, correct damage type, escape plan, antidotes | 10/10 |
| Floor 1, Section R | 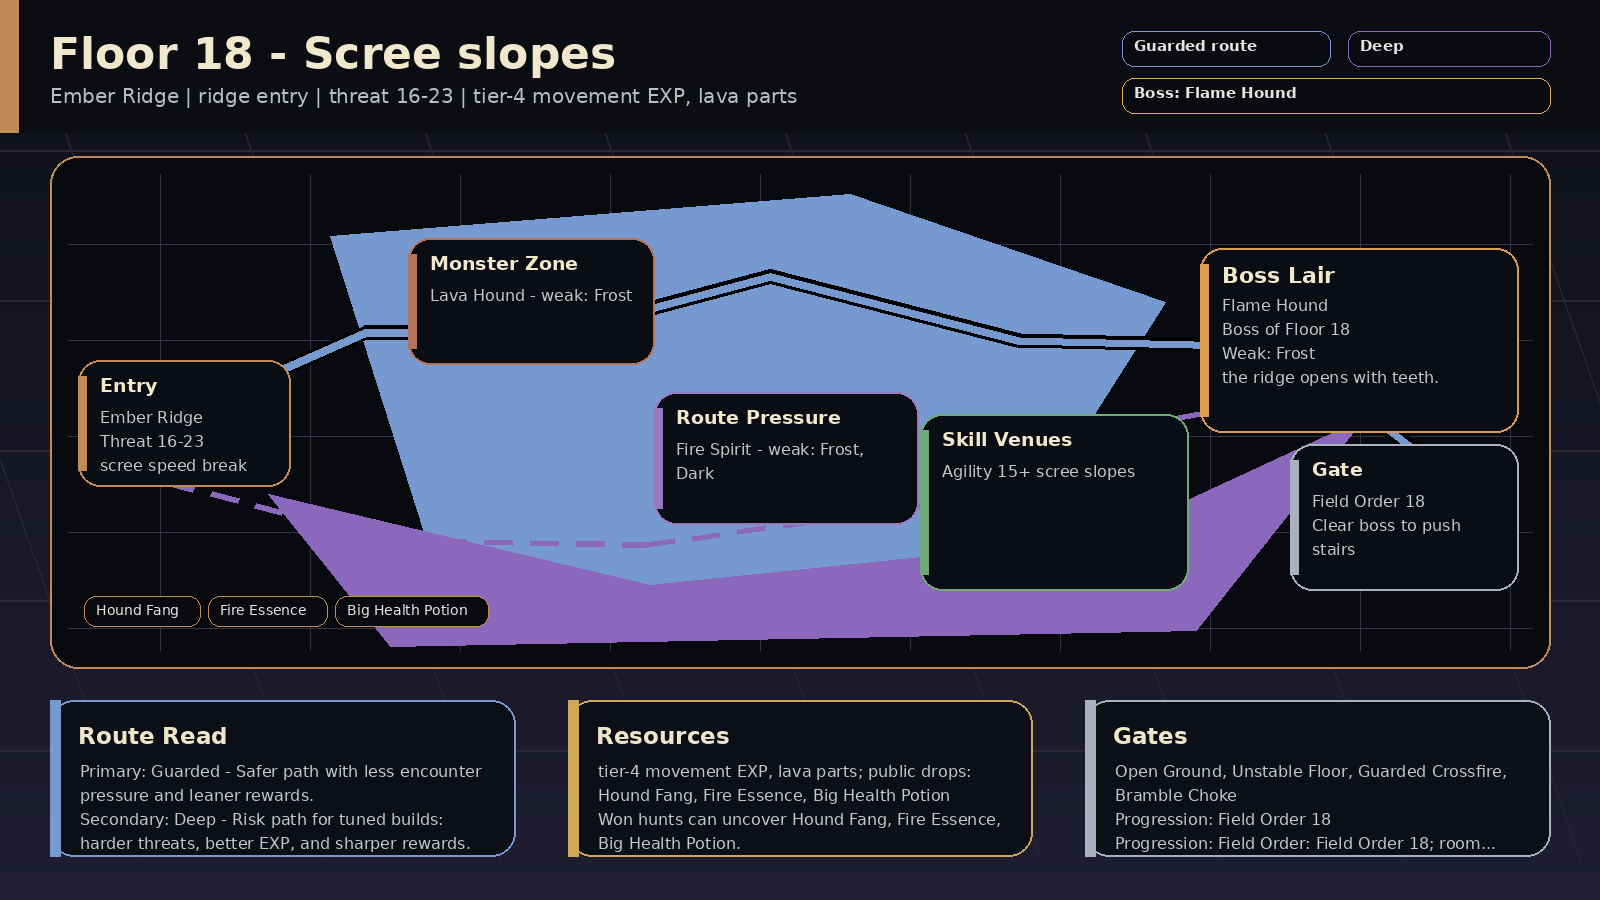 | 🌫️ Wet Ridge | Ember Ridge | Scree slopes | Payoff: tier-4 movement EXP, lava parts; public drops: Hound Fang, Fire Essence, Big Health Potion
Prep: Skill prep: Agility 15+
Pressure: ridge entry; encounters: Open Ground, Narrow Stair; boss: Flame Hound
Route: Route plan: Guarded primary for scree speed break; Deep secondary for agility and fire pressure
Progress: Progression: Field Order: Field Order 18; room pressure 60% | Read: Scree slopes (ridge entry). The ridge opens with speed and fire pressure.
Prep: Train Agility; prep around agility and fire pressure. Field Order: Field Order 18.
Route: Primary Guarded: scree speed break. Secondary Deep: agility and fire pressure.
Trade: Supply axis: lava parts and ridge food. Public demand centers on Hound Fang, Fire Essence, Big Health Potion, Hound Cinder.
Boss: Flame Hound: Use control on Scree Feint, Defend the Pouncing Break, and hit back with frost, pierce, blunt, or dark. Boss-room pressure can appear at 60%. | Read: Scree slopes rewards ❄️ frost, 🏹 pierce, 🔨 blunt, 🌑 dark; avoid relying only on 🔥 fire. Mob signatures pressure damage, burn, cleanse check, slow; the boss chart leans ❄️ frost, 🏹 pierce, 🔨 blunt.
Damage lanes: weak: frost, pierce, blunt, dark
Watch resists: resists: fire
Boss chart: weak: frost, pierce, blunt, dark
resists: fire
Mob pressure: damage, burn, cleanse check, slow
Counters: cleanse, frost, speed control, control | 16-23 | 🔥 Lava Hound / 🐕 Scree Hound / 🎇 Fire Spirit | 🔥 Flame Hound | 🏃 the scree slopes req 15 | 🦴 Hound Fang, 🦴 Fire Essence, 🧪 Big Health Potion, 🔥 Hound Cinder, 🫙 Glass Vial | 4% on won hunts: 🦴 Hound Fang, 🦴 Fire Essence, 🧪 Big Health Potion, 🔥 Hound Cinder
Won hunts can uncover Hound Fang, Fire Essence, Big Health Potion.
Choose this floor for lava parts and ridge food; trade for the rest. | The ridge opens with speed and fire pressure. | — | Field Order 18
win 2x Guarded route hunts on Floor 1, Section R
clear Open Ground on Floor 1, Section R
win with a spent Guarded route plan on Floor 1, Section R or later
answer boss variant lesson against: Linebreaker / Storm Guard / Tempo-Locked / Dreadmark / Gravecaller / Scorched / Sentinel / Rampart on Floor 1, Section R
answer Guarded boss-room pressure: Bramble Choke / Breaker Window / Guarded Crossfire / Null Chorus on Floor 1, Section R
mastery: 🛡️ Guarded climb pressure read | 🛡️ Guarded primary: scree speed break
🌑 Deep secondary: agility and fire pressure
supply: lava parts and ridge food | 🛡️ Guarded floor map marks scree speed break; can roll Guarded Watch; boss rewards guarded answers
🌑 Deep secondary map line supports agility and fire pressure; boss leans Dreadmark, Gravecaller; can roll Black Signal
⛏️ Resource can roll Loaded Cache; boss has supply-line pressure; surveys public prep supply | 🔥 Flame Hound Strike | ⛈️ Storm Guard
⏱️ Tempo-Locked
🌑 Dreadmark
🕯️ Gravecaller | ⏱️ Split Beat
💧 Blight Count
🌿 Bramble Choke | Open Ground 18%
Narrow Stair 14% | ridge, terrain, swift, mystic | speed control, stamina planning, opening burst, positioning | 10/10 |
| Floor 1, Section S | 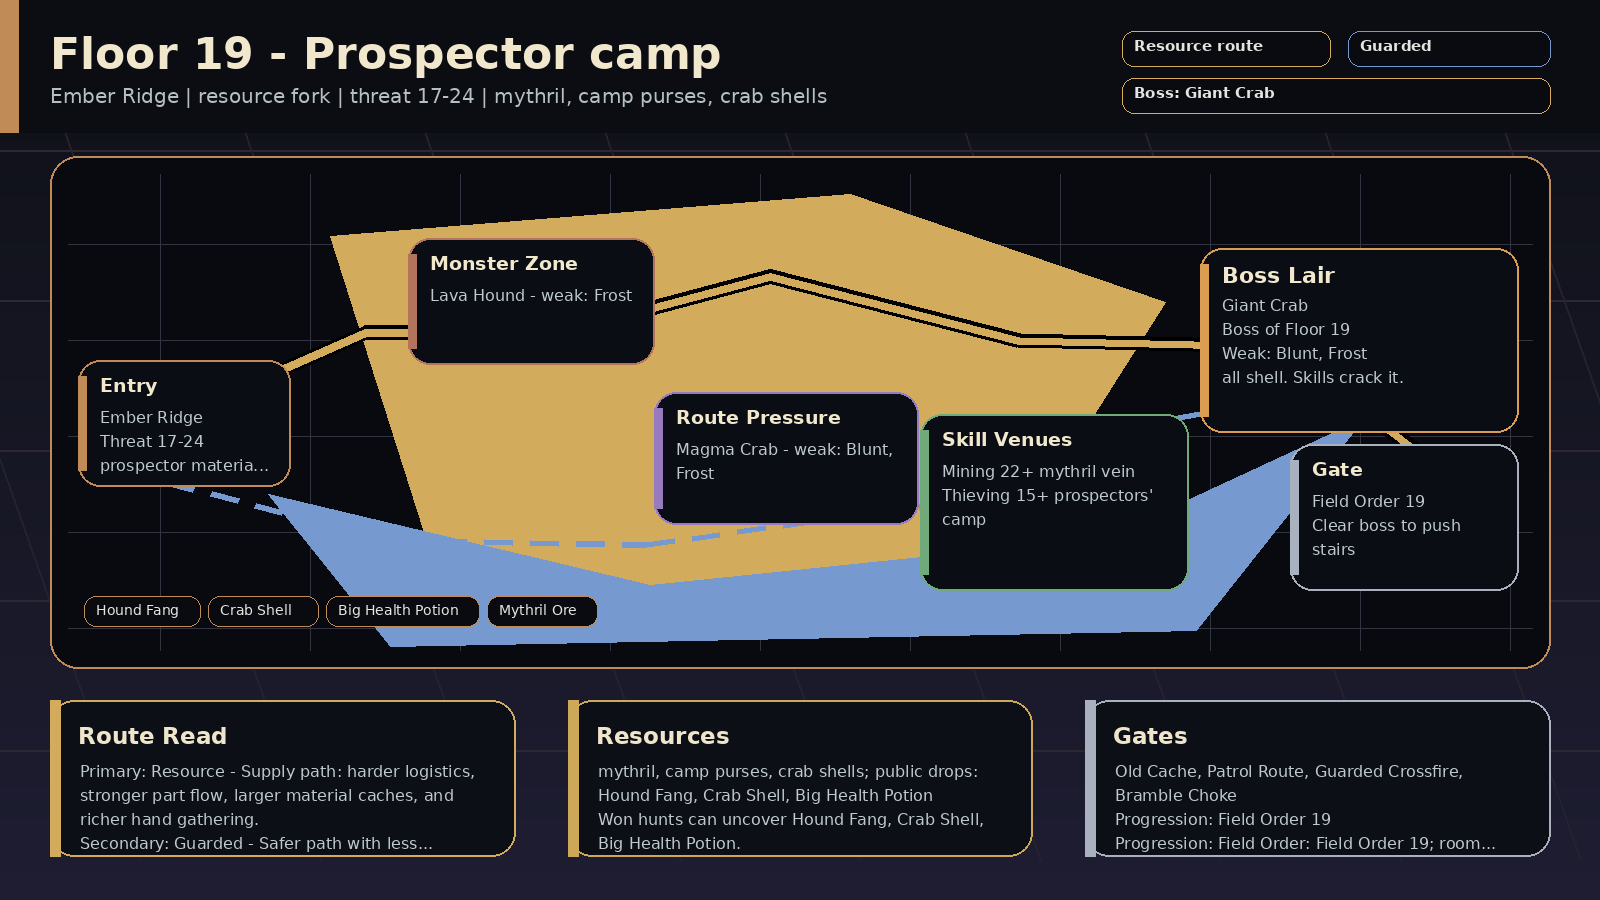 | 🌫️ Wet Ridge | Ember Ridge | Prospector camp | Payoff: mythril, camp purses, crab shells; public drops: Hound Fang, Crab Shell, Big Health Potion
Prep: Skill prep: Mining 22+, Thieving 15+
Pressure: resource fork; encounters: Old Cache, Patrol Route; boss: Giant Crab
Route: Route plan: Resource primary for prospector material fork; Guarded secondary for mining and thieving
Progress: Progression: Field Order: Field Order 19; room pressure 60% | Read: Prospector camp (resource fork). Prospectors make materials and thieving collide.
Prep: Train Mining, Thieving; prep around mining and thieving. Field Order: Field Order 19.
Route: Primary Resource: prospector material fork. Secondary Guarded: mining and thieving.
Trade: Supply axis: mythril, coal, crab shells. Public demand centers on Hound Fang, Crab Shell, Big Health Potion, Crab Claw.
Boss: Giant Crab: Defend the Crushing Guard, hit hard when Cache-Line Read opens the shell, and crack it with blunt, frost, pierce, or dark hits. Boss-room pressure can appear at 60%. | Read: Prospector camp rewards ❄️ frost, 🏹 pierce, 🔨 blunt, 🌑 dark; avoid relying only on 🔥 fire. Mob signatures pressure damage, burn, cleanse check, resource check; the boss chart leans 🔨 blunt, ❄️ frost, 🏹 pierce.
Damage lanes: weak: frost, pierce, blunt, dark
Watch resists: resists: fire
Boss chart: weak: blunt, frost, pierce, dark
Mob pressure: damage, burn, cleanse check, resource check
Counters: tools, blunt, pierce, burst | 17-24 | 🔥 Lava Hound / 🦀 Oreback Crab / 🦀 Magma Crab | 🦀 Giant Crab | ⛏️ the mythril vein req 22
🪙 the prospectors' camp req 15 | 🦴 Hound Fang, 🦴 Crab Shell, 🧪 Big Health Potion, 🦀 Crab Claw, 🪨 Coal, 🪨 Mythril Ore | 4% on won hunts: 🦴 Hound Fang, 🦴 Crab Shell, 🧪 Big Health Potion, 🦀 Crab Claw
Won hunts can uncover Hound Fang, Crab Shell, Big Health Potion.
Choose this floor for mythril, coal, crab shells; trade for the rest. | Prospectors make materials and thieving collide. | — | Field Order 19
win 2x Resource route hunts on Floor 1, Section S
clear Old Cache on Floor 1, Section S
recover Resource supply for Hound Fang / Coal / Mythril Ore on Floor 1, Section S
win with a spent Supply Contract on Floor 1, Section S or later
answer boss variant lesson against: Cachebound / Orebound / Scrap-Fused / Seam-Sealed / Cache Splitter / Shortfall / Relay-Bound / Ironroot on Floor 1, Section S
mastery: ⛏️ Resource climb pressure read | ⛏️ Resource primary: prospector material fork
🛡️ Guarded secondary: mining and thieving
supply: mythril, coal, crab shells | ⛏️ Resource floor map marks prospector material fork; boss leans Cachebound, Cache Splitter; can roll Loaded Cache; matches Old Cache, Patrol Route; boss has supply-line pressure; surveys public prep supply
🛡️ Guarded secondary map line supports mining and thieving; can roll Guarded Watch; boss rewards guarded answers
🌑 Deep can roll Black Signal | 🦀 Giant Crab Strike | 📦 Cache Splitter
📦 Cachebound
🧾 Shortfall
🌲 Ironroot | 🌿 Bramble Choke
📦 Supply Audit
📒 Toll Audit | Old Cache 10%
Patrol Route 16% | ridge, reward, patrol, swift | inventory space, trade routes, gathering tools, full HP | 10/10 |
| Floor 1, Section T | 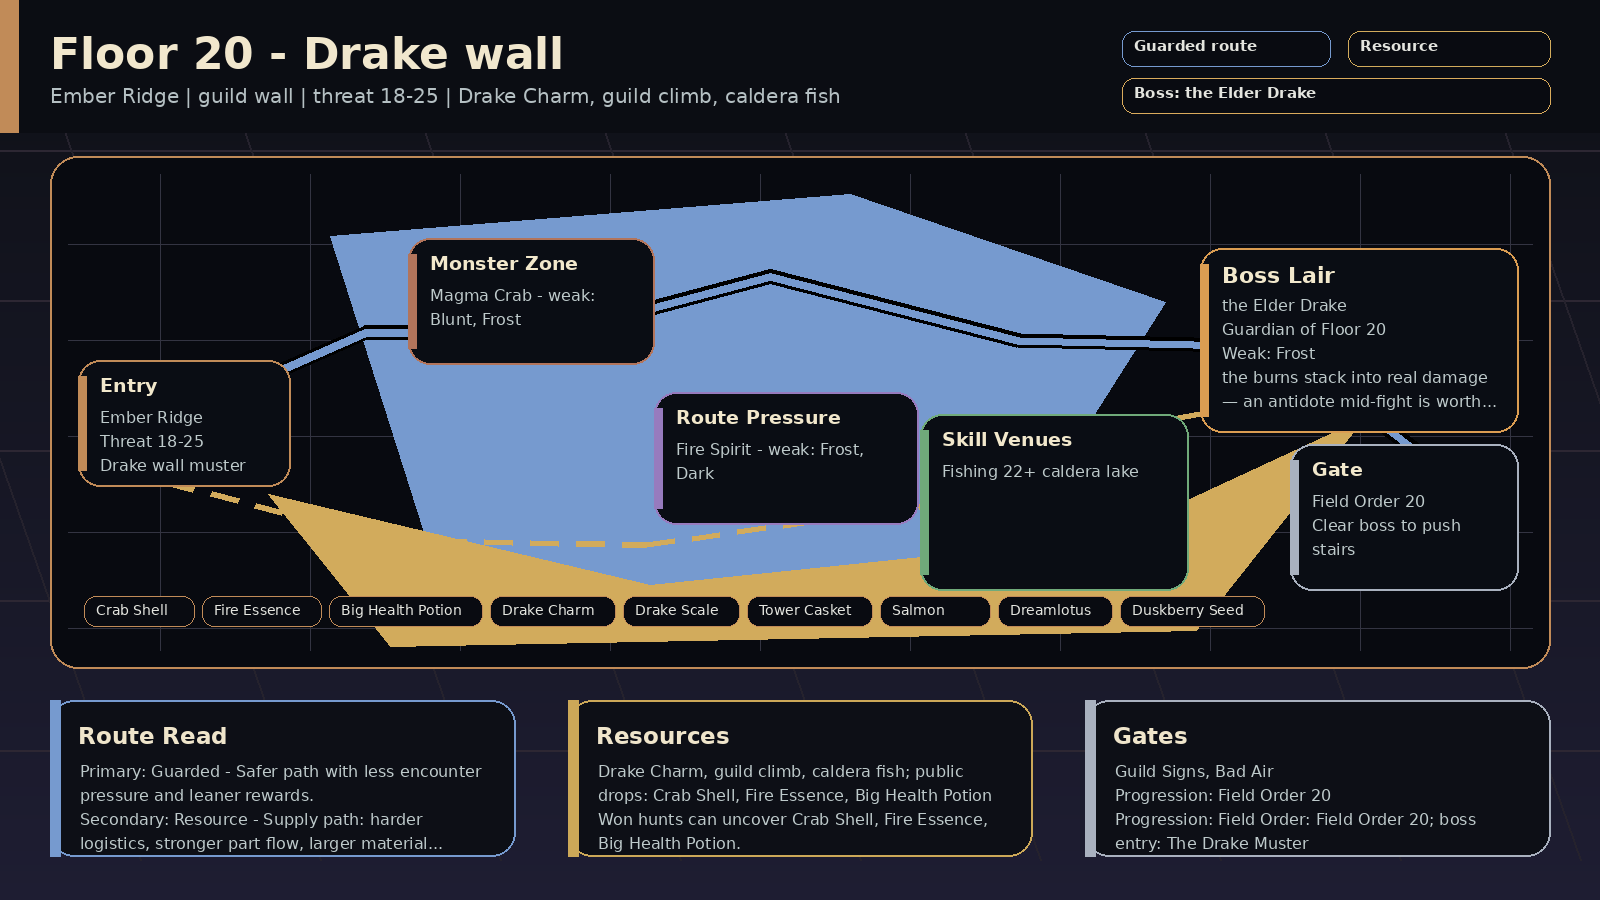 | 🌫️ Wet Ridge | Ember Ridge | Drake wall | Payoff: Drake Charm, guild climb, caldera fish; public drops: Drake Scale, Crab Shell, Fire Essence
Prep: Skill prep: Fishing 22+
Pressure: guild wall; encounters: Guild Signs, Bad Air; boss: the Elder Drake
Route: Route plan: Guarded primary for Drake wall muster; Resource secondary for guild supply discipline
Progress: Progression: Field Order: Field Order 20; boss entry: The Drake Muster | Read: Drake wall (guild wall). The Elder Drake is tuned for crews, but a solo kill still counts.
Prep: Train Fishing; prep around guild supply discipline. Field Order: Field Order 20.
Route: Primary Guarded: Drake wall muster. Secondary Resource: guild supply discipline.
Trade: Supply axis: Drake Charm and caldera fish. Public demand centers on Drake Scale, Crab Shell, Fire Essence, Big Health Potion.
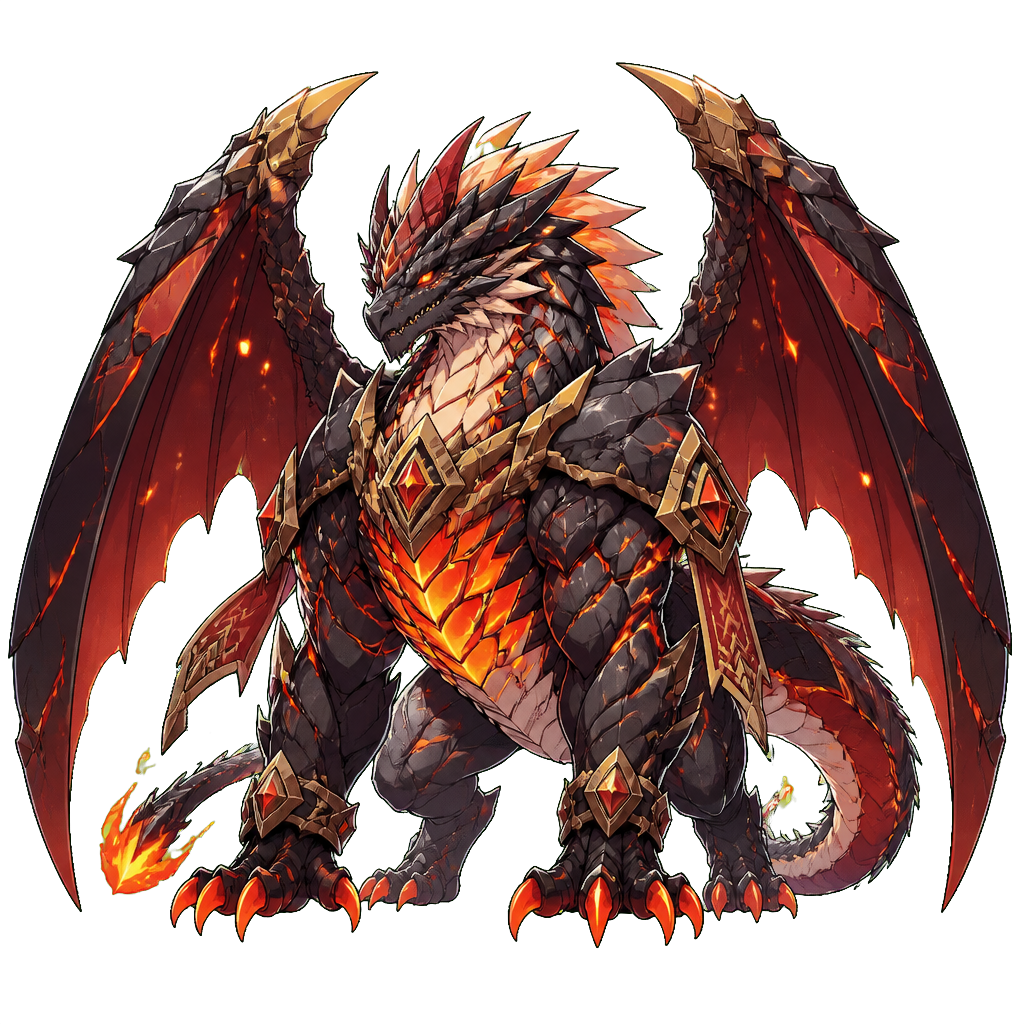
Boss: the Elder Drake: The burns stack into real damage — an antidote mid-fight is worth a turn. | Read: Drake wall rewards ❄️ frost, 🏹 pierce, 🔨 blunt, 🌑 dark; avoid relying only on 🔥 fire, 🗡️ slash. Mob signatures pressure defense guard, burn, telegraph, damage; the boss chart leans ❄️ frost.
Damage lanes: weak: frost, pierce, blunt, dark
Watch resists: resists: fire, slash
Boss chart: weak: frost
resists: fire
Mob pressure: defense guard, burn, telegraph, damage
Counters: defend, cleanse, frost, pierce | 18-25 | 🐲 Wall Drakeling / 🦀 Magma Crab / 🎇 Fire Spirit | 🐉 the Elder Drake | 🎣 the caldera lake req 22 | 🦴 Drake Scale, 🦴 Crab Shell, 🦴 Fire Essence, 🧪 Big Health Potion, 🐉 Drake Charm, 🎁 Tower Casket, 🐟 Salmon, 🪷 Dreamlotus | 4% on won hunts: 🦴 Drake Scale, 🦴 Crab Shell, 🦴 Fire Essence, 🧪 Big Health Potion
Won hunts can uncover Drake Scale, Crab Shell, Fire Essence.
Choose this floor for Drake Charm and caldera fish; trade for the rest. | The Elder Drake is tuned for crews, but a solo kill still counts. | — | Field Order 20
win 2x Guarded route hunts on Floor 1, Section T
clear Guild Signs on Floor 1, Section T
defeat the Elder Drake | 🛡️ Guarded primary: Drake wall muster
⛏️ Resource secondary: guild supply discipline
supply: Drake Charm and caldera fish | 🛡️ Guarded floor map marks Drake wall muster; can roll Guarded Watch; matches Guild Signs; safer prep before a set-piece floor; boss rewards guarded answers
⛏️ Resource secondary map line supports guild supply discipline; can roll Loaded Cache; matches Guild Signs; surveys public prep supply; helps the next stair's logistics
🌑 Deep can roll Black Signal; matches Bad Air | 🐾 Claw | 🧱 Linebreaker
🪖 Musterwarden
🛡️ Shieldwall
🧾 Supplywright | — | Guild Signs 8%
Bad Air 12% | ridge, social, hazard, tank | guild board, trade prep, shared farming, antidotes | 10/10 |
| Floor 1, Section U | 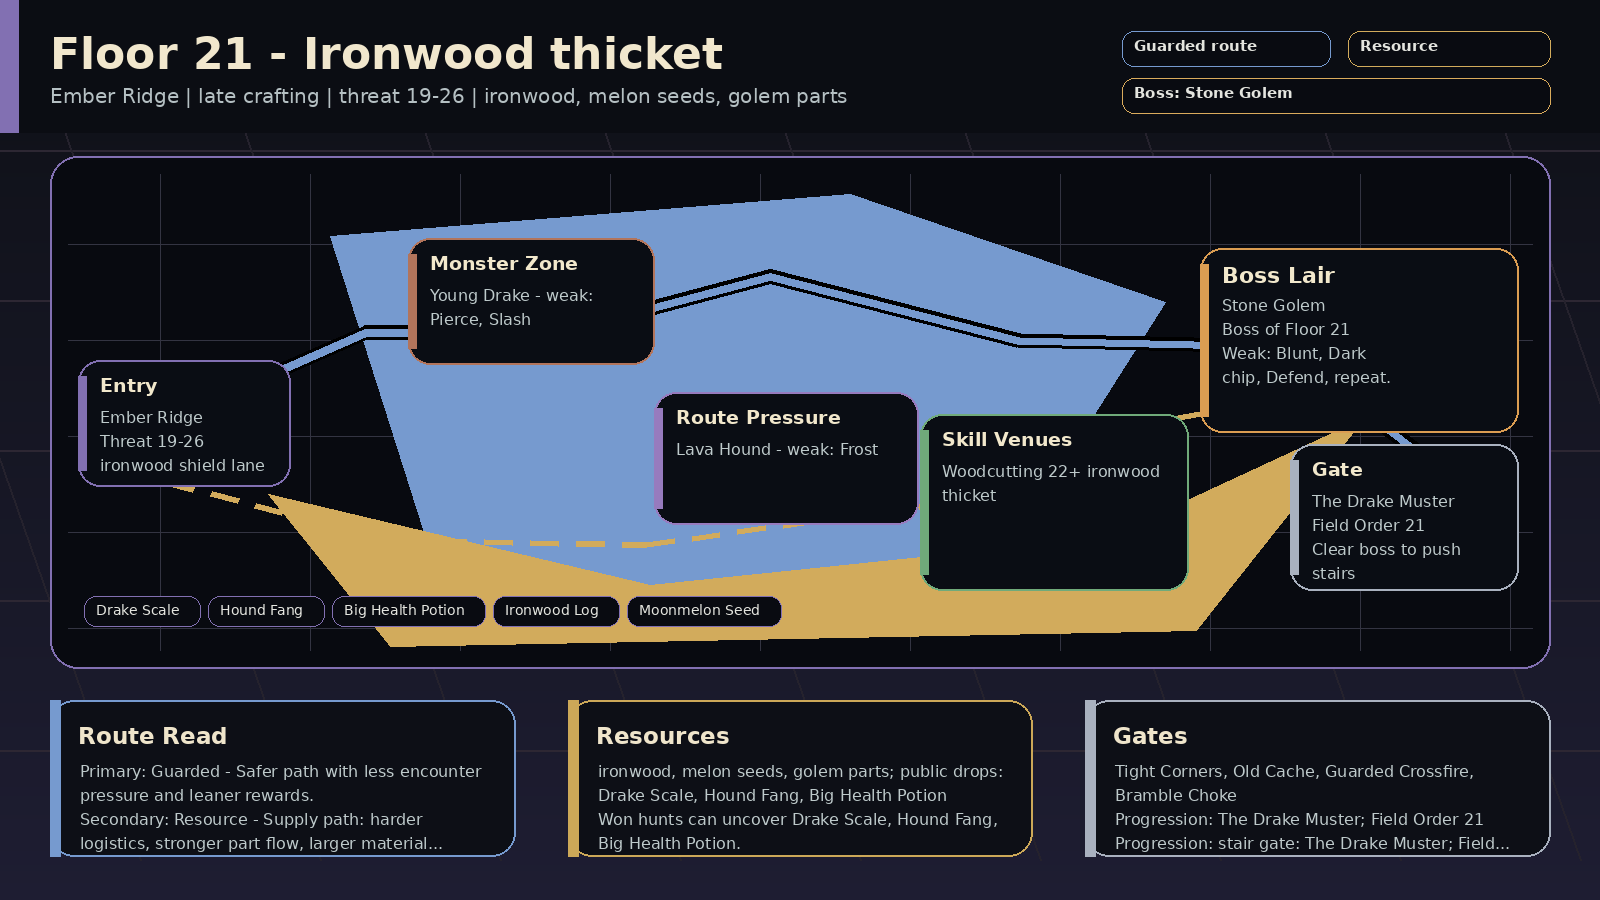 | 🌑 Emberdark | Ember Ridge | Ironwood thicket | Payoff: ironwood, melon seeds, golem parts; public drops: Molten Core, Gemstone, Drake Scale
Prep: Skill prep: Woodcutting 22+
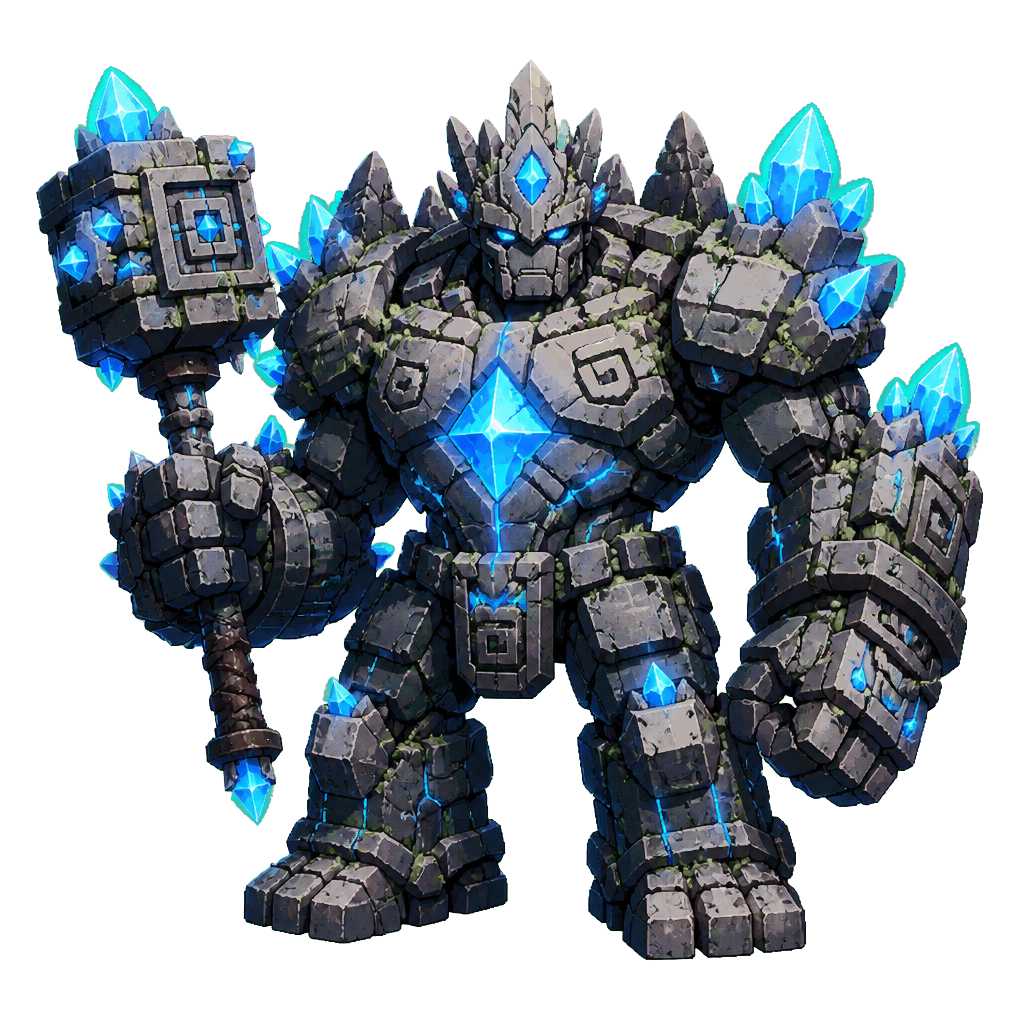
Pressure: late crafting; encounters: Old Cache, Old Wards; boss: Stone Golem
Route: Route plan: Guarded primary for ironwood shield lane; Resource secondary for woodcutting and Steel handles
Progress: Progression: stair gate: The Drake Muster; Field Order: Field Order 21; room pressure 75% | Read: Ironwood thicket (late crafting). The ridge starts feeding Steel-era handles.
Prep: Train Woodcutting; prep around woodcutting and Steel handles. Stair gate: The Drake Muster.
Route: Primary Guarded: ironwood shield lane. Secondary Resource: woodcutting and Steel handles.
Trade: Supply axis: ironwood and golem parts. Public demand centers on Molten Core, Gemstone, Drake Scale, Hound Fang.
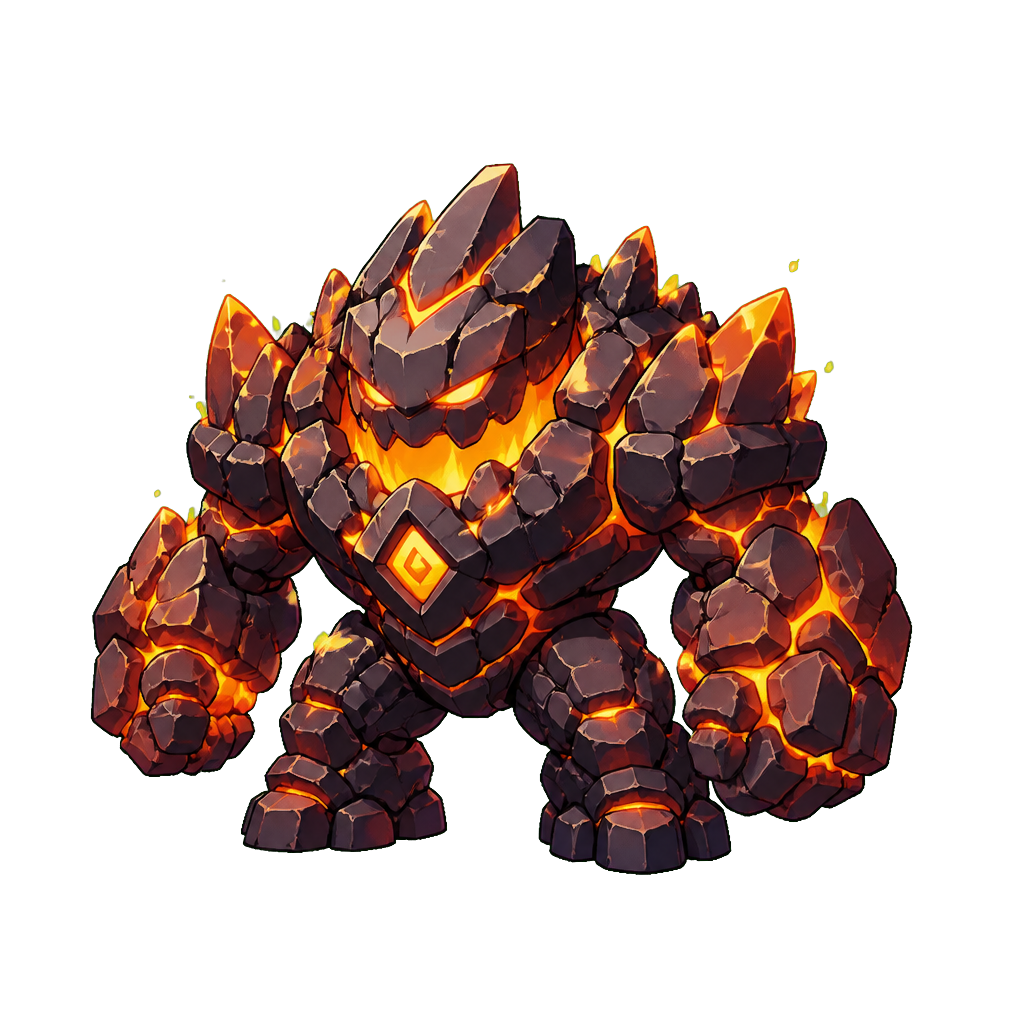
Boss: Stone Golem: Defend the Crushing Guard, use control on Shield-Lane Read, and crack the stone with blunt, dark, frost, or pierce hits. Boss-room pressure can appear at 75%. | Read: Ironwood thicket rewards 🔨 blunt, 🌑 dark, ❄️ frost, 🏹 pierce; avoid relying only on 🔥 fire. Mob signatures pressure defense guard, ward check, slow, damage; the boss chart leans 🔨 blunt, 🌑 dark, ❄️ frost.
Damage lanes: weak: blunt, dark, frost, pierce, slash
Watch resists: resists: fire
Boss chart: weak: blunt, dark, frost, pierce
resists: slash
Mob pressure: defense guard, ward check, slow, damage
Counters: blunt, pierce, control, defend | 19-26 | 🗿 Ironroot Golem / 🐉 Young Drake / 🔥 Lava Hound | 🗿 Stone Golem | 🌲 the ironwood thicket req 22 | 🦴 Molten Core, 💎 Gemstone, 🦴 Drake Scale, 🦴 Hound Fang, 🧪 Big Health Potion, 🗿 Golem Heartstone, 🪵 Ironwood Log, 🌱 Moonmelon Seed | 4% on won hunts: 🦴 Molten Core, 💎 Gemstone, 🦴 Drake Scale, 🦴 Hound Fang
Won hunts can uncover Molten Core, Gemstone, Drake Scale.
Choose this floor for ironwood and golem parts; trade for the rest. | The ridge starts feeding Steel-era handles. | The Drake Muster
deliver 3x Steel Bar
have Drakescale Salve
have one of Steel Pickaxe / Steel Felling Axe / Maple Rod
win 2x Guarded route hunts on Floor 1, Section R or later | Field Order 21
win 2x Guarded route hunts on Floor 1, Section U
clear Old Cache on Floor 1, Section U
win with a spent Guarded route plan on Floor 1, Section U or later
answer boss variant lesson against: Shieldwall / Countermarch / Formation Lock / Wardbreaker / Holdfast / Ironroot / Reclaimer / Sentinel on Floor 1, Section U
answer Guarded boss-room pressure: Bramble Choke / Breaker Window / Guarded Crossfire / Null Chorus on Floor 1, Section U
mastery: 🛡️ Guarded climb pressure read | 🛡️ Guarded primary: ironwood shield lane
⛏️ Resource secondary: woodcutting and Steel handles
supply: ironwood and golem parts | 🛡️ Guarded floor map marks ironwood shield lane; boss leans Countermarch, Formation Lock; can roll Guarded Watch; boss rewards guarded answers
⛏️ Resource secondary map line supports woodcutting and Steel handles; boss leans Reclaimer; can roll Loaded Cache; matches Old Cache; surveys public prep supply
🌑 Deep can roll Black Signal; higher-risk EXP pressure is online; boss tests tempo or cleanse | 🗿 Stone Golem Strike | 🌲 Ironroot
🛠️ Reclaimer
🥁 Countermarch
🧷 Formation Lock | 🌿 Bramble Choke
📦 Supply Audit
📒 Toll Audit | Old Cache 10%
Old Wards 10% | ridge, reward, mystery, tank | inventory space, trade routes, gathering tools, cleanse skills | 10/10 |
| Floor 1, Section V | 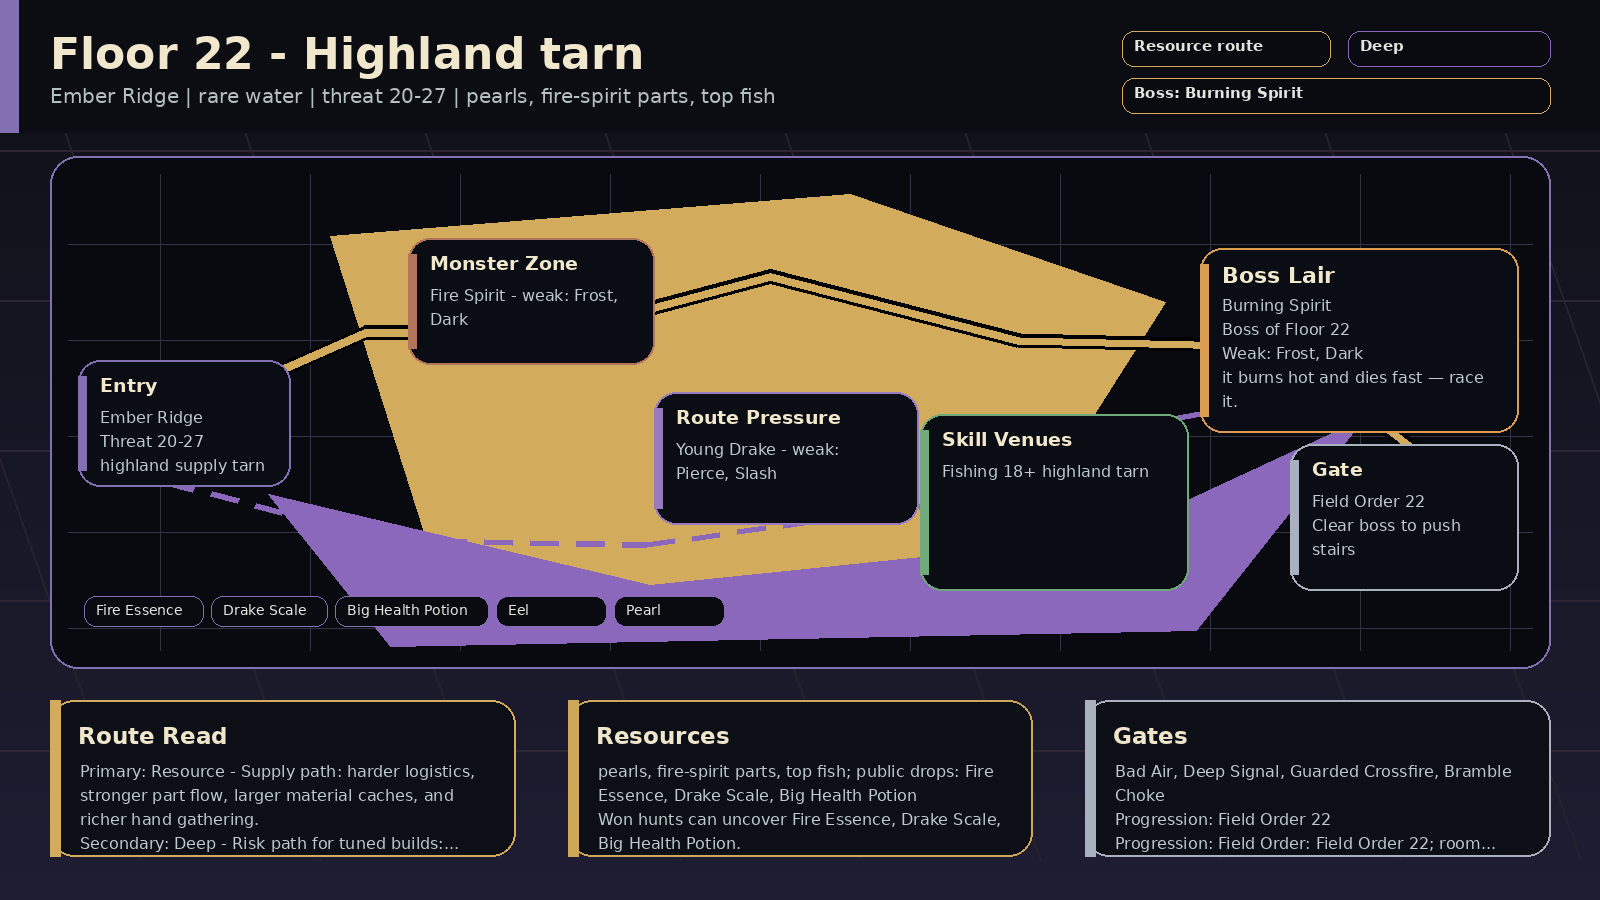 | 🌑 Emberdark | Ember Ridge | Highland tarn | Payoff: pearls, fire-spirit parts, top fish; public drops: Fire Essence, Drake Scale, Big Health Potion
Prep: Skill prep: Fishing 18+
Pressure: rare water; encounters: Failing Light, Market Caravan; boss: Burning Spirit
Route: Route plan: Resource primary for highland supply tarn; Deep secondary for fishing and fire-spirit planning
Progress: Progression: Field Order: Field Order 22; room pressure 75% | Read: Highland tarn (rare water). Cold water and fire enemies make a planning floor.
Prep: Train Fishing; prep around fishing and fire-spirit planning. Field Order: Field Order 22.
Route: Primary Resource: highland supply tarn. Secondary Deep: fishing and fire-spirit planning.
Trade: Supply axis: pearls and rare water. Public demand centers on Fire Essence, Drake Scale, Big Health Potion, Spirit Ember.
Boss: Burning Spirit: Cleanse the burn and the curse, Defend the Ritual Burst, and use frost or dark hits. Boss-room pressure can appear at 75%. | Read: Highland tarn rewards ❄️ frost, 🌑 dark, 🏹 pierce, 🔨 blunt; no dominant mob resist lane stands out. Mob signatures pressure burn, cleanse check, damage down, damage; the boss chart leans ❄️ frost, 🌑 dark.
Damage lanes: weak: frost, dark, pierce, blunt, slash
Watch resists: —
Boss chart: weak: frost, dark
Mob pressure: burn, cleanse check, damage down, damage
Counters: cleanse, frost, dark, burst | 20-27 | 🎇 Fire Spirit / 🎇 Tarn Wisp / 🐉 Young Drake | 🎇 Burning Spirit | 🎣 the highland tarn req 18 | 🦴 Fire Essence, 🦴 Drake Scale, 🧪 Big Health Potion, 🎇 Spirit Ember, 🪨 Coal, 🐟 Eel, ⚪ Pearl | 4% on won hunts: 🦴 Fire Essence, 🦴 Drake Scale, 🧪 Big Health Potion, 🎇 Spirit Ember
Won hunts can uncover Fire Essence, Drake Scale, Big Health Potion.
Choose this floor for pearls and rare water; trade for the rest. | Cold water and fire enemies make a planning floor. | — | Field Order 22
win 2x Resource route hunts on Floor 1, Section V
clear Failing Light on Floor 1, Section V
recover Resource supply for Fire Essence / Drake Scale / Coal on Floor 1, Section V
win with a spent Supply Contract on Floor 1, Section V or later
answer boss variant lesson against: Tithe-Keeper / Ledgermaw / Blight Ledger / Supply-Locked / Supply Matrix / Toll-Ledger / Relay-Bound / Dreadmark on Floor 1, Section V
mastery: ⛏️ Resource climb pressure read | ⛏️ Resource primary: highland supply tarn
🌑 Deep secondary: fishing and fire-spirit planning
supply: pearls and rare water | ⛏️ Resource floor map marks highland supply tarn; boss leans Blight Ledger, Supply Matrix; can roll Loaded Cache; boss has supply-line pressure; surveys public prep supply
🌑 Deep secondary map line supports fishing and fire-spirit planning; boss leans Blight Ledger, Dreadmark; can roll Black Signal; higher-risk EXP pressure is online; boss tests tempo or cleanse
🛡️ Guarded can roll Guarded Watch; boss rewards guarded answers | 🎇 Burning Spirit Strike | 💧 Blight Ledger
🌑 Dreadmark
🌘 Eclipse
🕯️ Gravecaller | 💧 Blight Count
🌿 Bramble Choke
🛡️ Guarded Crossfire | Failing Light 12%
Market Caravan 10% | ridge, hazard, reward, mystic | accuracy through skills, scout reads, defend timing, inventory space | 10/10 |
| Floor 1, Section W | 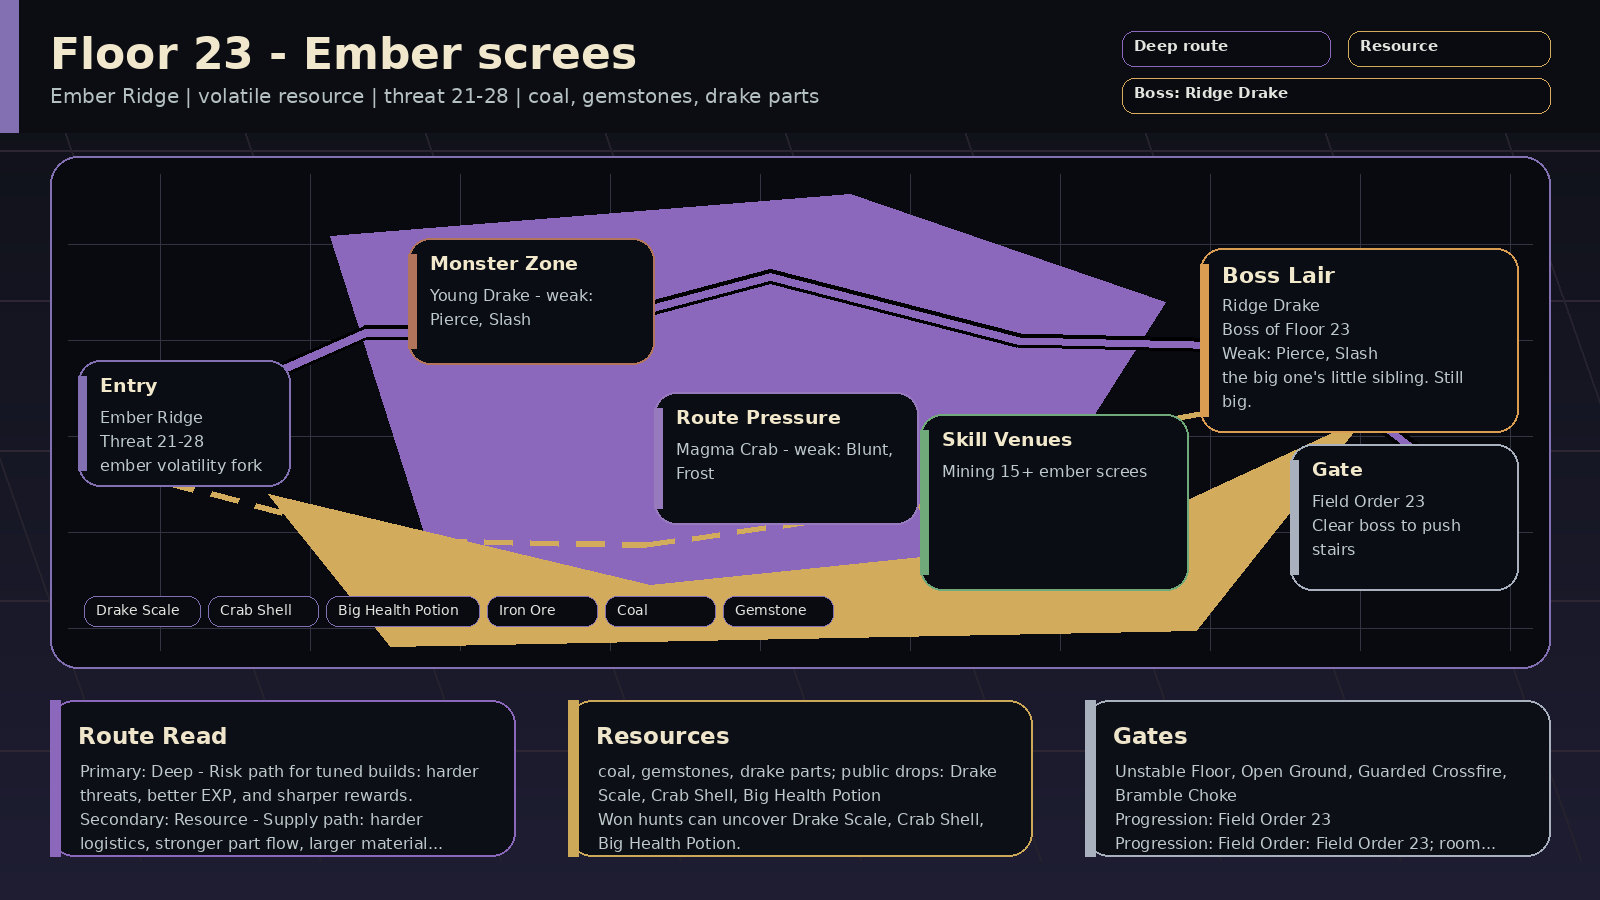 | 🌑 Emberdark | Ember Ridge | Ember screes | Payoff: coal, gemstones, drake parts; public drops: Drake Scale, Crab Shell, Big Health Potion
Prep: Skill prep: Mining 15+
Pressure: volatile resource; encounters: Market Caravan, Unstable Floor; boss: Ridge Drake
Route: Route plan: Deep primary for ember volatility fork; Resource secondary for mining and heat control
Progress: Progression: Field Order: Field Order 23; room pressure 75% | Read: Ember screes (volatile resource). Vessa's screes reward careful gathering routes.
Prep: Train Mining; prep around mining and heat control. Field Order: Field Order 23.
Route: Primary Deep: ember volatility fork. Secondary Resource: mining and heat control.
Trade: Supply axis: coal, gemstones, drake parts. Public demand centers on Drake Scale, Crab Shell, Big Health Potion, Drake Horn.
Boss: Ridge Drake: Defend the Brutal Overhand, punish the opening after Gemline Read, and hit with pierce, slash, frost, nature, or blunt. Boss-room pressure can appear at 75%. | Read: Ember screes rewards 🏹 pierce, 🗡️ slash, ❄️ frost, 🌿 nature; avoid relying only on 🔥 fire. Mob signatures pressure burn, resource check, armor break, damage; the boss chart leans 🏹 pierce, 🗡️ slash, ❄️ frost.
Damage lanes: weak: pierce, slash, frost, nature, blunt, dark
Watch resists: resists: fire
Boss chart: weak: pierce, slash, frost, nature, blunt
Mob pressure: burn, resource check, armor break, damage
Counters: cleanse, frost, pierce, nature | 21-28 | 🐉 Scree Drake / 🐉 Young Drake / 🦀 Magma Crab | 🐉 Ridge Drake | ⛏️ the ember screes req 15 | 🦴 Drake Scale, 🦴 Crab Shell, 🧪 Big Health Potion, 🐉 Drake Horn, 🪨 Iron Ore, 🪨 Coal, 💎 Gemstone | 4% on won hunts: 🦴 Drake Scale, 🦴 Crab Shell, 🧪 Big Health Potion, 🐉 Drake Horn
Won hunts can uncover Drake Scale, Crab Shell, Big Health Potion.
Choose this floor for coal, gemstones, drake parts; trade for the rest. | Vessa's screes reward careful gathering routes. | — | Field Order 23
win 2x Deep route hunts on Floor 1, Section W
clear Unstable Floor on Floor 1, Section W
win with a spent Deep route plan on Floor 1, Section W or later
answer boss variant lesson against: Blackwake / Gravecaller / Dreadmark / Omen Mirror / Executioner / Formation Lock / Eclipse / Dark Rift on Floor 1, Section W
answer Deep boss-room pressure: Nocturne Refrain / Split Beat / Blight Count / Null Chorus on Floor 1, Section W
mastery: 🌑 Deep climb pressure read | 🌑 Deep primary: ember volatility fork
⛏️ Resource secondary: mining and heat control
supply: coal, gemstones, drake parts | 🌑 Deep floor map marks ember volatility fork; boss leans Dreadmark, Gravecaller; can roll Black Signal; matches Unstable Floor; higher-risk EXP pressure is online; boss tests tempo or cleanse
⛏️ Resource secondary map line supports mining and heat control; can roll Loaded Cache; boss has supply-line pressure; surveys public prep supply
🛡️ Guarded boss leans Formation Lock, Linebreaker; can roll Guarded Watch; boss rewards guarded answers | 🐉 Ridge Drake Strike | 🌑 Dreadmark
🕯️ Gravecaller
🪞 Omen Mirror
💀 Executioner | 🧰 Cache Collapse
🎼 Nocturne Refrain
⏱️ Split Beat | Market Caravan 10%
Unstable Floor 12% | ridge, reward, hazard, brute | inventory space, trade routes, escape plan, accuracy through skills | 10/10 |
| Floor 1, Section X | 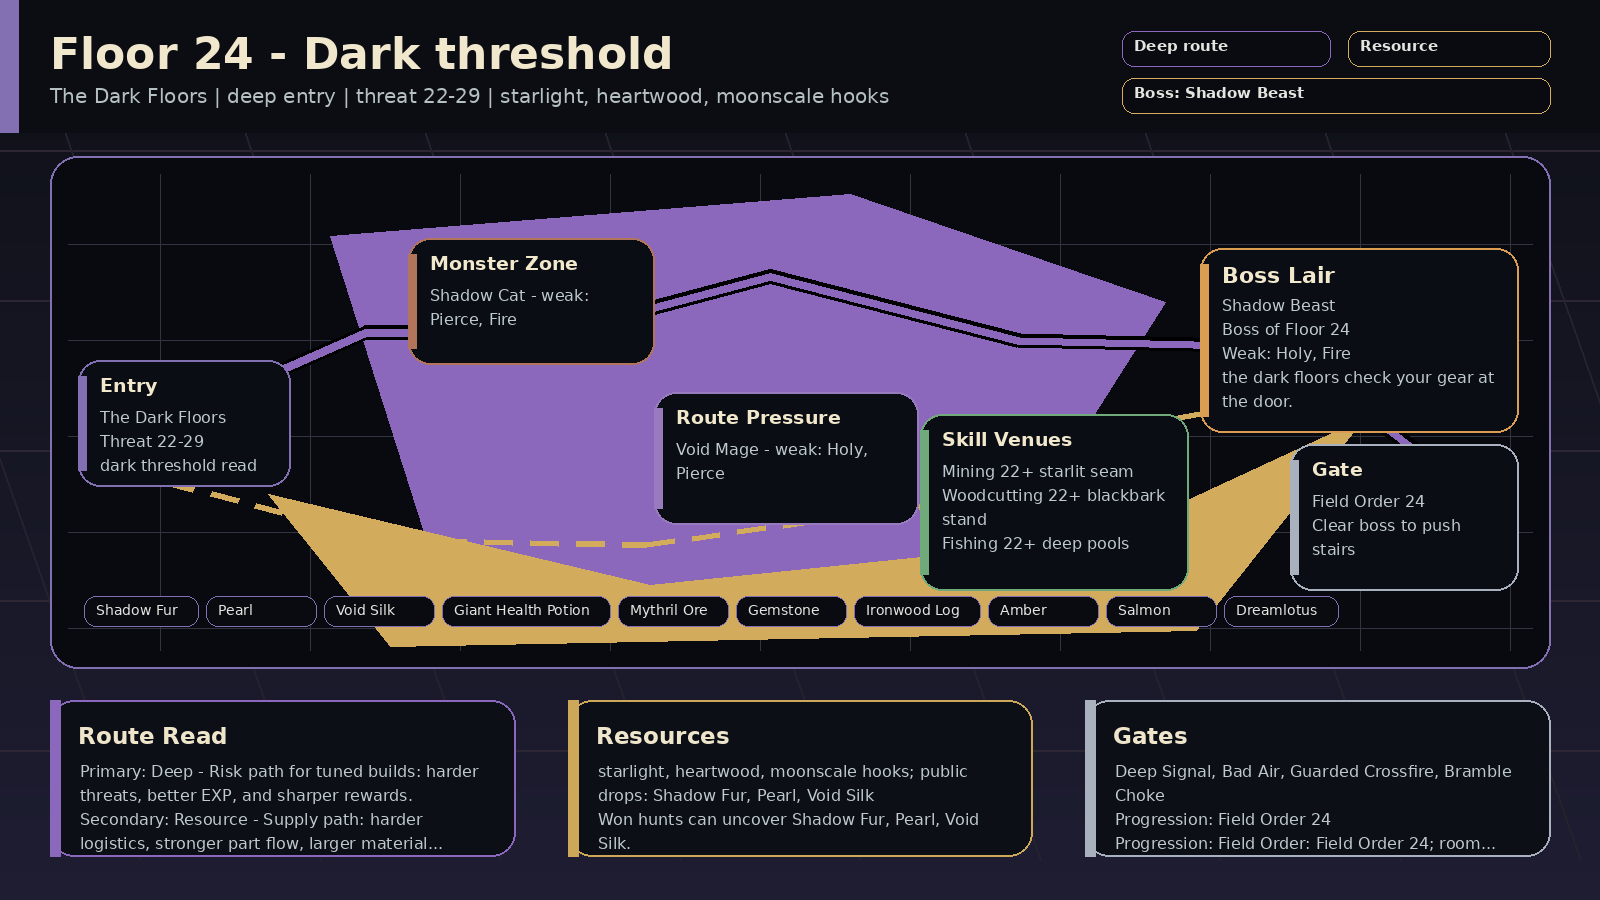 | 🌑 Emberdark | The Dark Floors | Dark threshold | Payoff: starlight, heartwood, moonscale hooks; public drops: Shadow Fur, Pearl, Void Silk
Prep: Skill prep: Mining 22+, Woodcutting 22+, Fishing 22+
Pressure: deep entry; encounters: Old Wards, Deep Signal; boss: Shadow Beast
Route: Route plan: Deep primary for dark threshold read; Resource secondary for deep cleanse and blackbark
Progress: Progression: Field Order: Field Order 24; room pressure 75% | Read: Dark threshold (deep entry). The deep floors start here. Expect harder fights.
Prep: Train Mining, Woodcutting, Fishing; prep around deep cleanse and blackbark. Field Order: Field Order 24.
Route: Primary Deep: dark threshold read. Secondary Resource: deep cleanse and blackbark.
Trade: Supply axis: starlight, heartwood, moonscale. Public demand centers on Shadow Fur, Pearl, Void Silk, Giant Health Potion.
Boss: Shadow Beast: Use control on Threshold Feint, cleanse Blackwake Echo, Defend the Pouncing Break, and hit with holy, fire, pierce, blunt, or dark. Boss-room pressure can appear at 75%. | Read: Dark threshold rewards ✨ holy, 🔥 fire, 🏹 pierce, 🗡️ slash; no dominant mob resist lane stands out. Mob signatures pressure slow, control, map read, damage; the boss chart leans ✨ holy, 🔥 fire, 🏹 pierce.
Damage lanes: weak: holy, fire, pierce, slash, nature, dark
Watch resists: —
Boss chart: weak: holy, fire, pierce, blunt, dark
Mob pressure: slow, control, map read, damage
Counters: fire, pierce, dark, control | 22-29 | 🐈⬛ Threshold Stalker / 🐈⬛ Shadow Cat / 🌀 Void Mage | 🐈⬛ Shadow Beast | ⛏️ the starlit seam req 22
🌲 the blackbark stand req 22
🎣 the deep pools req 22 | 🦴 Shadow Fur, ⚪ Pearl, 🦴 Void Silk, 🧪 Giant Health Potion, 🐈⬛ Shadow-Pelt, 🪨 Mythril Ore, 💎 Gemstone, 🪵 Ironwood Log | 5% on won hunts: 🦴 Shadow Fur, ⚪ Pearl, 🦴 Void Silk, 🧪 Giant Health Potion
Won hunts can uncover Shadow Fur, Pearl, Void Silk.
Choose this floor for starlight, heartwood, moonscale; trade for the rest. | The deep floors start here. Expect harder fights. | — | Field Order 24
win 2x Deep route hunts on Floor 1, Section X
clear Deep Signal on Floor 1, Section X
win with a spent Deep route plan on Floor 1, Section X or later
answer boss variant lesson against: Blackwake / Dark Rift / Nightfall / Abyssal / Tempo-Locked / Blight Ledger / Echo Binder / Gravecaller on Floor 1, Section X
answer Deep boss-room pressure: Blight Count / Nocturne Refrain / Split Beat / Null Chorus on Floor 1, Section X
mastery: 🌑 Deep climb pressure read | 🌑 Deep primary: dark threshold read
⛏️ Resource secondary: deep cleanse and blackbark
supply: starlight, heartwood, moonscale | 🌑 Deep floor map marks dark threshold read; boss leans Blackwake, Doomsignal; can roll Black Signal; matches Deep Signal; higher-risk EXP pressure is online; boss tests tempo or cleanse
⛏️ Resource secondary map line supports deep cleanse and blackbark; can roll Loaded Cache; boss has supply-line pressure; surveys public prep supply
🛡️ Guarded can roll Guarded Watch; boss rewards guarded answers | 🐈⬛ Shadow Beast Strike | 🌑 Blackwake
🌌 Dark Rift
📡 Doomsignal
🌑 Dreadmark | 💧 Blight Count
🎼 Nocturne Refrain
⏱️ Split Beat | Old Wards 10%
Deep Signal 8% | dark, mystery, swift, mystic | cleanse skills, element swap, codex checks, quest journal | 10/10 |
| Floor 1, Section Y | 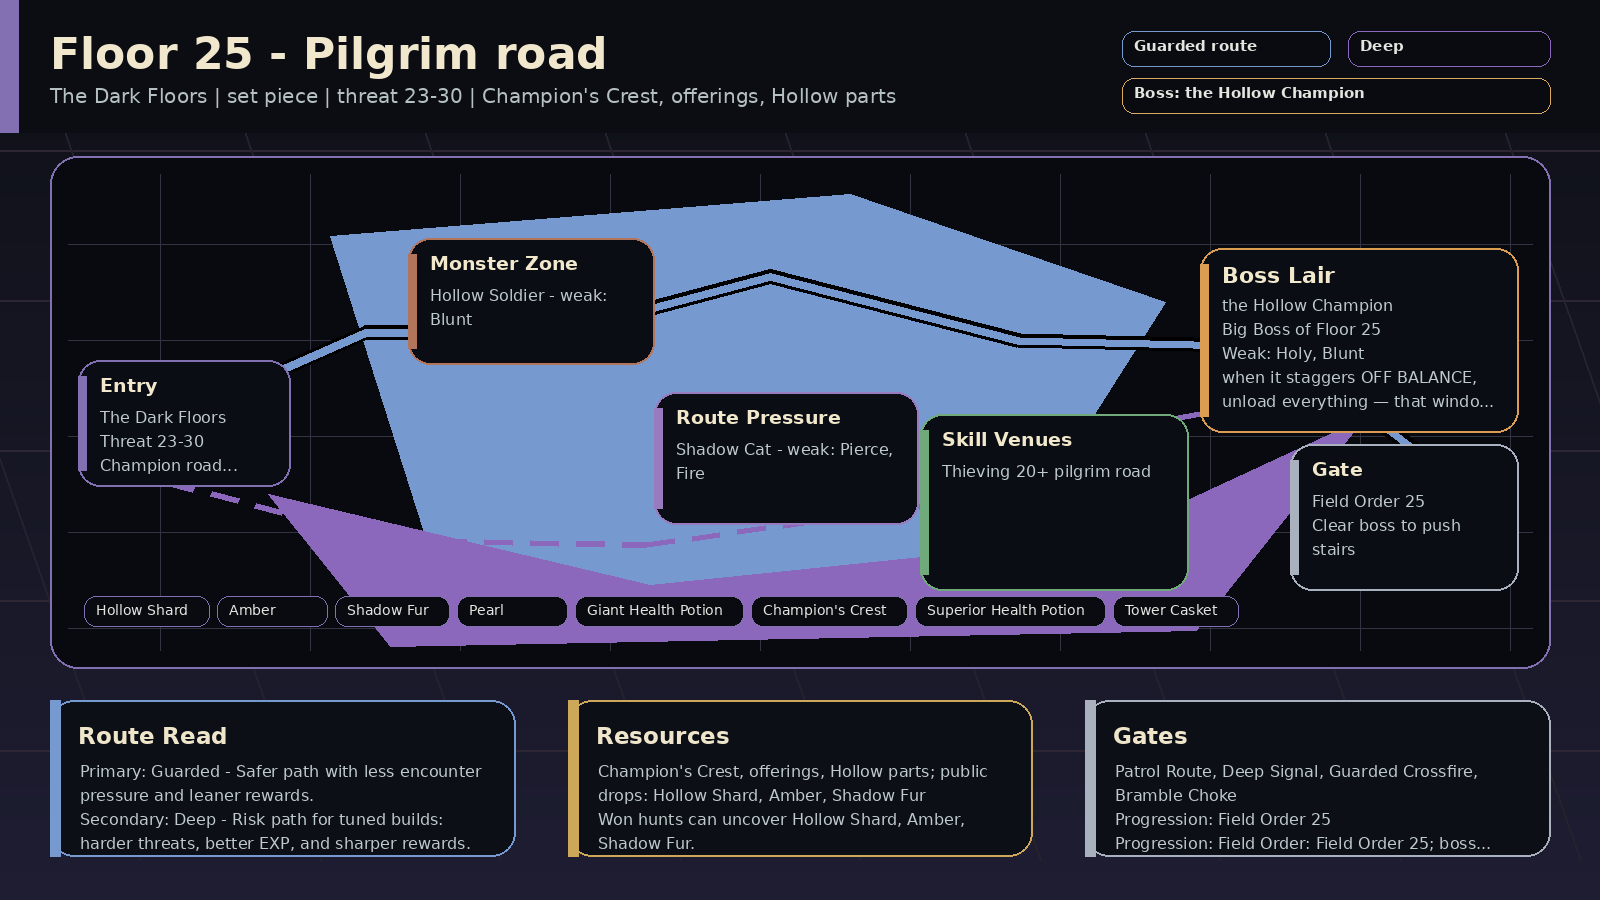 | 🌑 Emberdark | The Dark Floors | Pilgrim road | Payoff: Champion's Crest, offerings, Hollow parts; public drops: Hollow Shard, Amber, Shadow Fur
Prep: Skill prep: Thieving 20+
Pressure: set piece; encounters: Patrol Route, Deep Signal; boss: the Hollow Champion
Route: Route plan: Guarded primary for Champion road formation; Deep secondary for set-piece burst control
Progress: Progression: Field Order: Field Order 25; boss entry: The Hollow Lantern; room pressure 75% | Read: Pilgrim road (set piece). The Hollow Champion staggers right after its Heavy Swing. Hit hard when it does.
Prep: Train Thieving; prep around set-piece burst control. Field Order: Field Order 25.
Route: Primary Guarded: Champion road formation. Secondary Deep: set-piece burst control.
Trade: Supply axis: Champion's Crest and offerings. Public demand centers on Hollow Shard, Amber, Shadow Fur, Pearl.
Boss: the Hollow Champion: When it staggers OFF BALANCE, unload everything before it recovers. Boss-room pressure can appear at 75%. | Read: Pilgrim road rewards ✨ holy, 🔥 fire, 🔨 blunt, 🏹 pierce; no dominant mob resist lane stands out. Mob signatures pressure debuff, daze, tempo check, damage; the boss chart leans ✨ holy, 🔨 blunt.
Damage lanes: weak: holy, fire, blunt, pierce, slash, nature, dark
Watch resists: —
Boss chart: weak: holy, blunt
resists: dark
Mob pressure: debuff, daze, tempo check, damage
Counters: cleanse, holy, fire, control | 23-30 | 🧎 Wayward Pilgrim / 💀 Hollow Soldier / 🐈⬛ Shadow Cat | 💀 the Hollow Champion | 🪙 the pilgrim road req 20 | 🦴 Hollow Shard, 🟠 Amber, 🦴 Shadow Fur, ⚪ Pearl, 🧪 Giant Health Potion, 🛡️ Champion's Crest, 🧪 Superior Health Potion, 🎁 Tower Casket | 5% on won hunts: 🦴 Hollow Shard, 🟠 Amber, 🦴 Shadow Fur, ⚪ Pearl
Won hunts can uncover Hollow Shard, Amber, Shadow Fur.
Choose this floor for Champion's Crest and offerings; trade for the rest. | The Hollow Champion staggers right after its Heavy Swing. Hit hard when it does. | — | Field Order 25
win 2x Guarded route hunts on Floor 1, Section Y
clear Patrol Route on Floor 1, Section Y
win with a spent Guarded route plan on Floor 1, Section Y or later
answer boss variant lesson against: Formation Lock / Wardbreaker / Holdfast / Blight Ledger / Dreadmark / Eclipse / Gravecaller / Siphon on Floor 1, Section Y
answer Guarded boss-room pressure: Bramble Choke / Breaker Window / Guarded Crossfire / Null Chorus on Floor 1, Section Y
mastery: 🛡️ Guarded climb pressure read | 🛡️ Guarded primary: Champion road formation
🌑 Deep secondary: set-piece burst control
supply: Champion's Crest and offerings | 🛡️ Guarded floor map marks Champion road formation; boss leans Wardbreaker; can roll Guarded Watch; safer prep before a set-piece floor; boss rewards guarded answers
🌑 Deep secondary map line supports set-piece burst control; boss leans Blight Ledger, Dreadmark; can roll Black Signal; matches Deep Signal; higher-risk EXP pressure is online
⛏️ Resource boss leans Blight Ledger; can roll Loaded Cache; matches Patrol Route; surveys public prep supply; helps the next stair's logistics | ⚔️ Sword Swing | 💧 Blight Ledger
🌑 Dreadmark
🌘 Eclipse
🕯️ Gravecaller | 🌿 Bramble Choke
🎼 Nocturne Refrain
⏱️ Split Beat | Patrol Route 16%
Deep Signal 8% | dark, patrol, mystery, wanderer | full HP, correct damage type, escape plan, codex checks | 10/10 |
| Floor 1, Section Z | 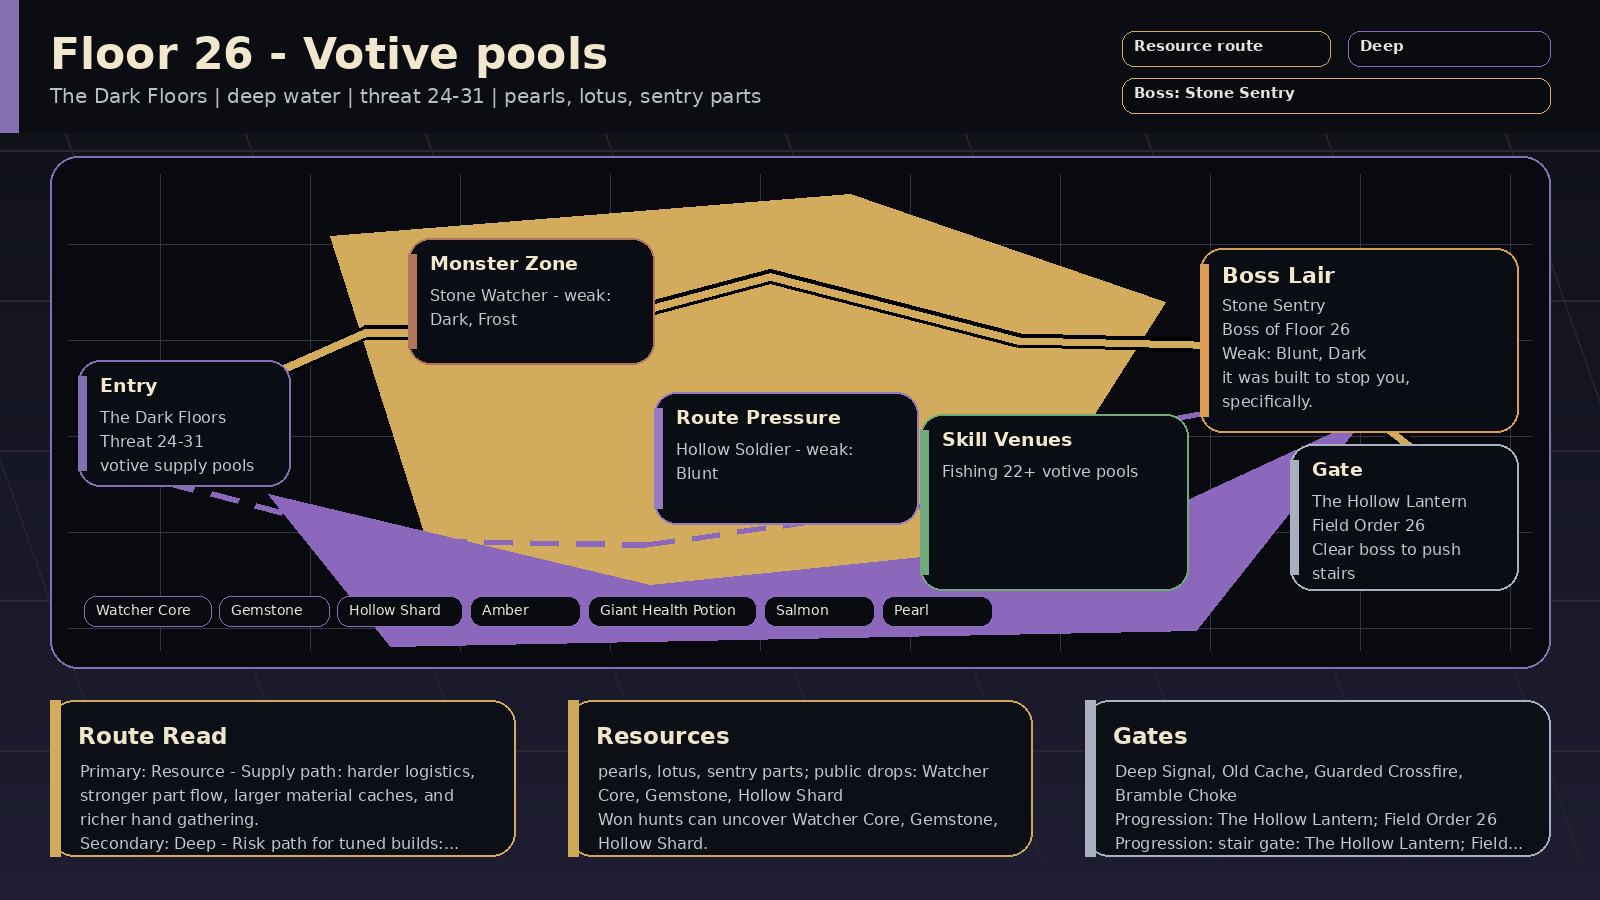 | 🌑 Emberdark | The Dark Floors | Votive pools | Payoff: pearls, lotus, sentry parts; public drops: Watcher Core, Gemstone, Hollow Shard
Prep: Skill prep: Fishing 22+
Pressure: deep water; encounters: Deep Signal, Old Cache; boss: Stone Sentry
Route: Route plan: Resource primary for votive supply pools; Deep secondary for fishing and offering economy
Progress: Progression: stair gate: The Hollow Lantern; Field Order: Field Order 26 | Read: Votive pools (deep water). The quiet sister's pools make old offerings useful.
Prep: Train Fishing; prep around fishing and offering economy. Stair gate: The Hollow Lantern.
Route: Primary Resource: votive supply pools. Secondary Deep: fishing and offering economy.
Trade: Supply axis: pearls, lotus, sentry parts. Public demand centers on Watcher Core, Gemstone, Hollow Shard, Amber.
Boss: Stone Sentry: Sentry's Poise warns that the Votive Wall drops next turn: Defend it. Cleanse Votive Silt, and crack the sentry with blunt, dark, frost, or pierce hits. | Read: Votive pools rewards 🔨 blunt, 🌑 dark, ❄️ frost, 🏹 pierce; avoid relying only on 🗡️ slash. Mob signatures pressure defense guard, damage down, resource check, damage; the boss chart leans 🔨 blunt, 🌑 dark, ❄️ frost.
Damage lanes: weak: blunt, dark, frost, pierce, holy
Watch resists: resists: slash
Boss chart: weak: blunt, dark, frost, pierce
Mob pressure: defense guard, damage down, resource check, damage
Counters: blunt, dark, frost, burst | 24-31 | 🗿 Votive Sentry / 🗿 Stone Watcher / 💀 Hollow Soldier | 🗿 Stone Sentry | 🎣 the votive pools req 22 | 🦴 Watcher Core, 💎 Gemstone, 🦴 Hollow Shard, 🟠 Amber, 🧪 Giant Health Potion, 🗿 Sentry Plate, 🐟 Salmon, ⚪ Pearl | 5% on won hunts: 🦴 Watcher Core, 💎 Gemstone, 🦴 Hollow Shard, 🟠 Amber
Won hunts can uncover Watcher Core, Gemstone, Hollow Shard.
Choose this floor for pearls, lotus, sentry parts; trade for the rest. | The quiet sister's pools make old offerings useful. | The Hollow Lantern
have one of Delver's Lamp / Pathfinder's Pin
win 2x Resource route hunts on Floor 1, Section X or later
deliver 3x Hollow Shard
deliver Pearl | Field Order 26
win 2x Resource route hunts on Floor 1, Section Z
clear Old Cache on Floor 1, Section Z
recover Resource supply for Watcher Core / Gemstone / Hollow Shard on Floor 1, Section Z
defeat Stone Sentry | ⛏️ Resource primary: votive supply pools
🌑 Deep secondary: fishing and offering economy
supply: pearls, lotus, sentry parts | ⛏️ Resource floor map marks votive supply pools; boss leans Blight Ledger, Cache Splitter; can roll Loaded Cache; matches Old Cache; boss has supply-line pressure; surveys public prep supply
🌑 Deep secondary map line supports fishing and offering economy; boss leans Blight Ledger; can roll Black Signal; matches Deep Signal; higher-risk EXP pressure is online
🛡️ Guarded can roll Guarded Watch; boss rewards guarded answers | 🗿 Stone Sentry Strike | — | — | Deep Signal 8%
Old Cache 10% | dark, mystery, reward, tank | codex checks, quest journal, wiki map, inventory space | 10/10 |
| Floor 2, Section A | 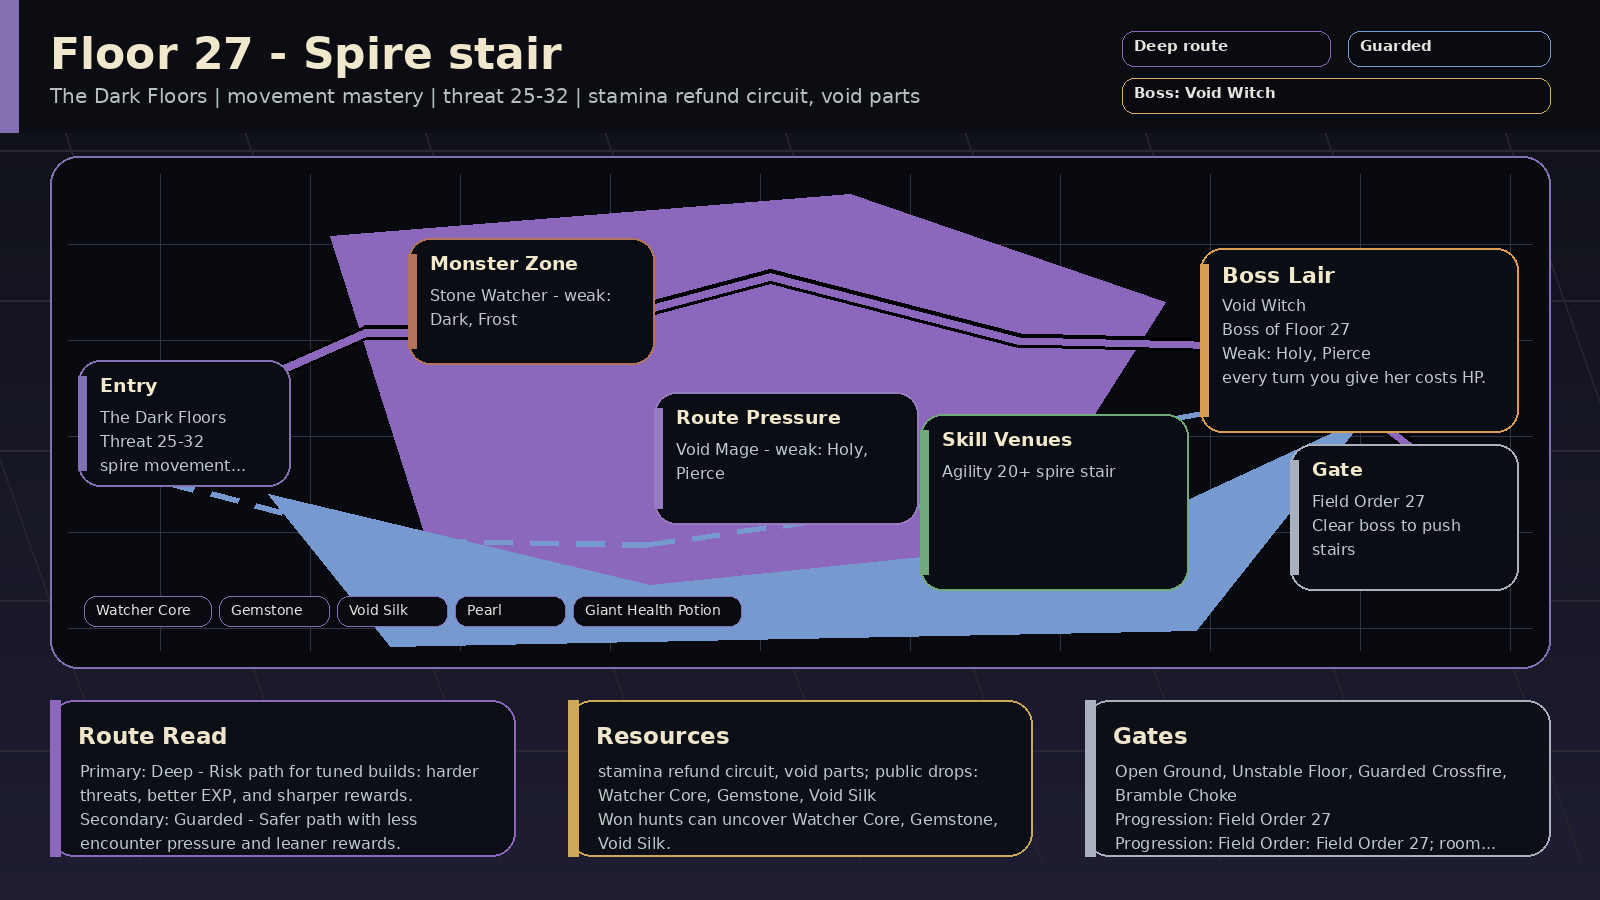 | 🌑 Emberdark | The Dark Floors | Spire stair | Payoff: stamina refund circuit, void parts; public drops: Void Silk, Pearl, Watcher Core
Prep: Skill prep: Agility 20+
Pressure: movement mastery; encounters: Open Ground, Old Wards; boss: Void Witch
Route: Route plan: Deep primary for spire movement exam; Guarded secondary for agility mastery
Progress: Progression: Field Order: Field Order 27; room pressure 75% | Read: Spire stair (movement mastery). A good place to train Agility.
Prep: Train Agility; prep around agility mastery. Field Order: Field Order 27.
Route: Primary Deep: spire movement exam. Secondary Guarded: agility mastery.
Trade: Supply axis: void parts and stamina circuits. Public demand centers on Void Silk, Pearl, Watcher Core, Gemstone.
Boss: Void Witch: Cleanse the curse, Defend the Ritual Burst, punish the opening after Stamina Circuit Read, and hit with holy, pierce, nature, or blunt. Boss-room pressure can appear at 75%. | Read: Spire stair rewards ✨ holy, 🏹 pierce, 🌿 nature, 🔨 blunt; avoid relying only on 🗡️ slash. Mob signatures pressure curse, slow, tempo check, positioning; the boss chart leans ✨ holy, 🏹 pierce, 🌿 nature.
Damage lanes: weak: holy, pierce, nature, blunt, dark, frost
Watch resists: resists: slash
Boss chart: weak: holy, pierce, nature, blunt
Mob pressure: curse, slow, tempo check, positioning
Counters: cleanse, holy, control, speed control | 25-32 | 🌀 Spire Hexer / 🗿 Stone Watcher / 🌀 Void Mage | 🌀 Void Witch | 🏃 the spire stair req 20 | 🦴 Void Silk, ⚪ Pearl, 🦴 Watcher Core, 💎 Gemstone, 🧪 Giant Health Potion, 🌀 Witch Sigil | 5% on won hunts: 🦴 Void Silk, ⚪ Pearl, 🦴 Watcher Core, 💎 Gemstone
Won hunts can uncover Void Silk, Pearl, Watcher Core.
Choose this floor for void parts and stamina circuits; trade for the rest. | A good place to train Agility. | — | Field Order 27
win 2x Deep route hunts on Floor 2, Section A
clear Open Ground on Floor 2, Section A
win with a spent Deep route plan on Floor 2, Section A or later
answer boss variant lesson against: Dark Rift / Starless / Riftclock / Echo Binder / Dreadmark / Omen Mirror / Nocturne Chain / Silence-Bound on Floor 2, Section A
answer Deep boss-room pressure: Split Beat / Blight Count / Nocturne Refrain / Null Chorus on Floor 2, Section A
mastery: 🌑 Deep climb pressure read | 🌑 Deep primary: spire movement exam
🛡️ Guarded secondary: agility mastery
supply: void parts and stamina circuits | 🌑 Deep floor map marks spire movement exam; boss leans Dreadmark, Nocturne Chain; can roll Black Signal; higher-risk EXP pressure is online; boss tests tempo or cleanse
🛡️ Guarded secondary map line supports agility mastery; can roll Guarded Watch; boss rewards guarded answers
⛏️ Resource boss leans Cache Splitter, Supply Matrix; can roll Loaded Cache; boss has supply-line pressure; surveys public prep supply | 🌀 Void Witch Strike | 📦 Cache Splitter
🌌 Dark Rift
🌑 Dreadmark
🧠 Mindshear | ⏱️ Split Beat
💧 Blight Count
🌿 Bramble Choke | Open Ground 18%
Old Wards 10% | dark, terrain, mystery, mystic | speed control, stamina planning, opening burst, cleanse skills | 10/10 |
| Floor 2, Section B | 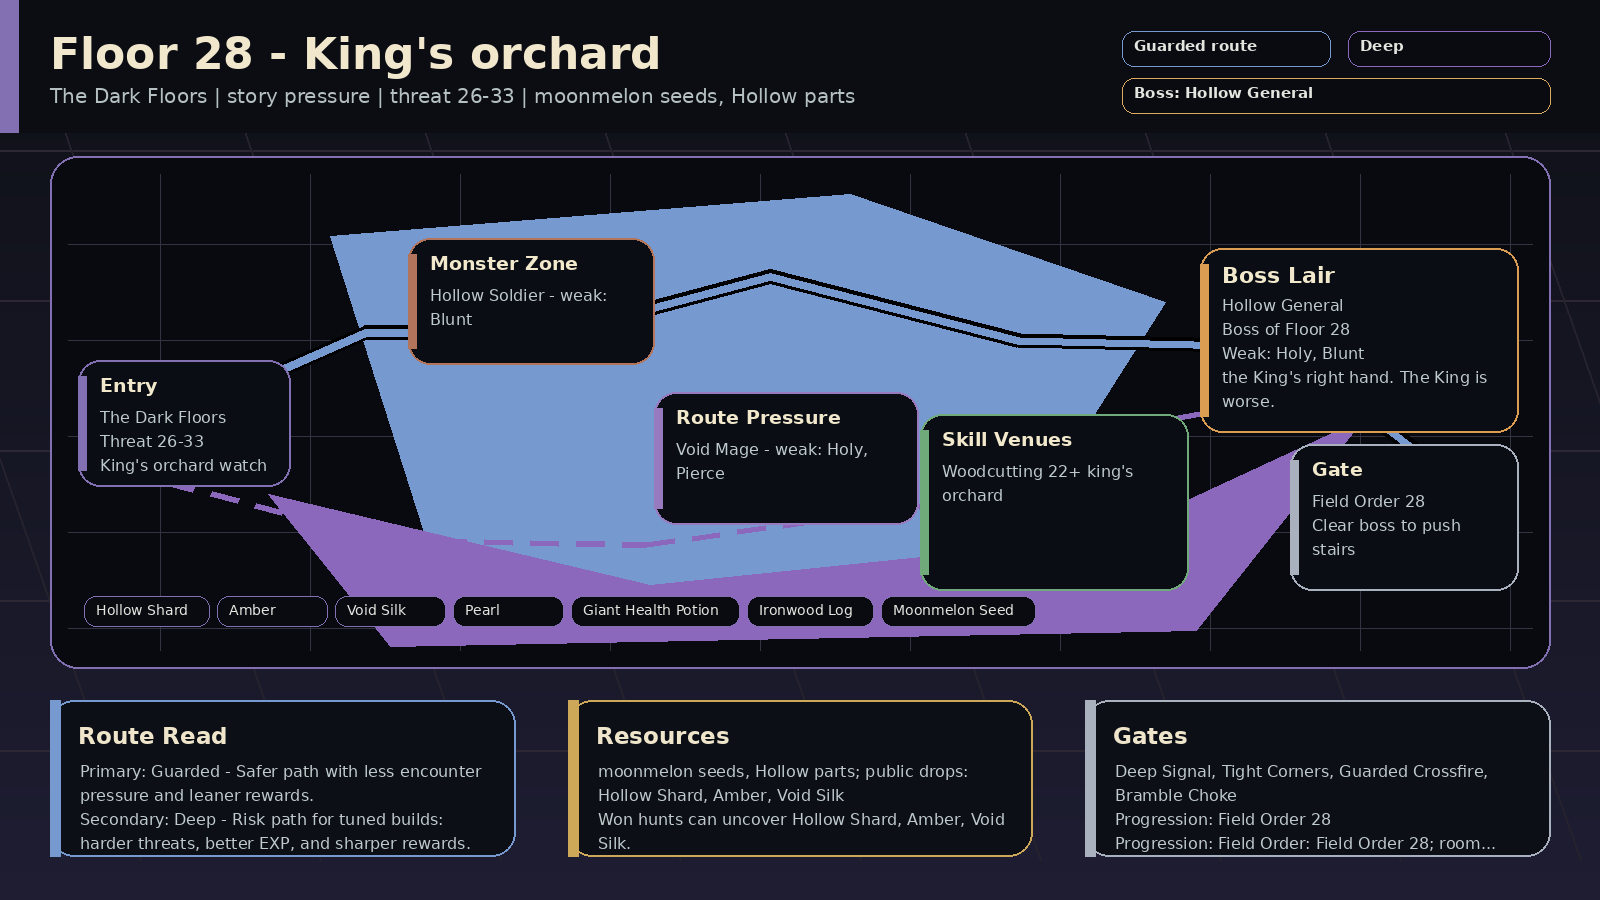 | 🌑 Emberdark | The Dark Floors | King's orchard | Payoff: moonmelon seeds, Hollow parts; public drops: Hollow Shard, Amber, Void Silk
Prep: Skill prep: Woodcutting 22+
Pressure: story floor; encounters: Deep Signal, Tight Corners; boss: Hollow General
Route: Route plan: Guarded primary for King's orchard watch; Deep secondary for woodcutting and story pressure
Progress: Progression: Field Order: Field Order 28; room pressure 75% | Read: King's orchard (story floor). Brann's orchard points at the crown without saying enough.
Prep: Train Woodcutting; prep around woodcutting and story pressure. Field Order: Field Order 28.
Route: Primary Guarded: King's orchard watch. Secondary Deep: woodcutting and story pressure.
Trade: Supply axis: moonmelon and Hollow parts. Public demand centers on Hollow Shard, Amber, Void Silk, Pearl.
Boss: Hollow General: Defend the Brutal Overhand, use control on Formation Lane Read, and crack the General with holy, blunt, pierce, or dark hits. Boss-room pressure can appear at 75%. | Read: King's orchard rewards ✨ holy, 🔨 blunt, 🏹 pierce, 🌑 dark; no dominant mob resist lane stands out. Mob signatures pressure armor break, positioning, ward check, damage; the boss chart leans ✨ holy, 🔨 blunt, 🏹 pierce.
Damage lanes: weak: holy, blunt, pierce, dark, nature
Watch resists: —
Boss chart: weak: holy, blunt, pierce, dark
Mob pressure: armor break, positioning, ward check, damage
Counters: holy, blunt, pierce, defend | 26-33 | 💀 Hollow Pruner / 💀 Hollow Soldier / 🌀 Void Mage | 💀 Hollow General | 🌲 the king's orchard req 22 | 🦴 Hollow Shard, 🟠 Amber, 🦴 Void Silk, ⚪ Pearl, 🧪 Giant Health Potion, 💀 General's Epaulet, 🪵 Ironwood Log, 🌱 Moonmelon Seed | 5% on won hunts: 🦴 Hollow Shard, 🟠 Amber, 🦴 Void Silk, ⚪ Pearl
Won hunts can uncover Hollow Shard, Amber, Void Silk.
Choose this floor for moonmelon and Hollow parts; trade for the rest. | Brann's orchard points at the crown without saying enough. | — | Field Order 28
win 2x Guarded route hunts on Floor 2, Section B
clear Tight Corners on Floor 2, Section B
win with a spent Guarded route plan on Floor 2, Section B or later
answer boss variant lesson against: Watchmarked / Standard-Bearer / Sealed Guard / Shieldwall / Countermarch / Formation Lock / Linebreaker / Sentinel on Floor 2, Section B
answer Guarded boss-room pressure: Bramble Choke / Guarded Crossfire / Breaker Window / Null Chorus on Floor 2, Section B
mastery: 🛡️ Guarded climb pressure read | 🛡️ Guarded primary: King's orchard watch
🌑 Deep secondary: woodcutting and story pressure
supply: moonmelon and Hollow parts | 🛡️ Guarded floor map marks King's orchard watch; boss leans Countermarch, Formation Lock; can roll Guarded Watch; matches Tight Corners; boss rewards guarded answers
🌑 Deep secondary map line supports woodcutting and story pressure; can roll Black Signal; matches Deep Signal; higher-risk EXP pressure is online; boss tests tempo or cleanse
⛏️ Resource can roll Loaded Cache; boss has supply-line pressure; surveys public prep supply | 💀 Hollow General Strike | 🥁 Countermarch
🧷 Formation Lock
🧱 Linebreaker
🔏 Sealed Guard | 💧 Blight Count
🌿 Bramble Choke
🛡️ Guarded Crossfire | Deep Signal 8%
Tight Corners 14% | dark, mystery, terrain, brute | codex checks, quest journal, wiki map, blunt damage | 10/10 |
| Floor 2, Section C | 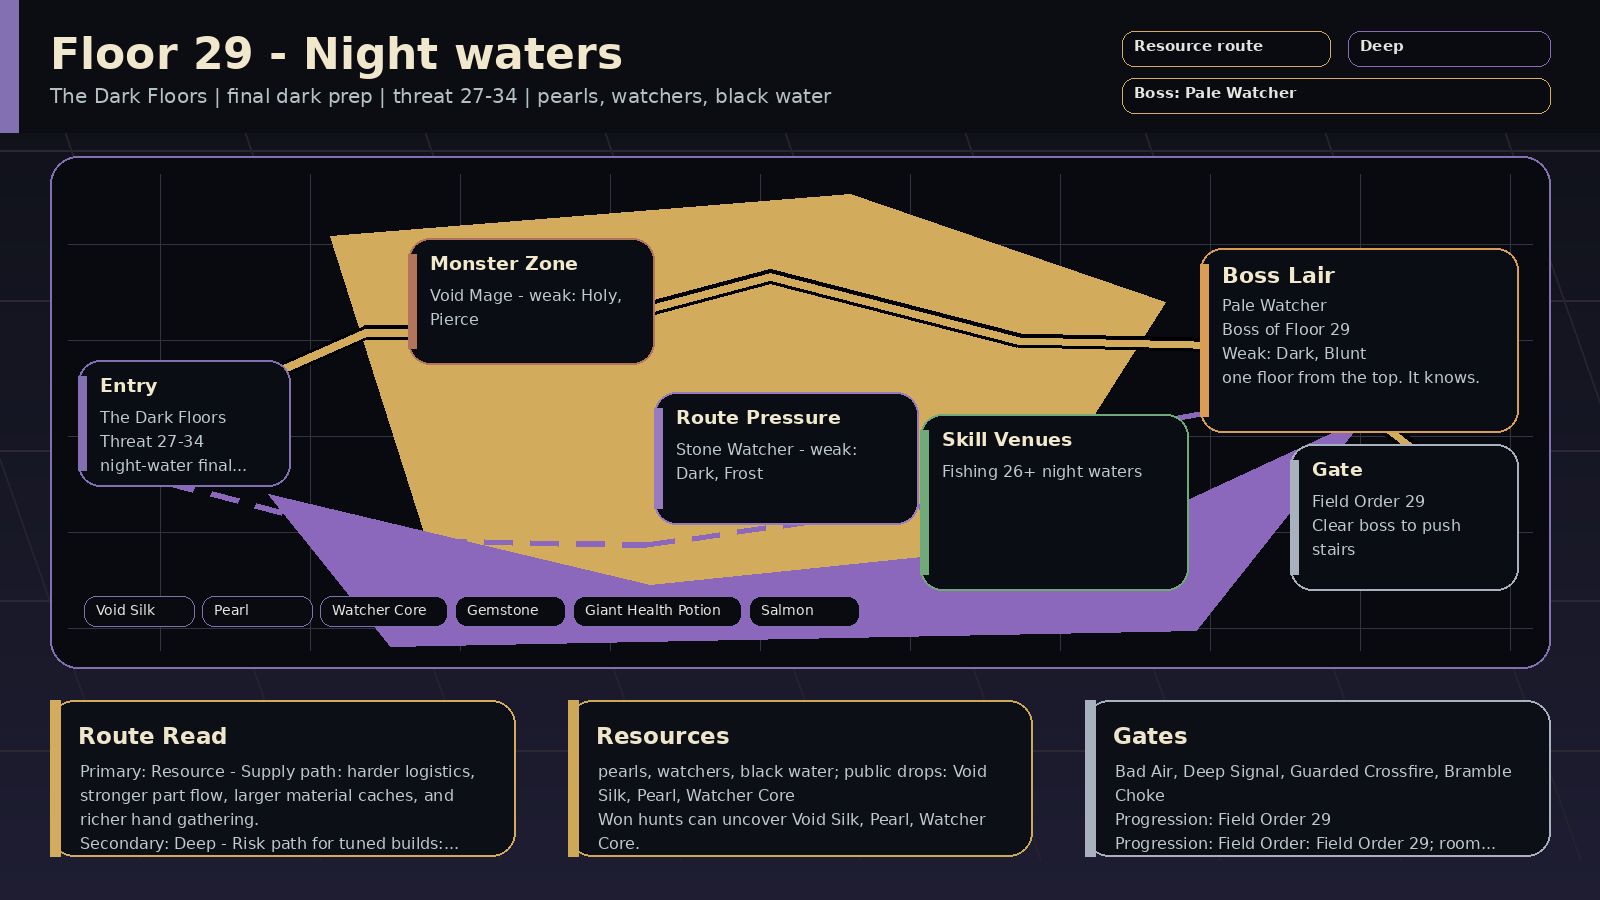 | 🌑 Emberdark | The Dark Floors | Night waters | Payoff: pearls, watchers, black water; public drops: Watcher Core, Pearl, Void Silk
Prep: Skill prep: Fishing 26+
Pressure: final dark prep; encounters: Bad Air, Old Wards; boss: Pale Watcher
Route: Route plan: Resource primary for night-water final prep; Deep secondary for fishing and watcher supply
Progress: Progression: Field Order: Field Order 29; room pressure 75% | Read: Night waters (final dark prep). The last section before the old summit.
Prep: Train Fishing; prep around fishing and watcher supply. Field Order: Field Order 29.
Route: Primary Resource: night-water final prep. Secondary Deep: fishing and watcher supply.
Trade: Supply axis: pearls, black water, watcher cores. Public demand centers on Watcher Core, Pearl, Void Silk, Gemstone.
Boss: Pale Watcher: Cleanse the hex, Defend the Ritual Burst, punish the opening after Final Supply Read, and hit with dark, blunt, pierce, fire, or frost. Boss-room pressure can appear at 75%. | Read: Night waters rewards 🌑 dark, 🔨 blunt, 🏹 pierce, 🔥 fire; avoid relying only on 🗡️ slash. Mob signatures pressure curse, slow, deep signal, map read; the boss chart leans 🌑 dark, 🔨 blunt, 🏹 pierce.
Damage lanes: weak: dark, blunt, pierce, fire, frost, holy, nature
Watch resists: resists: slash
Boss chart: weak: dark, blunt, pierce, fire, frost
Mob pressure: curse, slow, deep signal, map read
Counters: cleanse, dark, blunt, pierce | 27-34 | 👁️ Nightwater Watcher / 🌀 Void Mage / 🗿 Stone Watcher | 👁️ Pale Watcher | 🎣 the night waters req 26 | 🦴 Watcher Core, ⚪ Pearl, 🦴 Void Silk, 💎 Gemstone, 🧪 Giant Health Potion, 👁️ Watcher Lens, 🐟 Salmon | 5% on won hunts: 🦴 Watcher Core, ⚪ Pearl, 🦴 Void Silk, 💎 Gemstone
Won hunts can uncover Watcher Core, Pearl, Void Silk.
Choose this floor for pearls, black water, watcher cores; trade for the rest. | The last section before the old summit. | — | Field Order 29
win 2x Resource route hunts on Floor 2, Section C
clear Bad Air on Floor 2, Section C
recover Resource supply for Watcher Core / Void Silk / Gemstone on Floor 2, Section C
win with a spent Supply Contract on Floor 2, Section C or later
answer boss variant lesson against: Surveyor / Tithe-Keeper / Blight Ledger / Cache Splitter / Shortfall / Supply Matrix / Abyssal / Dreadmark on Floor 2, Section C
mastery: ⛏️ Resource climb pressure read | ⛏️ Resource primary: night-water final prep
🌑 Deep secondary: fishing and watcher supply
supply: pearls, black water, watcher cores | ⛏️ Resource floor map marks night-water final prep; boss leans Shortfall, Surveyor; can roll Loaded Cache; boss has supply-line pressure; surveys public prep supply
🌑 Deep secondary map line supports fishing and watcher supply; boss leans Abyssal, Dreadmark; can roll Black Signal; matches Bad Air; higher-risk EXP pressure is online; boss tests tempo or cleanse
🛡️ Guarded boss leans Watchmarked; can roll Guarded Watch; boss rewards guarded answers | 👁️ Pale Watcher Strike | 🕳️ Abyssal
🌑 Dreadmark
🕯️ Gravecaller
🪞 Omen Mirror | 💧 Blight Count
🎼 Nocturne Refrain
🎼 Null Chorus | Bad Air 12%
Old Wards 10% | dark, hazard, mystery, mystic | antidotes, cleanse skills, food belt, element swap | 10/10 |
| Floor 2, Section D | 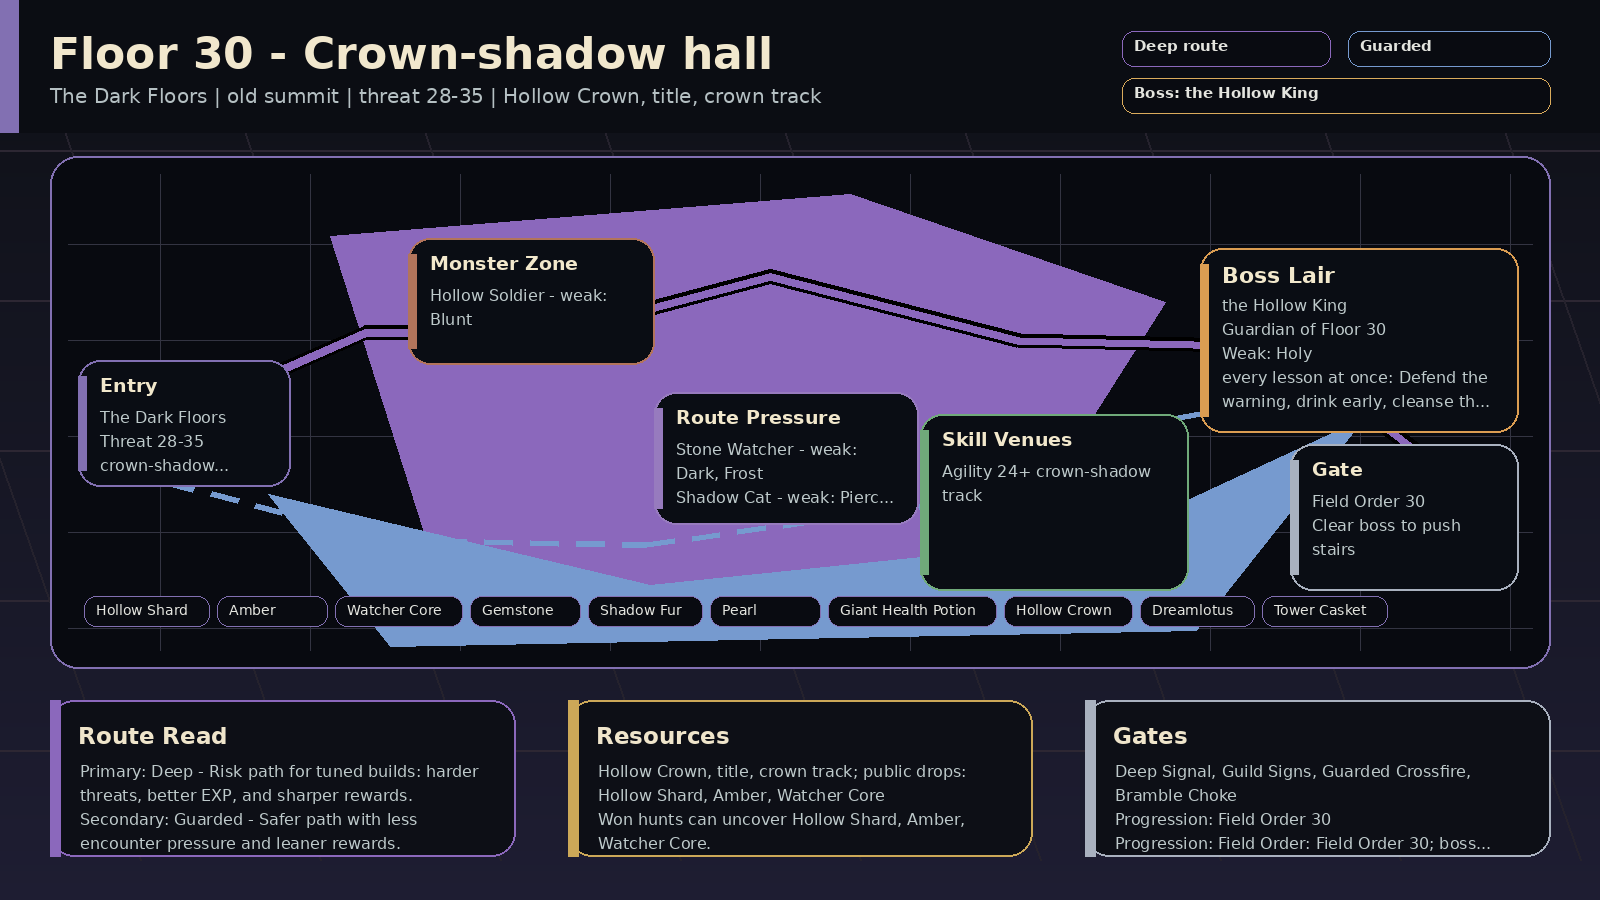 | 🌑 Emberdark | The Dark Floors | Crown-shadow hall | Payoff: Hollow Crown, title, crown track; public drops: Hollow Shard, Pearl, Amber
Prep: Skill prep: Agility 24+
Pressure: old summit; encounters: Deep Signal, Guild Signs; boss: the Hollow King
Route: Route plan: Deep primary for crown-shadow summit map; Guarded secondary for old-summit timing
Progress: Progression: Field Order: Field Order 30; boss entry: The Hollow Key; room pressure 75% | Read: Crown-shadow hall (old summit). The Hollow King ends the old arc and opens the epilogue.
Prep: Train Agility; prep around old-summit timing. Field Order: Field Order 30.
Route: Primary Deep: crown-shadow summit map. Secondary Guarded: old-summit timing.
Trade: Supply axis: Hollow Crown and crown track. Public demand centers on Hollow Shard, Pearl, Amber, Watcher Core.
Boss: the Hollow King: Every lesson at once: Defend the warning, drink early, cleanse the curse, never stop hitting. Boss-room pressure can appear at 75%. | Read: Crown-shadow hall rewards ✨ holy, ❄️ frost, 🔨 blunt, 🏹 pierce; no dominant mob resist lane stands out. Mob signatures pressure defense guard, daze, burst window, damage; the boss chart leans ✨ holy, 🔨 blunt, 🏹 pierce.
Damage lanes: weak: holy, frost, blunt, pierce, dark, fire, slash, nature
Watch resists: —
Boss chart: weak: holy, blunt, pierce, frost, dark
Mob pressure: defense guard, daze, burst window, damage
Counters: holy, frost, burst, damage type | 28-35 | 👑 Crown Shade / 💀 Hollow Soldier / 🗿 Stone Watcher / 🐈⬛ Shadow Cat | 👑 the Hollow King | 🏃 the crown-shadow track req 24 | 🦴 Hollow Shard, ⚪ Pearl, 🟠 Amber, 🦴 Watcher Core, 💎 Gemstone, 🦴 Shadow Fur, 🧪 Giant Health Potion, 👑 Hollow Crown | 5% on won hunts: 🦴 Hollow Shard, ⚪ Pearl, 🟠 Amber, 🦴 Watcher Core
Won hunts can uncover Hollow Shard, Pearl, Amber.
Choose this floor for Hollow Crown and crown track; trade for the rest. | The Hollow King ends the old arc and opens the epilogue. | — | Field Order 30
win 2x Deep route hunts on Floor 2, Section D
clear Deep Signal on Floor 2, Section D
win with a spent Deep route plan on Floor 2, Section D or later
answer boss variant lesson against: Dark Rift / Starless / Blight Ledger / Echo Binder / Gravecaller / Dreadmark / Omen Mirror / Mirror Echo on Floor 2, Section D
answer Deep boss-room pressure: Blight Count / Nocturne Refrain / Null Chorus / Split Beat on Floor 2, Section D
mastery: 🌑 Deep climb pressure read | 🌑 Deep primary: crown-shadow summit map
🛡️ Guarded secondary: old-summit timing
supply: Hollow Crown and crown track | 🌑 Deep floor map marks crown-shadow summit map; boss leans Abyssal, Dreadmark; can roll Black Signal; matches Deep Signal; higher-risk EXP pressure is online; boss tests tempo or cleanse
🛡️ Guarded secondary map line supports old-summit timing; can roll Guarded Watch; matches Guild Signs; safer prep before a set-piece floor; boss rewards guarded answers
⛏️ Resource can roll Loaded Cache; matches Guild Signs; surveys public prep supply; helps the next stair's logistics | ⚔️ King's Blade | 🕳️ Nullfield
🌌 Dark Rift
🌑 Dreadmark
🔗 Echo Binder | 💧 Blight Count
🪓 Breaker Window
🛡️ Guarded Crossfire | Deep Signal 8%
Guild Signs 8% | dark, mystery, social, mystic | codex checks, quest journal, wiki map, guild board | 10/10 |
| Floor 2, Section E | 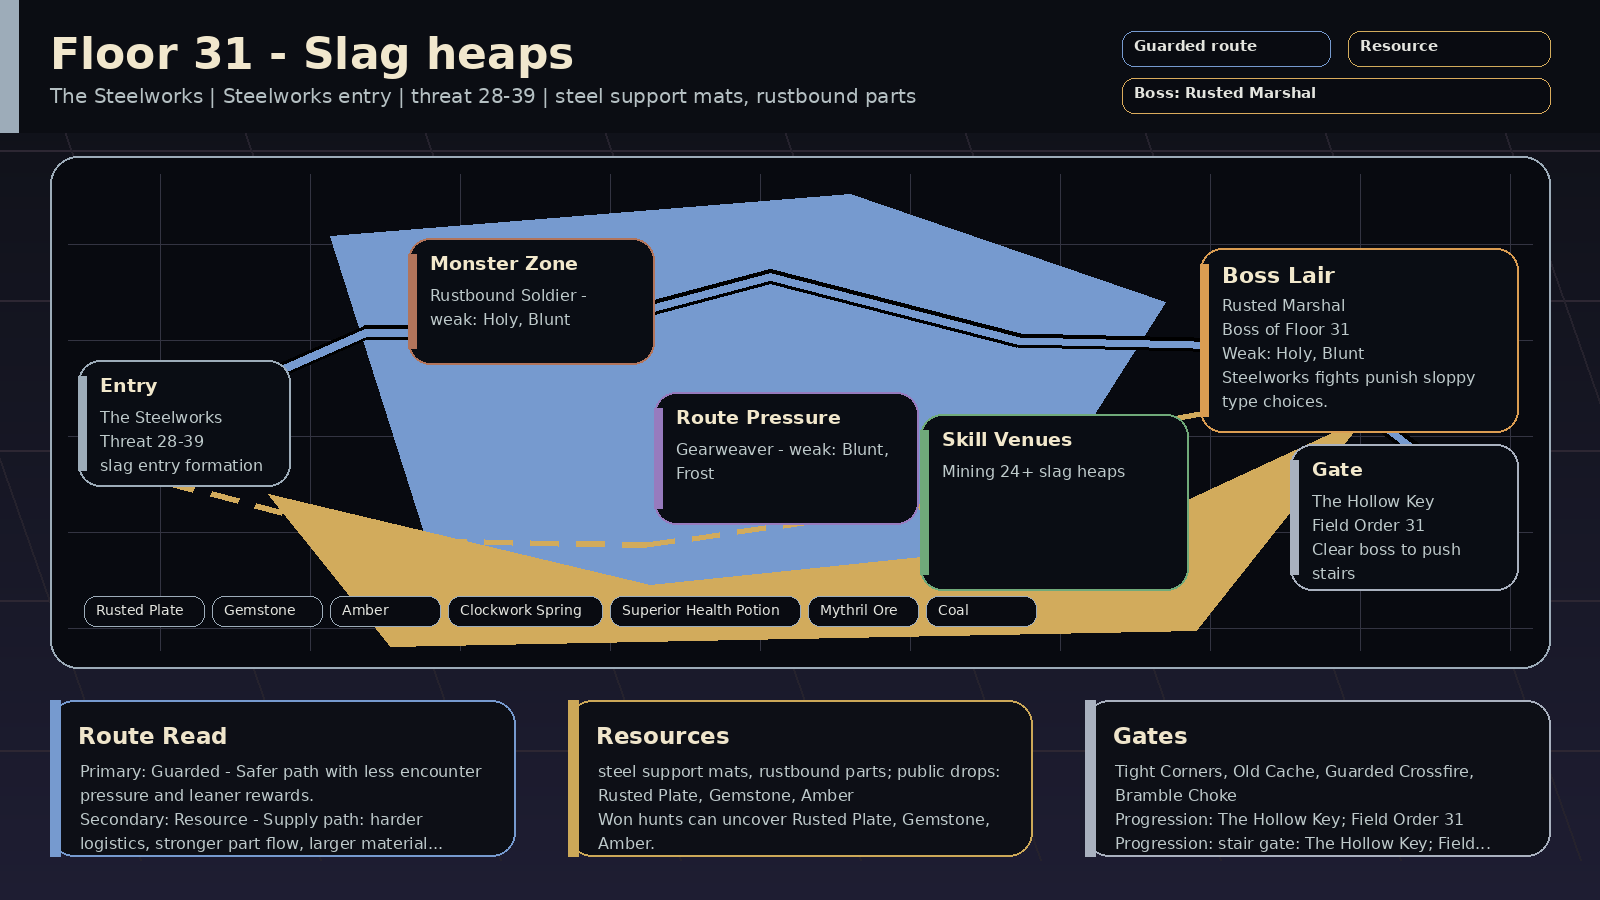 | ⚙️ Steel Crown | The Steelworks | Slag heaps | Payoff: steel support mats, rustbound parts; public drops: Rusted Plate, Gemstone, Amber
Prep: Skill prep: Mining 24+
Pressure: Steelworks entry; encounters: Tight Corners, Old Cache; boss: Rusted Marshal
Route: Route plan: Guarded primary for slag entry formation; Resource secondary for mining and armor seams
Progress: Progression: stair gate: The Hollow Key; Field Order: Field Order 31; room pressure 100% | Read: Slag heaps (Steelworks entry). The Steelworks starts in the slag heaps, and the scrap still fights back.
Prep: Train Mining; prep around mining and armor seams. Stair gate: The Hollow Key.
Route: Primary Guarded: slag entry formation. Secondary Resource: mining and armor seams.
Trade: Supply axis: steel support mats and rust parts. Public demand centers on Rusted Plate, Gemstone, Amber, Clockwork Spring.
Boss: Rusted Marshal: Defend the Brutal Overhand, stay patient through Slag Drill Read, and punish the Marshal with blunt, pierce, dark, nature, fire, or frost hits. Boss-room pressure can appear at 100%. | Read: Slag heaps rewards 🔨 blunt, 🏹 pierce, 🌑 dark, 🌿 nature; avoid relying only on 🗡️ slash. Mob signatures pressure defense guard, positioning, slow, guarded watch; the boss chart leans 🔨 blunt, 🏹 pierce, 🌑 dark.
Damage lanes: weak: blunt, pierce, dark, nature, fire, frost, holy
Watch resists: resists: slash
Boss chart: weak: blunt, pierce, dark, nature, fire, frost
resists: slash
Mob pressure: defense guard, positioning, slow, guarded watch
Counters: blunt, pierce, dark, control | 28-38 | 🛡️ Slagbound Guard / 🛡️ Rustbound Soldier / 🕷️ Gearweaver | 🛡️ Rusted Marshal | ⛏️ the slag heaps req 24 | 🦴 Rusted Plate, 💎 Gemstone, 🟠 Amber, 🦴 Clockwork Spring, 🧪 Superior Health Potion, 🛡️ Marshal's Sash, 🪨 Mythril Ore, 🪨 Coal | 6% on won hunts: 🦴 Rusted Plate, 💎 Gemstone, 🟠 Amber, 🦴 Clockwork Spring
Won hunts can uncover Rusted Plate, Gemstone, Amber.
Choose this floor for steel support mats and rust parts; trade for the rest. | The Steelworks starts in the slag heaps, and the scrap still fights back. | The Hollow Key
have Voidward Elixir
train Agility at the crown-shadow track on Floor 2, Section D
have one of Mythril Pickaxe / Mythril Felling Axe / Ironwood Rod
deliver Heartwood | Field Order 31
win 2x Guarded route hunts on Floor 2, Section E
clear Tight Corners on Floor 2, Section E
win with a spent Guarded route plan on Floor 2, Section E or later
answer boss variant lesson against: Rampart / Sealed Guard / Trailwarden / Bannerline / Shieldwall / Countermarch / Vanguard Lock / Formation Lock on Floor 2, Section E
answer Guarded boss-room pressure: Bramble Choke / Guarded Crossfire / Breaker Window / Null Chorus on Floor 2, Section E
mastery: 🛡️ Guarded climb pressure read | 🛡️ Guarded primary: slag entry formation
⛏️ Resource secondary: mining and armor seams
supply: steel support mats and rust parts | 🛡️ Guarded floor map marks slag entry formation; boss leans Countermarch, Formation Lock; can roll Guarded Watch; matches Tight Corners; boss rewards guarded answers
⛏️ Resource secondary map line supports mining and armor seams; can roll Loaded Cache; matches Old Cache; surveys public prep supply
🌑 Deep can roll Black Signal; higher-risk EXP pressure is online; boss tests tempo or cleanse | 🛡️ Rusted Marshal Strike | 🚪 Gatewarden
🥁 Countermarch
🧷 Formation Lock
📜 Guard Marshal | 🌿 Bramble Choke
🛡️ Guarded Crossfire
📦 Supply Audit | Tight Corners 14%
Old Cache 10% | steel, terrain, reward, standard | blunt damage, defense pierce, longer sustain, inventory space | 10/10 |
| Floor 2, Section F | 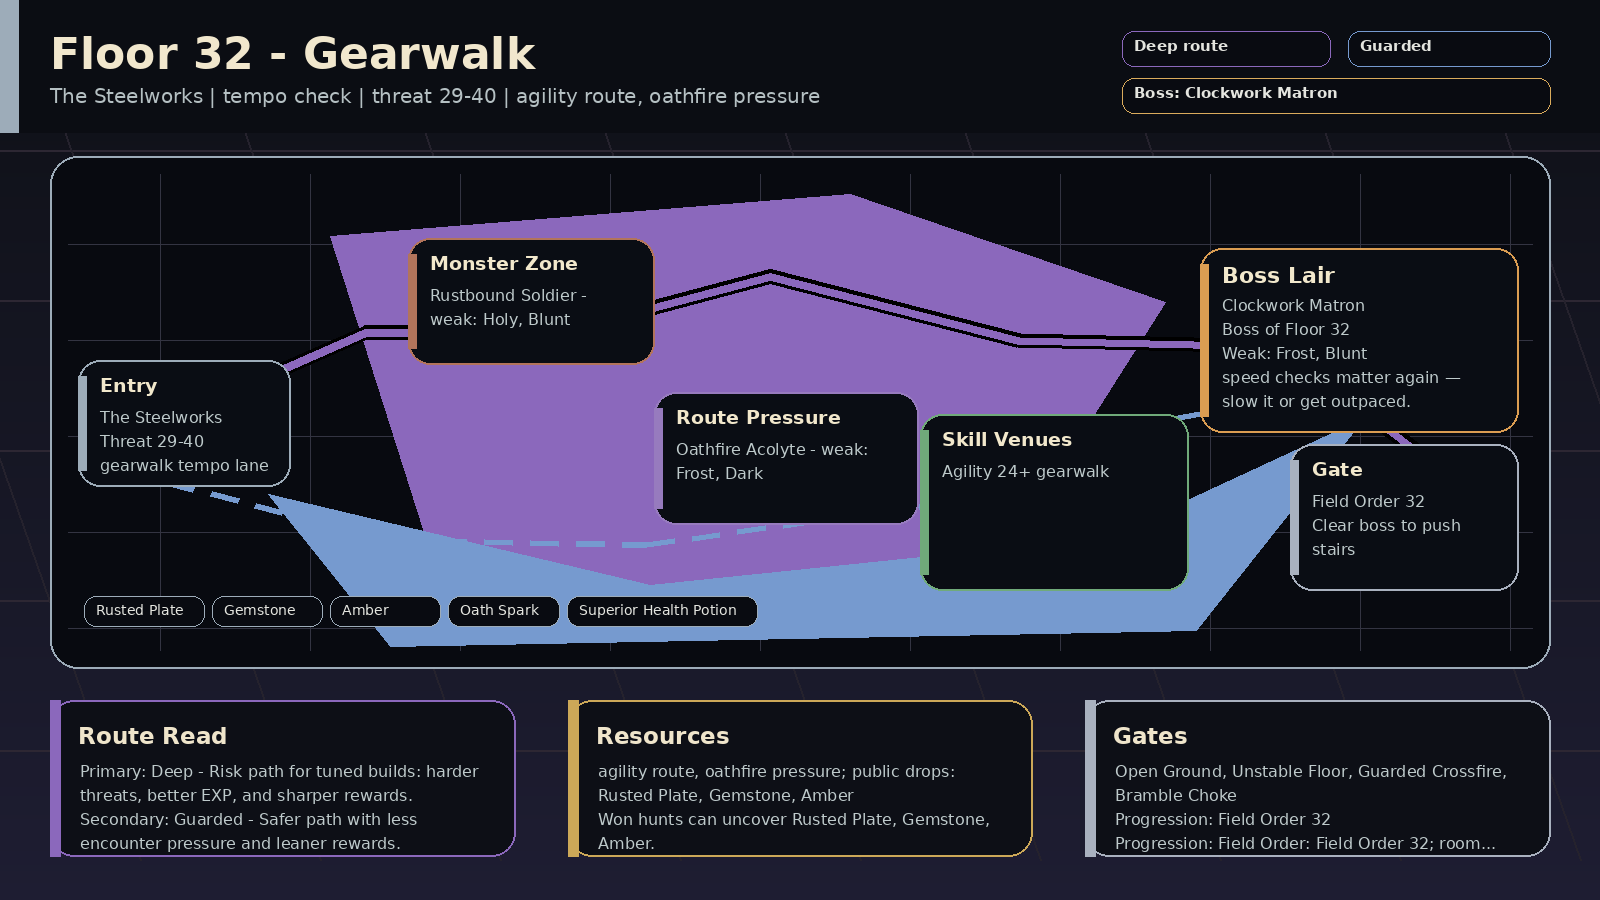 | ⚙️ Steel Crown | The Steelworks | Gearwalk | Payoff: agility route, flame pressure; public drops: Oath Spark, Gemstone, Rusted Plate
Prep: Skill prep: Agility 24+
Pressure: tempo check; encounters: Narrow Stair, Unstable Floor; boss: Clockwork Matron
Route: Route plan: Deep primary for gearwalk tempo lane; Guarded secondary for agility and speed control
Progress: Progression: Field Order: Field Order 32; room pressure 100% | Read: Gearwalk (tempo check). On the moving gears, speed is your best defense.
Prep: Train Agility; prep around agility and speed control. Field Order: Field Order 32.
Route: Primary Deep: gearwalk tempo lane. Secondary Guarded: agility and speed control.
Trade: Supply axis: flame pressure. Public demand centers on Oath Spark, Gemstone, Rusted Plate, Amber.
Boss: Clockwork Matron: Use control on Gearwalk Feint, cleanse Flame Echo Read, Defend the Pouncing Break, and hit with frost, blunt, pierce, fire, dark, or nature. Boss-room pressure can appear at 100%. | Read: Gearwalk rewards ❄️ frost, 🔨 blunt, 🏹 pierce, 🔥 fire; avoid relying only on 🗡️ slash. Mob signatures pressure slow, tempo check, positioning, control; the boss chart leans ❄️ frost, 🔨 blunt, 🏹 pierce.
Damage lanes: weak: frost, blunt, pierce, fire, dark, nature, holy
Watch resists: resists: slash
Boss chart: weak: frost, blunt, pierce, fire, dark, nature
Mob pressure: slow, tempo check, positioning, control
Counters: speed control, control, frost, defend | 29-39 | 🕷️ Gearwalk Runner / 🛡️ Rustbound Soldier / 🔥 Flame Acolyte | 🕷️ Clockwork Matron | 🏃 the gearwalk req 24 | 🦴 Oath Spark, 💎 Gemstone, 🦴 Rusted Plate, 🟠 Amber, 🧪 Superior Health Potion, 🕷️ Matron Spinneret | 6% on won hunts: 🦴 Oath Spark, 💎 Gemstone, 🦴 Rusted Plate, 🟠 Amber
Won hunts can uncover Oath Spark, Gemstone, Rusted Plate.
Choose this floor for flame pressure; trade for the rest. | On the moving gears, speed is your best defense. | — | Field Order 32
win 2x Deep route hunts on Floor 2, Section F
clear Unstable Floor on Floor 2, Section F
win with a spent Deep route plan on Floor 2, Section F or later
answer boss variant lesson against: Dark Rift / Umbral Choir / Tempo-Locked / Riftclock / Echo-Marked / Echo Binder / Omen Mirror / Mirror Echo on Floor 2, Section F
answer Deep boss-room pressure: Nocturne Refrain / Split Beat / Blight Count / Null Chorus on Floor 2, Section F
mastery: 🌑 Deep climb pressure read | 🌑 Deep primary: gearwalk tempo lane
🛡️ Guarded secondary: agility and speed control
supply: flame pressure | 🌑 Deep floor map marks gearwalk tempo lane; boss leans Doomsignal, Nocturne Chain; can roll Black Signal; matches Unstable Floor; higher-risk EXP pressure is online; boss tests tempo or cleanse
🛡️ Guarded secondary map line supports agility and speed control; can roll Guarded Watch; boss rewards guarded answers
⛏️ Resource can roll Loaded Cache; surveys public prep supply | 🕷️ Clockwork Matron Strike | 🎼 Dark Singer
📡 Doomsignal
🫨 Mirror Echo
🎼 Nocturne Chain | 🎼 Nocturne Refrain
⏱️ Split Beat
💧 Blight Count | Narrow Stair 14%
Unstable Floor 12% | steel, terrain, hazard, swift | opening burst, positioning, single-target focus, accuracy through skills | 10/10 |
| Floor 2, Section G | 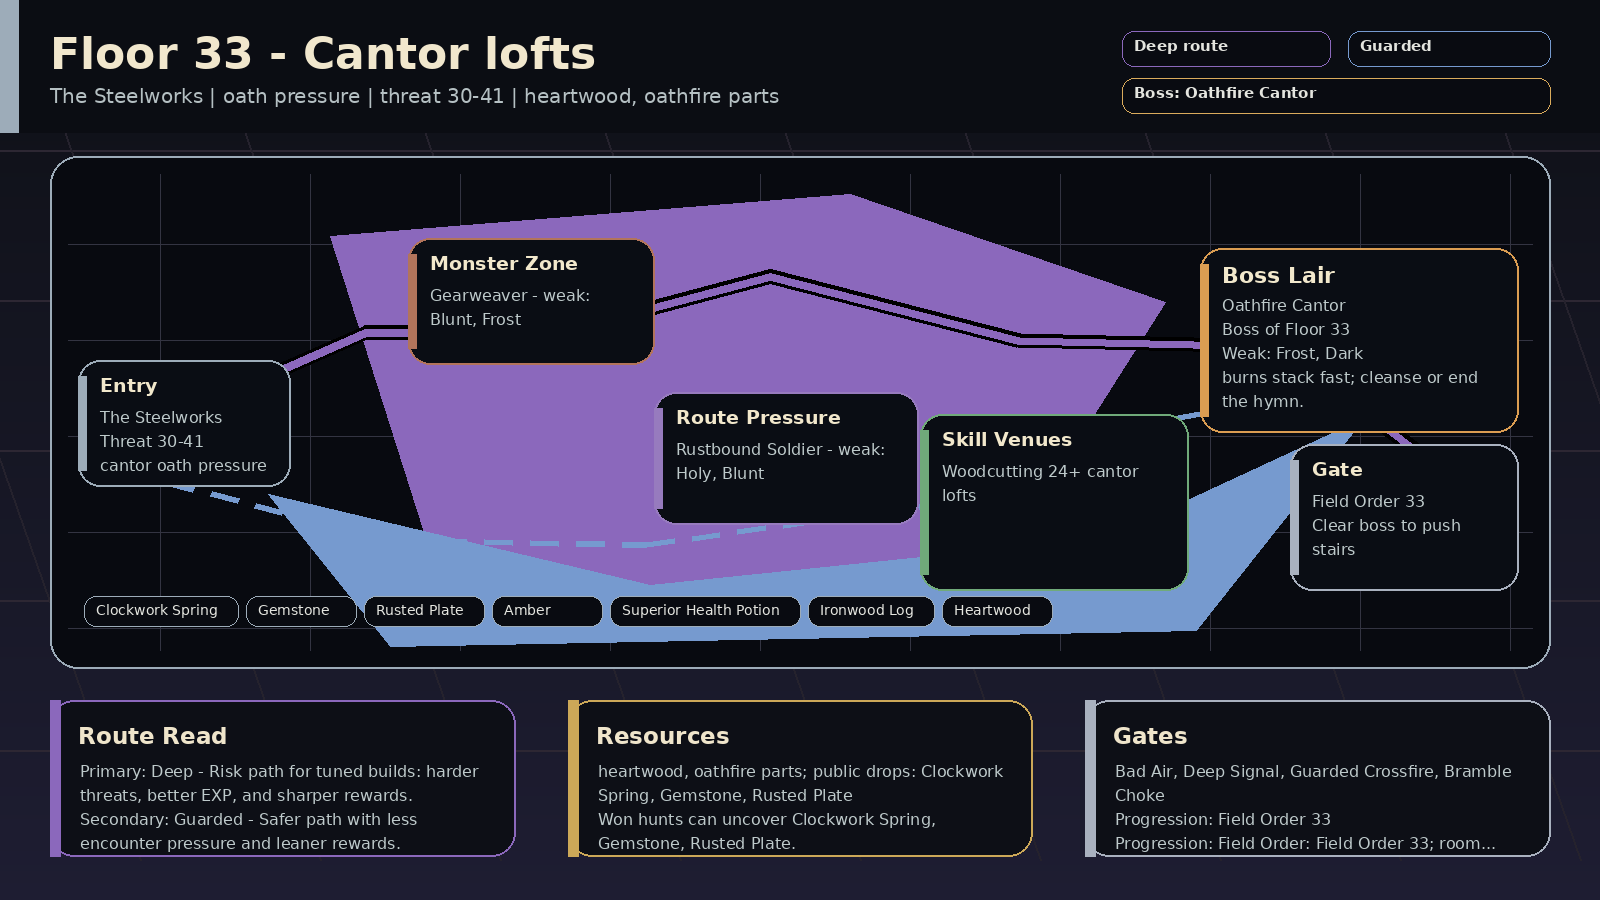 | ⚙️ Steel Crown | The Steelworks | Cantor lofts | Payoff: heartwood, flame parts; public drops: Oath Spark, Clockwork Spring, Gemstone
Prep: Skill prep: Woodcutting 24+
Pressure: burn check; encounters: Narrow Stair, Deep Signal; boss: Flame Cantor
Route: Route plan: Deep primary for cantor loft heat; Guarded secondary for woodcutting and cleanses
Progress: Progression: Field Order: Field Order 33; room pressure 100% | Read: Cantor lofts (burn check). The Flame Cantor's hymn burns. Bring cleanses.
Prep: Train Woodcutting; prep around woodcutting and cleanses. Field Order: Field Order 33.
Route: Primary Deep: cantor loft heat. Secondary Guarded: woodcutting and cleanses.
Trade: Supply axis: heartwood and oath sparks. Public demand centers on Oath Spark, Clockwork Spring, Gemstone, Rusted Plate.
Boss: Flame Cantor: Cleanse the Cinder Hymn and Rafter Echo Read, Defend the Ritual Burst, and hit with frost, dark, pierce, blunt, or nature. Boss-room pressure can appear at 100%. | Read: Cantor lofts rewards ❄️ frost, 🌑 dark, 🏹 pierce, 🔨 blunt; avoid relying only on 🗡️ slash. Mob signatures pressure burn, cleanse check, debuff, deep signal; the boss chart leans ❄️ frost, 🌑 dark, 🏹 pierce.
Damage lanes: weak: frost, dark, pierce, blunt, nature, fire, holy
Watch resists: resists: slash
Boss chart: weak: frost, dark, pierce, blunt, nature
resists: holy
Mob pressure: burn, cleanse check, debuff, deep signal
Counters: cleanse, frost, dark, burst | 30-40 | 🔥 Loft Chorister / 🕷️ Gearweaver / 🛡️ Rustbound Soldier | 🔥 Flame Cantor | 🌲 the cantor lofts req 24 | 🦴 Oath Spark, 🦴 Clockwork Spring, 💎 Gemstone, 🦴 Rusted Plate, 🟠 Amber, 🧪 Superior Health Potion, 🔥 Cantor Hymnal, 🪵 Ironwood Log | 6% on won hunts: 🦴 Oath Spark, 🦴 Clockwork Spring, 💎 Gemstone, 🦴 Rusted Plate
Won hunts can uncover Oath Spark, Clockwork Spring, Gemstone.
Choose this floor for heartwood and oath sparks; trade for the rest. | The Flame Cantor's hymn burns. Bring cleanses. | — | Field Order 33
win 2x Deep route hunts on Floor 2, Section G
clear Deep Signal on Floor 2, Section G
win with a spent Deep route plan on Floor 2, Section G or later
answer boss variant lesson against: Starless / Umbral Choir / Blight Ledger / Riftclock / Echo-Marked / Dreadmark / Omen Mirror / Mirror Echo on Floor 2, Section G
answer Deep boss-room pressure: Blight Count / Nocturne Refrain / Split Beat / Null Chorus on Floor 2, Section G
mastery: 🌑 Deep climb pressure read | 🌑 Deep primary: cantor loft heat
🛡️ Guarded secondary: woodcutting and cleanses
supply: heartwood and oath sparks | 🌑 Deep floor map marks cantor loft heat; boss leans Blight Ledger, Dreadmark; can roll Black Signal; matches Deep Signal; higher-risk EXP pressure is online; boss tests tempo or cleanse
🛡️ Guarded secondary map line supports woodcutting and cleanses; boss leans Formation Lock, Guard Marshal; can roll Guarded Watch; boss rewards guarded answers
⛏️ Resource boss leans Blight Ledger; can roll Loaded Cache; surveys public prep supply | 🔥 Flame Cantor Strike | 💧 Blight Ledger
🎼 Dark Singer
🌑 Dreadmark
🫨 Mirror Echo | 💧 Blight Count
🎼 Nocturne Refrain
⏱️ Split Beat | Narrow Stair 14%
Deep Signal 8% | steel, terrain, mystery, mystic | opening burst, positioning, single-target focus, codex checks | 10/10 |
| Floor 2, Section H | 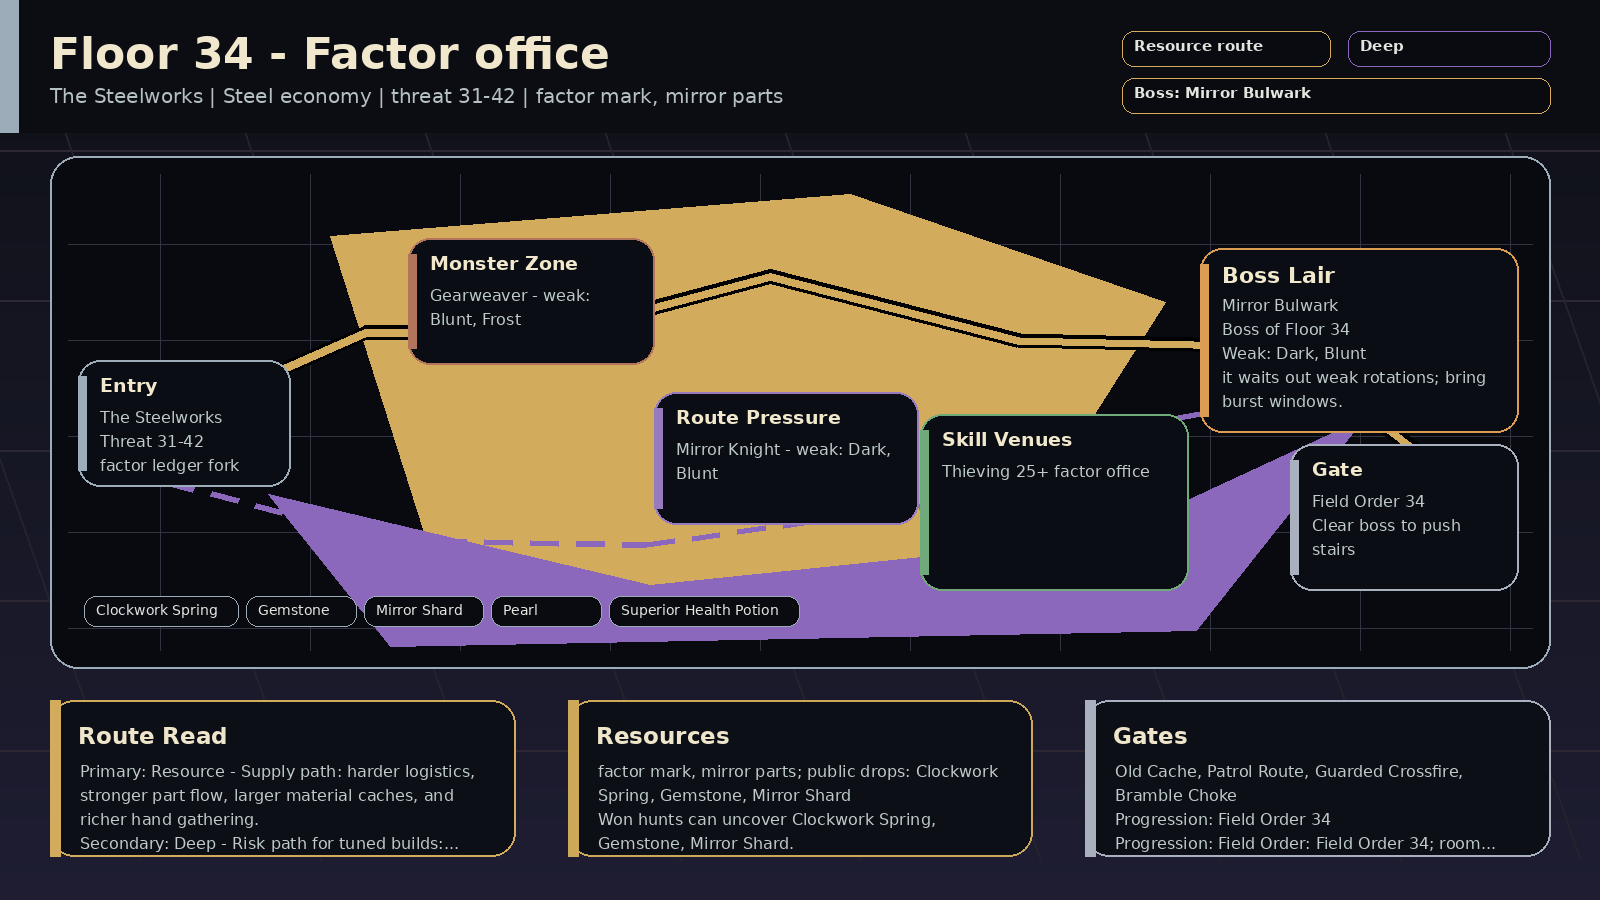 | ⚙️ Steel Crown | The Steelworks | Factor office | Payoff: factor mark, mirror parts; public drops: Mirror Shard, Gemstone, Pearl
Prep: Skill prep: Thieving 25+
Pressure: Steel economy; encounters: Old Cache, Patrol Route; boss: Mirror Bulwark
Route: Route plan: Resource primary for factor office fork; Deep secondary for thieving and supply runs
Progress: Progression: Field Order: Field Order 34; room pressure 100% | Read: Factor office (Steel economy). The Factor office pays out in marks and mirror parts.
Prep: Train Thieving; prep around thieving and supply runs. Field Order: Field Order 34.
Route: Primary Resource: factor office fork. Secondary Deep: thieving and supply runs.
Trade: Supply axis: factor marks and mirror parts. Public demand centers on Mirror Shard, Gemstone, Pearl, Clockwork Spring.
Boss: Mirror Bulwark: Break the Ledger Guard with dark, blunt, pierce, or frost hits, Defend the Crushing Guard, and save your burst for the opening after Factor Supply Read. Boss-room pressure can appear at 100%. | Read: Factor office rewards 🌑 dark, 🔨 blunt, 🏹 pierce, ❄️ frost; avoid relying only on 🗡️ slash, ✨ holy. Mob signatures pressure defense guard, resource check, inventory pressure, burst window; the boss chart leans 🌑 dark, 🔨 blunt, 🏹 pierce.
Damage lanes: weak: dark, blunt, pierce, frost, fire
Watch resists: resists: slash, holy
Boss chart: weak: dark, blunt, pierce, frost
resists: slash, holy
Mob pressure: defense guard, resource check, inventory pressure, burst window
Counters: blunt, pierce, dark, burst | 31-41 | 🪞 Factor Bailiff / 🕷️ Gearweaver / 🪞 Mirror Knight | 🪞 Mirror Bulwark | 🪙 the factor office req 25 | 🦴 Mirror Shard, 💎 Gemstone, ⚪ Pearl, 🦴 Clockwork Spring, 🧪 Superior Health Potion, 🪞 Bulwark Mirror | 6% on won hunts: 🦴 Mirror Shard, 💎 Gemstone, ⚪ Pearl, 🦴 Clockwork Spring
Won hunts can uncover Mirror Shard, Gemstone, Pearl.
Choose this floor for factor marks and mirror parts; trade for the rest. | The Factor office pays out in marks and mirror parts. | — | Field Order 34
win 2x Resource route hunts on Floor 2, Section H
clear Old Cache on Floor 2, Section H
recover Resource supply for Mirror Shard / Gemstone / Clockwork Spring on Floor 2, Section H
win with a spent Supply Contract on Floor 2, Section H or later
answer boss variant lesson against: Manifold / Quartermaster / Convoy-Bound / Surveyor / Tithe-Keeper / Ledgermaw / Seam-Sealed / Supply-Locked on Floor 2, Section H
mastery: ⛏️ Resource climb pressure read | ⛏️ Resource primary: factor office fork
🌑 Deep secondary: thieving and supply runs
supply: factor marks and mirror parts | ⛏️ Resource floor map marks factor office fork; boss leans Cache Splitter, Quartermaster; can roll Loaded Cache; matches Old Cache, Patrol Route; boss has supply-line pressure; surveys public prep supply
🌑 Deep secondary map line supports thieving and supply runs; can roll Black Signal; higher-risk EXP pressure is online
🛡️ Guarded can roll Guarded Watch; boss rewards guarded answers | 🪞 Mirror Bulwark Strike | 📦 Cache Splitter
📋 Quartermaster
🧾 Quota-Forged
🔁 Relay-Bound | 🌿 Bramble Choke
📦 Supply Audit
📒 Toll Audit | Old Cache 10%
Patrol Route 16% | steel, reward, patrol, tank | inventory space, trade routes, gathering tools, full HP | 10/10 |
| Floor 2, Section I | 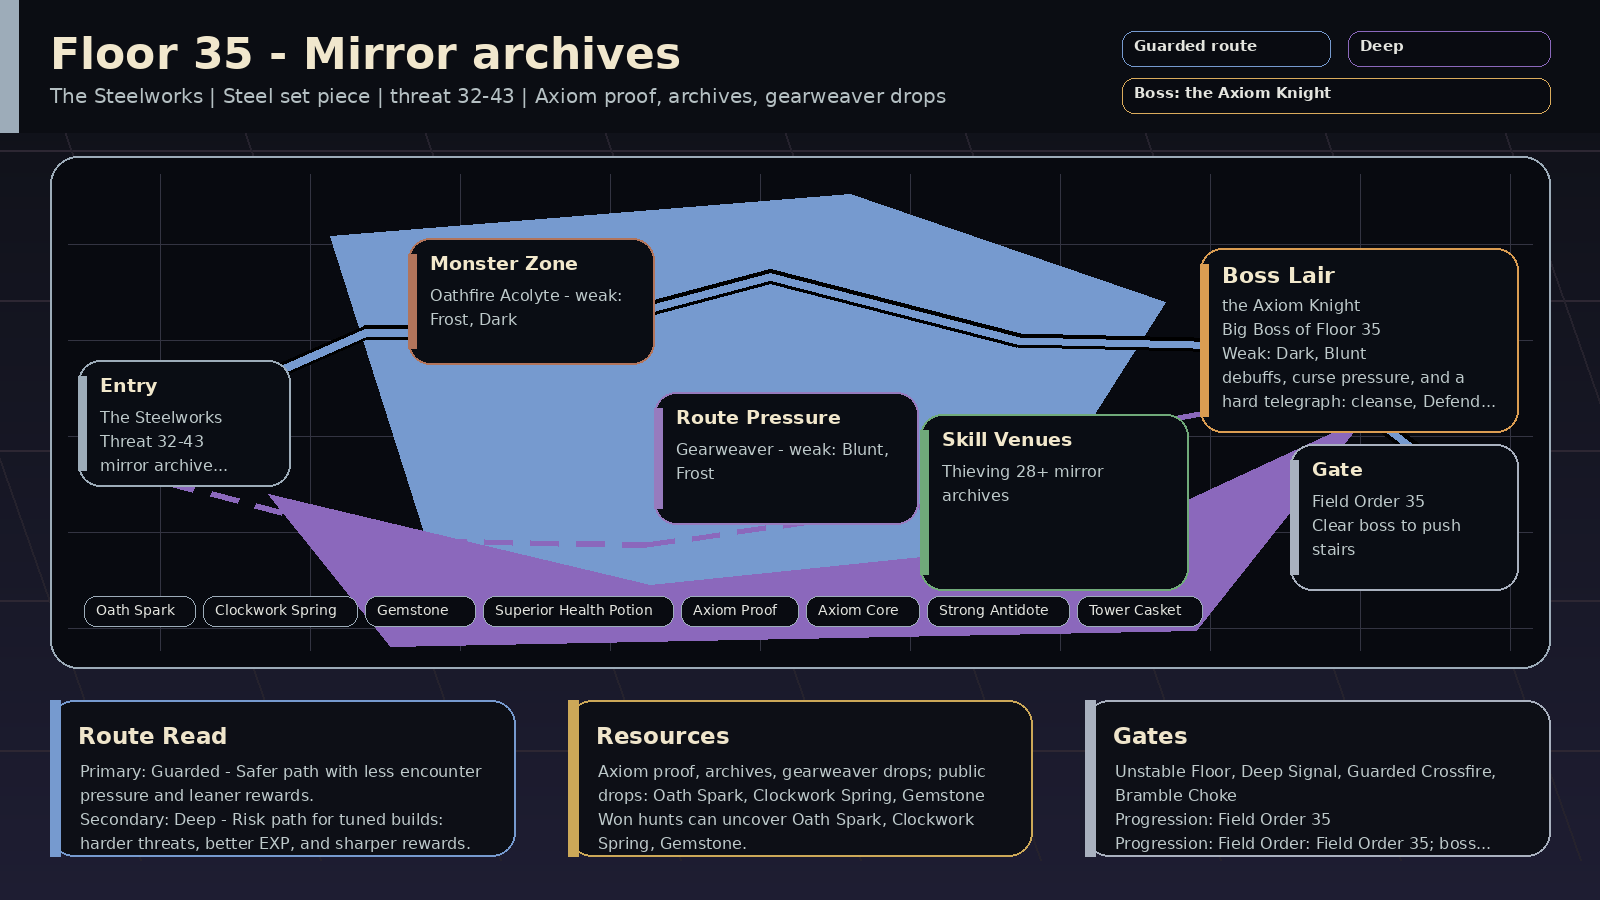 | ⚙️ Steel Crown | The Steelworks | Mirror archives | Payoff: Steel proof, archives, gearweaver drops; public drops: Mirror Shard, Gemstone, Pearl
Prep: Skill prep: Thieving 28+
Pressure: Steel set piece; encounters: Unstable Floor, Deep Signal; boss: the Steel Knight
Route: Route plan: Guarded primary for mirror archive set-piece; Deep secondary for Steel preparation
Progress: Progression: Field Order: Field Order 35; boss entry: The Steel Oath; room pressure 100% | Read: Mirror archives (Steel set piece). The Steel Knight brings debuffs, curses, and a big telegraphed hit.
Prep: Train Thieving; prep around Steel preparation. Field Order: Field Order 35.
Route: Primary Guarded: mirror archive set-piece. Secondary Deep: Steel preparation.
Trade: Supply axis: Steel proof and gearweaver drops. Public demand centers on Mirror Shard, Gemstone, Pearl, Oath Spark.
Boss: the Steel Knight: Debuffs, curse pressure, and a hard telegraph: cleanse, Defend, then burst. Boss-room pressure can appear at 100%. | Read: Mirror archives rewards 🌑 dark, ✨ holy, ❄️ frost, 🏹 pierce; avoid relying only on 🗡️ slash. Mob signatures pressure debuff, daze, burst window, damage; the boss chart leans 🌑 dark, 🔨 blunt, 🏹 pierce.
Damage lanes: weak: dark, holy, frost, pierce, blunt, nature, fire
Watch resists: resists: slash
Boss chart: weak: dark, blunt, pierce, frost, fire, nature
resists: holy
Mob pressure: debuff, daze, burst window, damage
Counters: dark, holy, burst, cleanse | 32-42 | 🪞 Archive Mirror / 🔥 Flame Acolyte / 🕷️ Gearweaver | 📐 the Steel Knight | 🪙 the mirror archives req 28 | 🦴 Mirror Shard, 💎 Gemstone, ⚪ Pearl, 🦴 Oath Spark, 🦴 Clockwork Spring, 🧪 Superior Health Potion, 📐 Steel Proof, 🦴 Steel Core | 6% on won hunts: 🦴 Mirror Shard, 💎 Gemstone, ⚪ Pearl, 🦴 Oath Spark
Won hunts can uncover Mirror Shard, Gemstone, Pearl.
Choose this floor for Steel proof and gearweaver drops; trade for the rest. | The Steel Knight brings debuffs, curses, and a big telegraphed hit. | — | Field Order 35
win 2x Guarded route hunts on Floor 2, Section I
clear Unstable Floor on Floor 2, Section I
win with a spent Guarded route plan on Floor 2, Section I or later
answer boss variant lesson against: Bastion / Sealed Guard / Trailwarden / Bannerline / Shieldwall / Countermarch / Formation Lock / Guard Marshal on Floor 2, Section I
answer Guarded boss-room pressure: Bramble Choke / Breaker Window / Guarded Crossfire / Null Chorus on Floor 2, Section I
mastery: 🛡️ Guarded climb pressure read | 🛡️ Guarded primary: mirror archive set-piece
🌑 Deep secondary: Steel preparation
supply: Steel proof and gearweaver drops | 🛡️ Guarded floor map marks mirror archive set-piece; boss leans Citadel-Bound, Countermarch; can roll Guarded Watch; safer prep before a set-piece floor; boss rewards guarded answers
🌑 Deep secondary map line supports Steel preparation; boss leans Dreadmark, Dark Rift; can roll Black Signal; matches Deep Signal, Unstable Floor; higher-risk EXP pressure is online; boss tests tempo or cleanse
⛏️ Resource can roll Loaded Cache; surveys public prep supply; helps the next stair's logistics | ⚔️ Proof Cut | 🌌 Dark Rift
🌑 Dreadmark
🕳️ Nullfield
🫨 Mirror Echo | 🎼 Nocturne Refrain
⏱️ Split Beat
💧 Blight Count | Unstable Floor 12%
Deep Signal 8% | steel, hazard, mystery, mystic | accuracy through skills, defend timing, avoid low HP chains, codex checks | 10/10 |
| Floor 2, Section J | 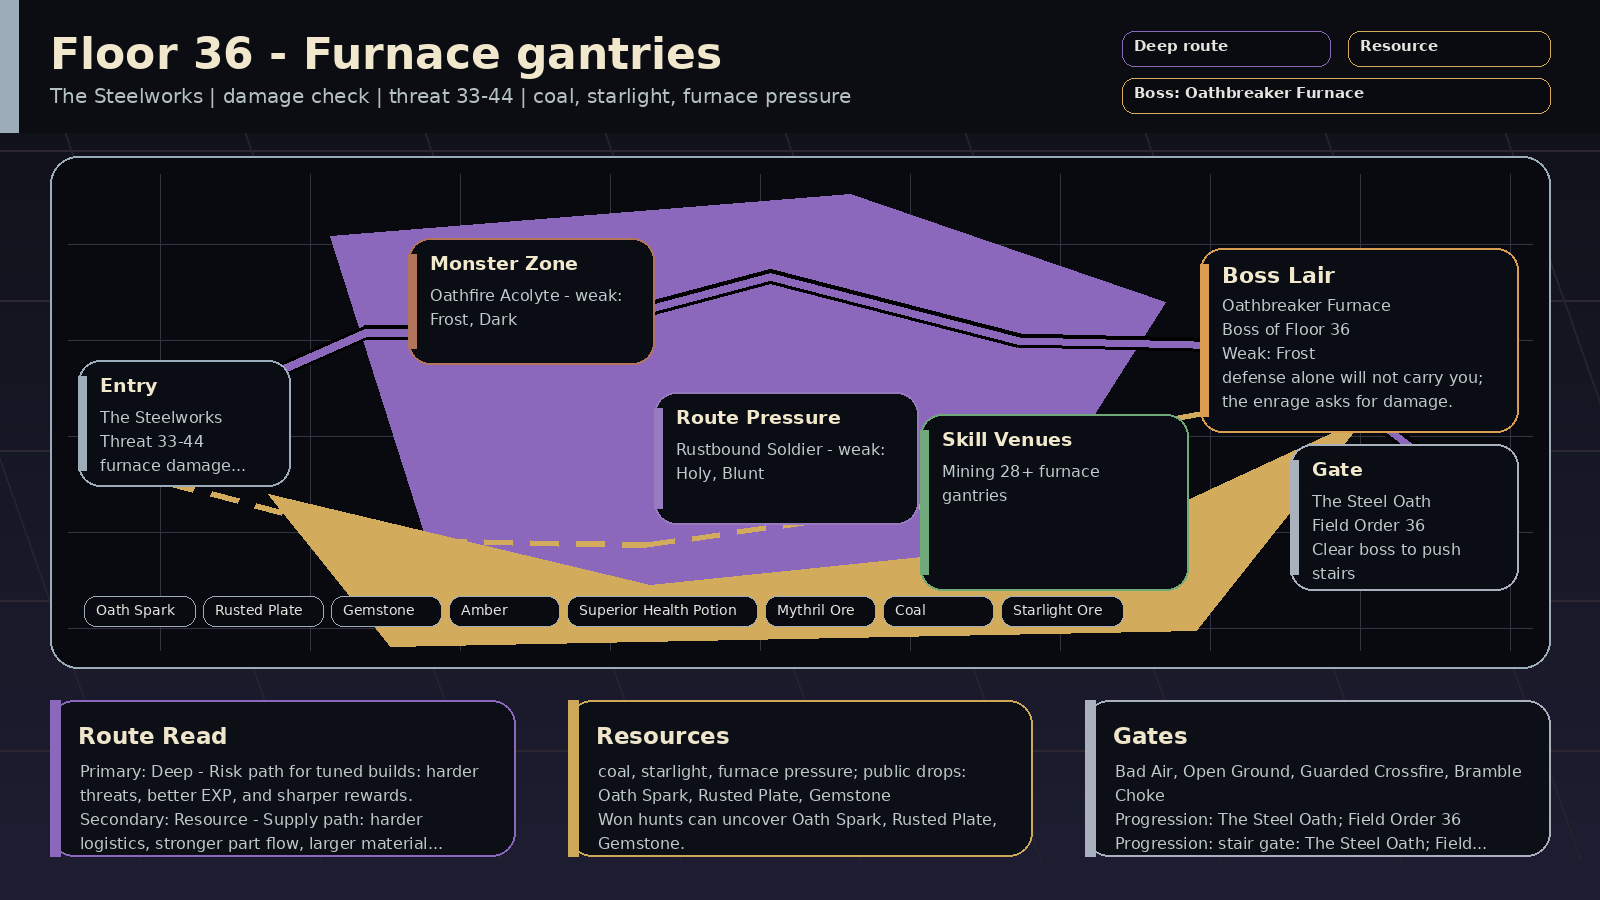 | ⚙️ Steel Crown | The Steelworks | Furnace gantries | Payoff: coal, starlight, furnace pressure; public drops: Coal, Gemstone, Oath Spark
Prep: Skill prep: Mining 28+
Pressure: damage check; encounters: Bad Air, Open Ground; boss: Broken Furnace
Route: Route plan: Deep primary for furnace damage lane; Resource secondary for mining and heat management
Progress: Progression: stair gate: The Steel Oath; Field Order: Field Order 36; boss entry: The Furnace Muster | Read: Furnace gantries (damage check). Defense alone is not enough over live heat.
Prep: Train Mining; prep around mining and heat management. Stair gate: The Steel Oath.
Route: Primary Deep: furnace damage lane. Secondary Resource: mining and heat management.
Trade: Supply axis: coal, starlight, furnace pressure. Public demand centers on Coal, Gemstone, Oath Spark, Rusted Plate.
Boss: Broken Furnace: Cleanse the Heat Draft, Defend the Brutal Overhand, and hit Open Grate hard with frost, pierce, dark, blunt, or nature hits. | Read: Furnace gantries rewards ❄️ frost, 🏹 pierce, 🌑 dark, 🔨 blunt; avoid relying only on 🔥 fire, 🗡️ slash. Mob signatures pressure burn, slow, cleanse check, tempo check; the boss chart leans ❄️ frost, 🏹 pierce, 🌑 dark.
Damage lanes: weak: frost, pierce, dark, blunt, nature, holy
Watch resists: resists: fire, slash
Boss chart: weak: frost, pierce, dark, blunt, nature
resists: fire, slash, holy
Mob pressure: burn, slow, cleanse check, tempo check
Counters: cleanse, frost, control, defend | 33-43 | 🔥 Gantry Stoker / 🔥 Flame Acolyte / 🛡️ Rustbound Soldier | 🔥 Broken Furnace | ⛏️ the furnace gantries req 28 | 🪨 Coal, 💎 Gemstone, 🦴 Oath Spark, 🦴 Rusted Plate, 🟠 Amber, 🧪 Superior Health Potion, 🔥 Furnace Grate, 🪨 Mythril Ore | 6% on won hunts: 🪨 Coal, 💎 Gemstone, 🦴 Oath Spark, 🦴 Rusted Plate
Won hunts can uncover Coal, Gemstone, Oath Spark.
Choose this floor for coal, starlight, furnace pressure; trade for the rest. | Defense alone is not enough over live heat. | The Steel Oath
win 8x hunts on Floor 2, Section E or later
train Mining at the slag heaps on Floor 2, Section E
deliver 3x Steel Bar
defeat the Steel Knight | Field Order 36
win 2x Deep route hunts on Floor 2, Section J
clear Bad Air on Floor 2, Section J
defeat Broken Furnace | 🌑 Deep primary: furnace damage lane
⛏️ Resource secondary: mining and heat management
supply: coal, starlight, furnace pressure | 🌑 Deep floor map marks furnace damage lane; boss leans Blight Ledger, Dreadmark; can roll Black Signal; matches Bad Air; higher-risk EXP pressure is online; boss tests tempo or cleanse
⛏️ Resource secondary map line supports mining and heat management; boss leans Blight Ledger; can roll Loaded Cache; boss has supply-line pressure; surveys public prep supply; helps the next stair's logistics
🛡️ Guarded boss leans Citadel-Bound, Formation Lock; can roll Guarded Watch; boss rewards guarded answers | 🔥 Broken Furnace Strike | — | — | Bad Air 12%
Open Ground 18% | steel, hazard, terrain, brute | antidotes, cleanse skills, food belt, speed control | 10/10 |
| Floor 2, Section K | 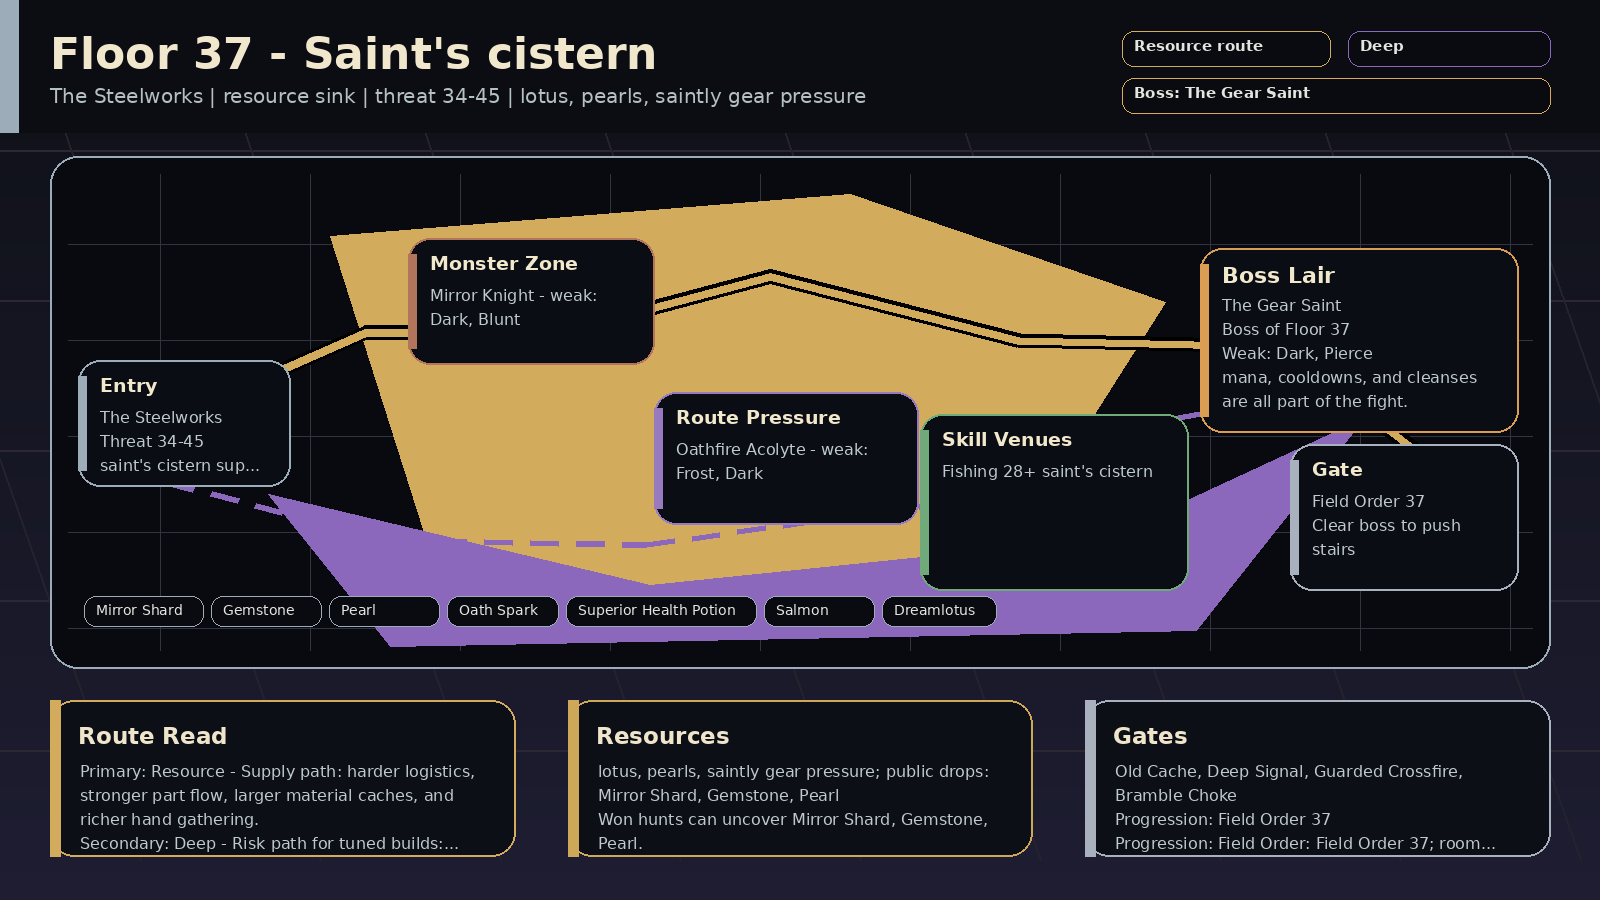 | ⚙️ Steel Crown | The Steelworks | Saint's cistern | Payoff: lotus, pearls, saintly gear pressure; public drops: Pearl, Gemstone, Mirror Shard
Prep: Skill prep: Fishing 28+
Pressure: resource sink; encounters: Old Cache, Deep Signal; boss: The Gear Saint
Route: Route plan: Resource primary for saint's cistern supply sink; Deep secondary for fishing and late potions
Progress: Progression: stair gate: The Furnace Muster; Field Order: Field Order 37; room pressure 100% | Read: Saint's cistern (resource sink). The cistern feeds late potions and strange machines.
Prep: Train Fishing; prep around fishing and late potions. Stair gate: The Furnace Muster.
Route: Primary Resource: saint's cistern supply sink. Secondary Deep: fishing and late potions.
Trade: Supply axis: lotus, pearls, saintly gear. Public demand centers on Pearl, Gemstone, Mirror Shard, Oath Spark.
Boss: The Gear Saint: Cleanse the Cistern Hex, interrupt Cistern Supply Read before its guard closes, Defend the Ritual Burst, and hit with dark, pierce, fire, frost, or blunt. Boss-room pressure can appear at 100%. | Read: Saint's cistern rewards 🌑 dark, 🏹 pierce, 🔥 fire, ❄️ frost; avoid relying only on ✨ holy, 🗡️ slash. Mob signatures pressure resource check, cleanse check, inventory pressure, burst window; the boss chart leans 🌑 dark, 🏹 pierce, 🔥 fire.
Damage lanes: weak: dark, pierce, fire, frost, blunt, nature
Watch resists: resists: holy, slash
Boss chart: weak: dark, pierce, fire, frost, blunt
resists: holy
Mob pressure: resource check, cleanse check, inventory pressure, burst window
Counters: tools, dark, pierce, burst | 34-44 | ⚙️ Cistern Reclaimer / 🪞 Mirror Knight / 🔥 Flame Acolyte | ⚙️ The Gear Saint | 🎣 the saint's cistern req 28 | ⚪ Pearl, 💎 Gemstone, 🦴 Mirror Shard, 🦴 Oath Spark, 🧪 Superior Health Potion, ⚙️ Saint Cog, 🐟 Salmon, 🪷 Dreamlotus | 6% on won hunts: ⚪ Pearl, 💎 Gemstone, 🦴 Mirror Shard, 🦴 Oath Spark
Won hunts can uncover Pearl, Gemstone, Mirror Shard.
Choose this floor for lotus, pearls, saintly gear; trade for the rest. | The cistern feeds late potions and strange machines. | The Furnace Muster
deliver 6x Coal
deliver 2x Oath Spark
deliver 2x Drakescale Salve
train Mining at the furnace gantries on Floor 2, Section J | Field Order 37
win 2x Resource route hunts on Floor 2, Section K
clear Old Cache on Floor 2, Section K
recover Resource supply for Oath Spark / Superior Health Potion / Dreamlotus on Floor 2, Section K
win with a spent Supply Contract on Floor 2, Section K or later
answer boss variant lesson against: Reclaimer / Stockpiled / Convoy-Bound / Surveyor / Tithe-Keeper / Ledgermaw / Seam-Sealed / Supply-Locked on Floor 2, Section K
mastery: ⛏️ Resource climb pressure read | ⛏️ Resource primary: saint's cistern supply sink
🌑 Deep secondary: fishing and late potions
supply: lotus, pearls, saintly gear | ⛏️ Resource floor map marks saint's cistern supply sink; boss leans Cache Splitter, Quota-Forged; can roll Loaded Cache; matches Old Cache; boss has supply-line pressure; surveys public prep supply; primes Warden Assembly logistics
🌑 Deep secondary map line supports fishing and late potions; can roll Black Signal; matches Deep Signal; higher-risk EXP pressure is online; boss tests tempo or cleanse
🛡️ Guarded can roll Guarded Watch; boss rewards guarded answers | ⚙️ Gear Saint Strike | 🔁 Relay-Bound
🧭 Surveyor
📦 Cache Splitter
🧾 Quota-Forged | 💧 Blight Count
🌿 Bramble Choke
🧰 Cache Collapse | Old Cache 10%
Deep Signal 8% | steel, reward, mystery, mystic | inventory space, trade routes, gathering tools, codex checks | 10/10 |
| Floor 2, Section L | 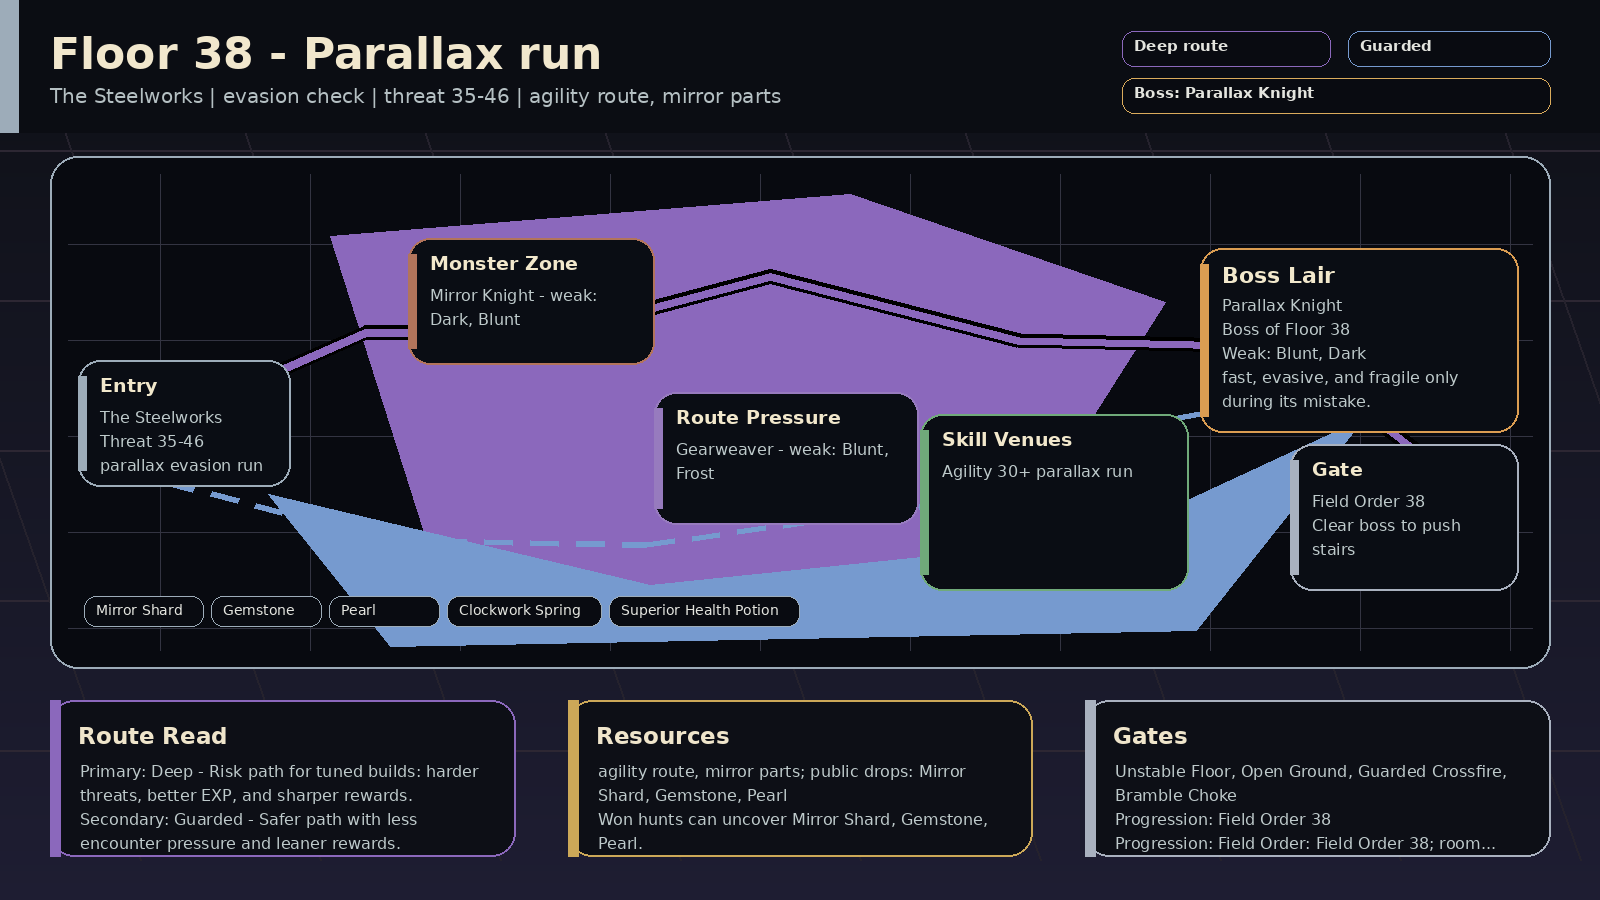 | ⚙️ Steel Crown | The Steelworks | Mirror run | Payoff: agility route, mirror parts; public drops: Mirror Shard, Gemstone, Pearl
Prep: Skill prep: Agility 30+
Pressure: evasion check; encounters: Failing Light, Open Ground; boss: Mirror Knight
Route: Route plan: Deep primary for mirror evasion run; Guarded secondary for agility and mirror pressure
Progress: Progression: Field Order: Field Order 38; room pressure 100% | Read: Mirror run (evasion check). Mirrors make it hard to tell where the next hit comes from.
Prep: Train Agility; prep around agility and mirror pressure. Field Order: Field Order 38.
Route: Primary Deep: mirror evasion run. Secondary Guarded: agility and mirror pressure.
Trade: Supply axis: mirror parts and route timing. Public demand centers on Mirror Shard, Gemstone, Pearl, Clockwork Spring.
Boss: Mirror Knight: Use control on Vanishing Angle, cleanse Mirror Echo Read, Defend the Pouncing Break, and punish the blindside with blunt, dark, pierce, fire, frost, or nature hits. Boss-room pressure can appear at 100%. | Read: Mirror run rewards 🔨 blunt, 🌑 dark, 🏹 pierce, 🔥 fire; avoid relying only on 🗡️ slash, ✨ holy. Mob signatures pressure positioning, control, tempo check, deep signal; the boss chart leans 🔨 blunt, 🌑 dark, 🏹 pierce.
Damage lanes: weak: blunt, dark, pierce, fire, frost, nature
Watch resists: resists: slash, holy
Boss chart: weak: blunt, dark, pierce, fire, frost, nature
Mob pressure: positioning, control, tempo check, deep signal
Counters: speed control, dark, pierce, defend | 35-45 | 🪞 Angle Strider / 🪞 Mirror Knight / 🕷️ Gearweaver | 🪞 Mirror Knight | 🏃 the mirror run req 30 | 🦴 Mirror Shard, 💎 Gemstone, ⚪ Pearl, 🦴 Clockwork Spring, 🧪 Superior Health Potion, 🪞 Knight Visor | 6% on won hunts: 🦴 Mirror Shard, 💎 Gemstone, ⚪ Pearl, 🦴 Clockwork Spring
Won hunts can uncover Mirror Shard, Gemstone, Pearl.
Choose this floor for mirror parts and route timing; trade for the rest. | Mirrors make it hard to tell where the next hit comes from. | — | Field Order 38
win 2x Deep route hunts on Floor 2, Section L
clear Failing Light on Floor 2, Section L
win with a spent Deep route plan on Floor 2, Section L or later
answer boss variant lesson against: Dark Rift / Riftmarked / Umbral Choir / Tempo-Locked / Riftclock / Echo-Marked / Echo Binder / Gravecaller on Floor 2, Section L
answer Deep boss-room pressure: Split Beat / Blight Count / Nocturne Refrain / Null Chorus on Floor 2, Section L
mastery: 🌑 Deep climb pressure read | 🌑 Deep primary: mirror evasion run
🛡️ Guarded secondary: agility and mirror pressure
supply: mirror parts and route timing | 🌑 Deep floor map marks mirror evasion run; boss leans Doomsignal, Dreadmark; can roll Black Signal; higher-risk EXP pressure is online; boss tests tempo or cleanse
🛡️ Guarded secondary map line supports agility and mirror pressure; can roll Guarded Watch; boss rewards guarded answers
⛏️ Resource can roll Loaded Cache; surveys public prep supply; primes Warden Assembly logistics | 🪞 Mirror Knight Strike | 🫨 Mirror Echo
🌌 Night Chorus
🫥 Phasewalk
⏱️ Tempo-Locked | ⏱️ Split Beat
💧 Blight Count
🌿 Bramble Choke | Failing Light 12%
Open Ground 18% | steel, hazard, terrain, swift | accuracy through skills, scout reads, defend timing, speed control | 10/10 |
| Floor 2, Section M | 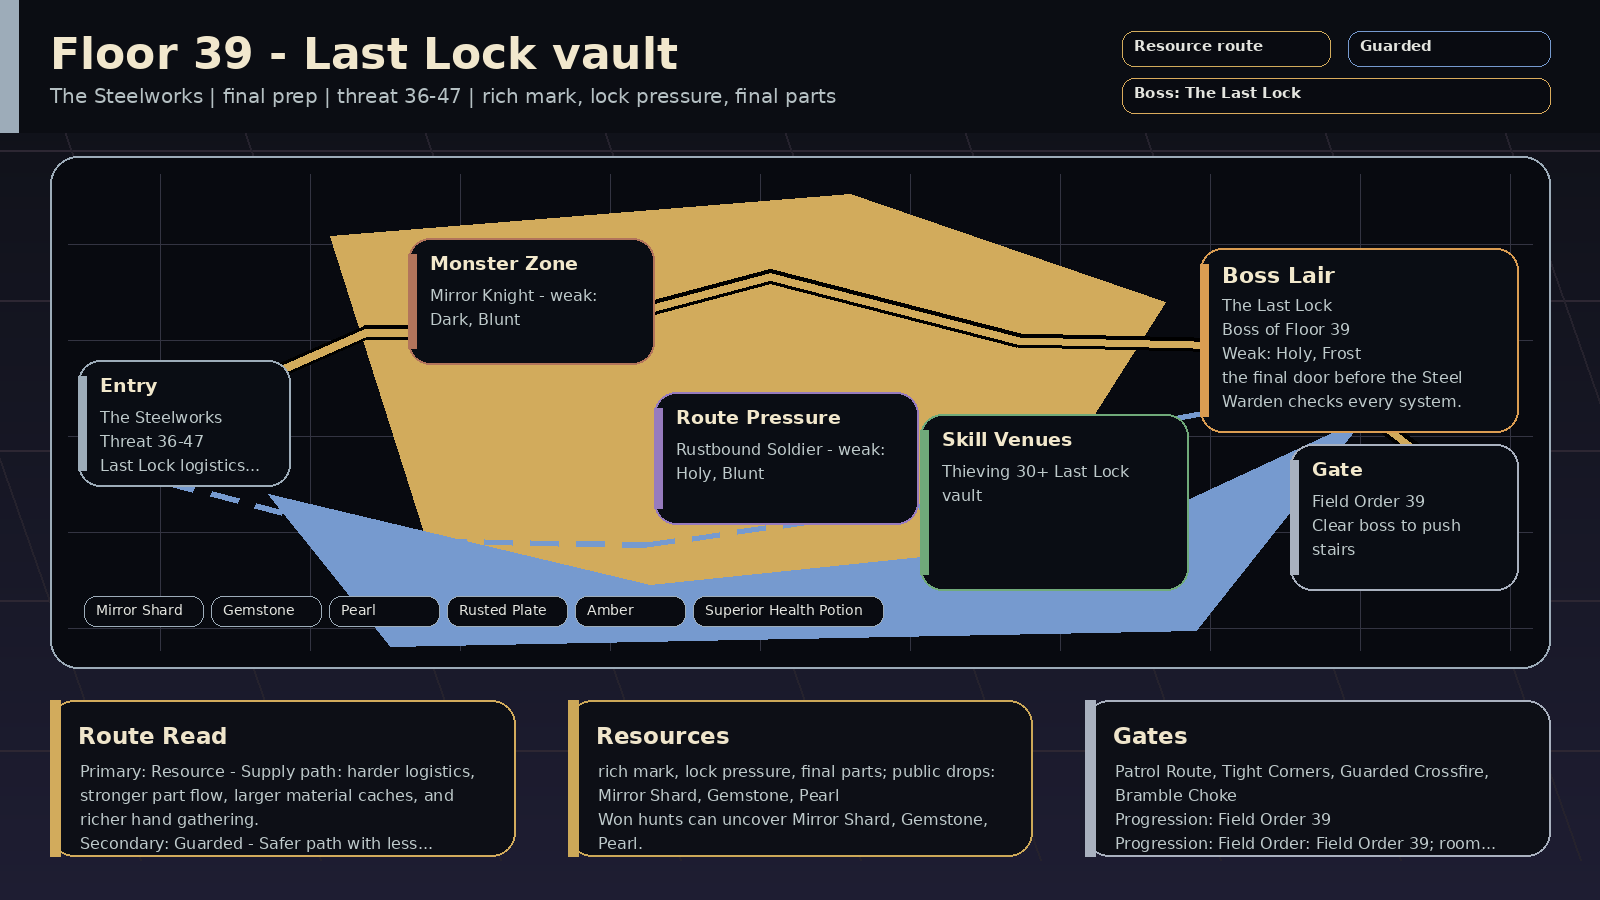 | ⚙️ Steel Crown | The Steelworks | Last Lock vault | Payoff: rich mark, lock pressure, final parts; public drops: Rusted Plate, Gemstone, Pearl
Prep: Skill prep: Thieving 30+
Pressure: final prep; encounters: Patrol Route, Tight Corners; boss: The Last Lock
Route: Route plan: Resource primary for Last Lock logistics vault; Guarded secondary for thieving and final supply
Progress: Progression: Field Order: Field Order 39; room pressure 100% | Read: Last Lock vault (final prep). The door before the Warden is awake.
Prep: Train Thieving; prep around thieving and final supply. Field Order: Field Order 39.
Route: Primary Resource: Last Lock logistics vault. Secondary Guarded: thieving and final supply.
Trade: Supply axis: rich marks, lock pressure, final parts. Public demand centers on Rusted Plate, Gemstone, Pearl, Mirror Shard.
Boss: The Last Lock: Break Final Lock Guard with frost, blunt, pierce, dark, or nature hits, punish the opening after Vault Supply Read, Defend Crushing Guard, and hit hard on Vault Plate Crack. Boss-room pressure can appear at 100%. | Read: Last Lock vault rewards ❄️ frost, 🔨 blunt, 🏹 pierce, 🌑 dark; avoid relying only on 🗡️ slash. Mob signatures pressure defense guard, resource check, type check, burst window; the boss chart leans ❄️ frost, 🔨 blunt, 🏹 pierce.
Damage lanes: weak: frost, blunt, pierce, dark, nature, holy
Watch resists: resists: slash
Boss chart: weak: frost, blunt, pierce, dark, nature
resists: slash, holy
Mob pressure: defense guard, resource check, type check, burst window
Counters: blunt, pierce, dark, burst | 36-46 | 🔒 Vault Lockwright / 🪞 Mirror Knight / 🛡️ Rustbound Soldier | 🔒 The Last Lock | 🪙 the Last Lock vault req 30 | 🦴 Rusted Plate, 💎 Gemstone, ⚪ Pearl, 🦴 Mirror Shard, 🟠 Amber, 🧪 Superior Health Potion, 🔒 Lock Cylinder | 6% on won hunts: 🦴 Rusted Plate, 💎 Gemstone, ⚪ Pearl, 🦴 Mirror Shard
Won hunts can uncover Rusted Plate, Gemstone, Pearl.
Choose this floor for rich marks, lock pressure, final parts; trade for the rest. | The door before the Warden is awake. | — | Field Order 39
win 2x Resource route hunts on Floor 2, Section M
clear Patrol Route on Floor 2, Section M
recover Resource supply for Superior Health Potion / Rusted Plate / Pearl on Floor 2, Section M
win with a spent Supply Contract on Floor 2, Section M or later
answer boss variant lesson against: Manifold / Quartermaster / Convoy-Bound / Surveyor / Ledgermaw / Seam-Sealed / Supply-Locked / Claim-Staked on Floor 2, Section M
mastery: ⛏️ Resource climb pressure read | ⛏️ Resource primary: Last Lock logistics vault
🛡️ Guarded secondary: thieving and final supply
supply: rich marks, lock pressure, final parts | ⛏️ Resource floor map marks Last Lock logistics vault; boss leans Cache Splitter, Quartermaster; can roll Loaded Cache; matches Patrol Route; boss has supply-line pressure; surveys public prep supply; primes Warden Assembly logistics; helps the next stair's logistics
🛡️ Guarded secondary map line supports thieving and final supply; boss leans Citadel-Bound, Countermarch; can roll Guarded Watch; matches Tight Corners; boss rewards guarded answers
🌑 Deep boss leans Dreadmark, Omen Mirror; can roll Black Signal; higher-risk EXP pressure is online | 🔒 The Last Lock Strike | 🏯 Citadel-Bound
🥁 Countermarch
🧷 Formation Lock
📜 Guard Marshal | 🌿 Bramble Choke
🛡️ Guarded Crossfire
📦 Supply Audit | Patrol Route 16%
Tight Corners 14% | steel, patrol, terrain, tank | full HP, correct damage type, escape plan, blunt damage | 10/10 |
| Floor 2, Section N | 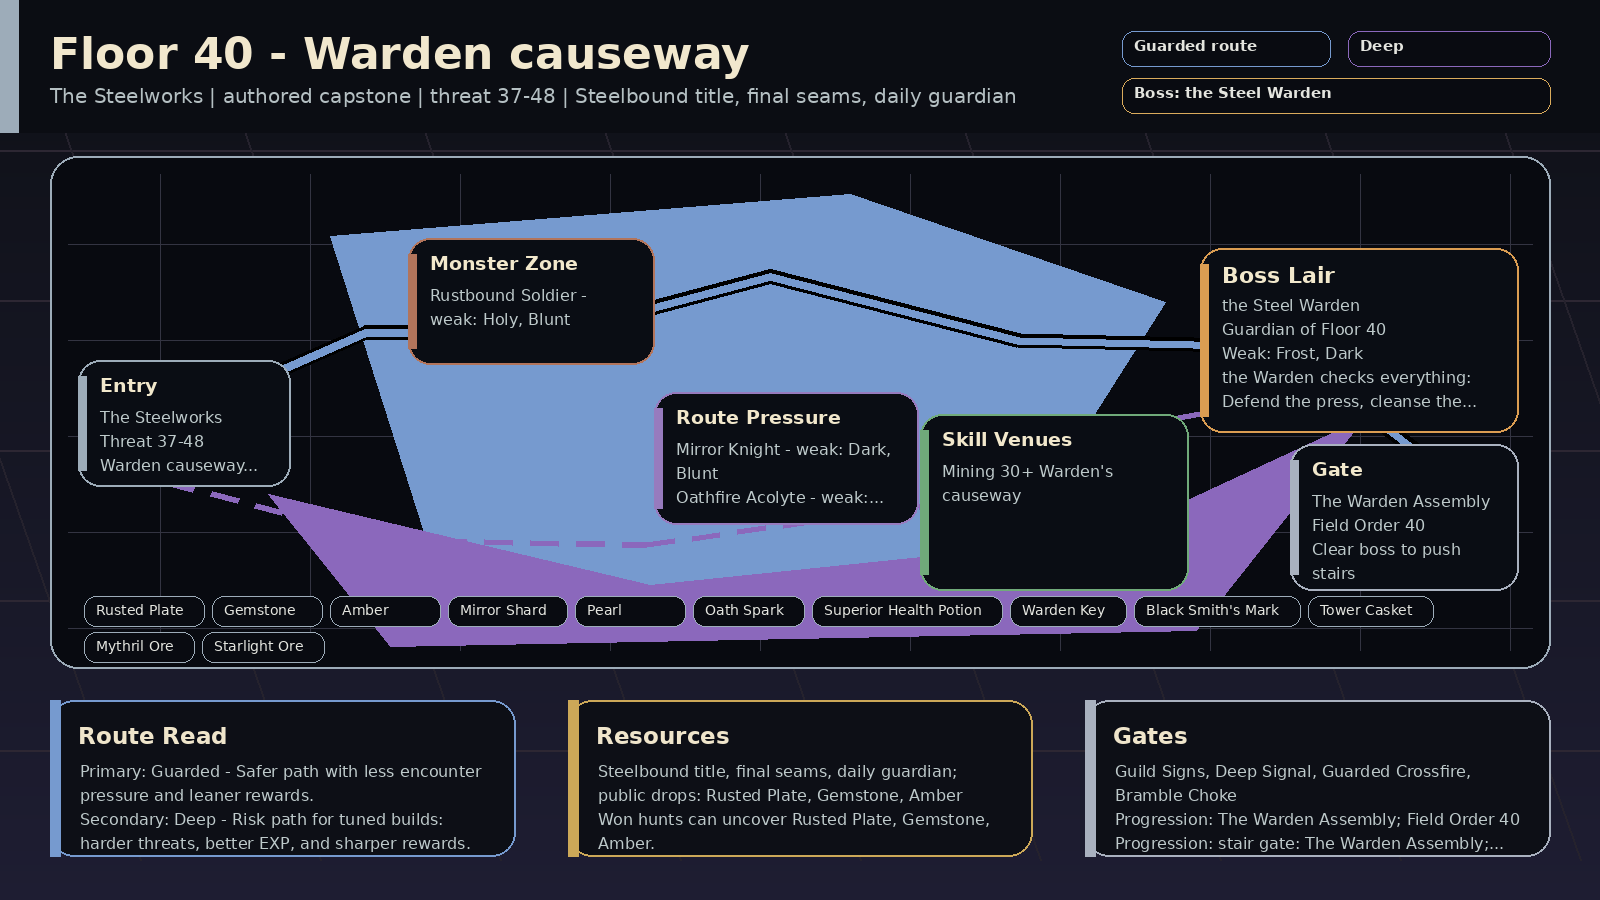 | ⚙️ Steel Crown | The Steelworks | Warden causeway | Payoff: Steelbound title, final seams, daily guardian; public drops: Rusted Plate, Gemstone, Amber
Prep: Skill prep: Mining 30+
Pressure: capstone exam; encounters: Guild Signs, Deep Signal; boss: the Steel Warden
Route: Route plan: Guarded primary for Warden causeway assembly; Deep secondary for capstone preparation
Progress: Progression: stair gate: The Warden Assembly; Field Order: Field Order 40; boss entry: The Warden Assembly; room pressure 100% | Read: Warden causeway (capstone exam). The Steel Warden checks combat, economy, and preparation together.
Prep: Train Mining; prep around capstone preparation. Stair gate: The Warden Assembly.
Route: Primary Guarded: Warden causeway assembly. Secondary Deep: capstone preparation.
Trade: Supply axis: final seams and guardian supply. Public demand centers on Rusted Plate, Gemstone, Amber, Mirror Shard.
Boss: the Steel Warden: The Warden checks everything: Defend the press, cleanse the burn/curse, unload on Open Seam. Boss-room pressure can appear at 100%. | Read: Warden causeway rewards 🔨 blunt, 🌑 dark, ✨ holy, 🏹 pierce; avoid relying only on 🗡️ slash, 🔥 fire. Mob signatures pressure defense guard, bleed, telegraph, damage; the boss chart leans ❄️ frost, 🌑 dark, 🏹 pierce.
Damage lanes: weak: blunt, dark, holy, pierce, nature, frost
Watch resists: resists: slash, fire
Boss chart: weak: frost, dark, pierce, blunt
resists: holy
Mob pressure: defense guard, bleed, telegraph, damage
Counters: blunt, dark, burst, cleanse | 37-47 | 🛡️ Causeway Warden / 🛡️ Rustbound Soldier / 🪞 Mirror Knight / 🔥 Flame Acolyte | ⚙️ the Steel Warden | ⛏️ the Warden's causeway req 30 | 🦴 Rusted Plate, 💎 Gemstone, 🟠 Amber, 🦴 Mirror Shard, ⚪ Pearl, 🦴 Oath Spark, 🧪 Superior Health Potion, 🔑 Warden Key | 6% on won hunts: 🦴 Rusted Plate, 💎 Gemstone, 🟠 Amber, 🦴 Mirror Shard
Won hunts can uncover Rusted Plate, Gemstone, Amber.
Choose this floor for final seams and guardian supply; trade for the rest. | The Steel Warden checks combat, economy, and preparation together. | The Warden Assembly
have Warden Oil
have Mirror Lens
train Thieving at the Last Lock vault on Floor 2, Section M
win 2x Resource route hunts on Floor 2, Section M or later | Field Order 40
win 2x Guarded route hunts on Floor 2, Section N
clear Guild Signs on Floor 2, Section N
win with a spent Guarded route plan on Floor 2, Section N or later
answer boss variant lesson against: Standard-Bearer / Sealed Guard / Trailwarden / Bannerline / Shieldwall / Countermarch / Vanguard Lock / Formation Lock on Floor 2, Section N
answer Guarded boss-room pressure: Breaker Window / Guarded Crossfire / Null Chorus / Bramble Choke on Floor 2, Section N
mastery: 🛡️ Guarded climb pressure read | 🛡️ Guarded primary: Warden causeway assembly
🌑 Deep secondary: capstone preparation
supply: final seams and guardian supply | 🛡️ Guarded floor map marks Warden causeway assembly; boss leans Brambleward, Citadel-Bound; can roll Guarded Watch; matches Guild Signs; safer prep before a set-piece floor; boss rewards guarded answers
🌑 Deep secondary map line supports capstone preparation; boss leans Doomsignal, Dreadmark; can roll Black Signal; matches Deep Signal, Unstable Floor; higher-risk EXP pressure is online; boss tests tempo or cleanse
⛏️ Resource boss leans Cache Splitter, Quota-Forged; can roll Loaded Cache; matches Guild Signs; surveys public prep supply; primes Warden Assembly logistics | ⚔️ Warden's Cut | 🎼 Dark Singer
📡 Doomsignal
🌑 Dreadmark
🕯️ Gravecaller | 🎼 Nocturne Refrain
⏱️ Split Beat
💧 Blight Count | Guild Signs 8%
Deep Signal 8%
Unstable Floor 12% | steel, social, mystery, hazard | guild board, trade prep, shared farming, codex checks | 10/10 |
| Floor 2, Section O | 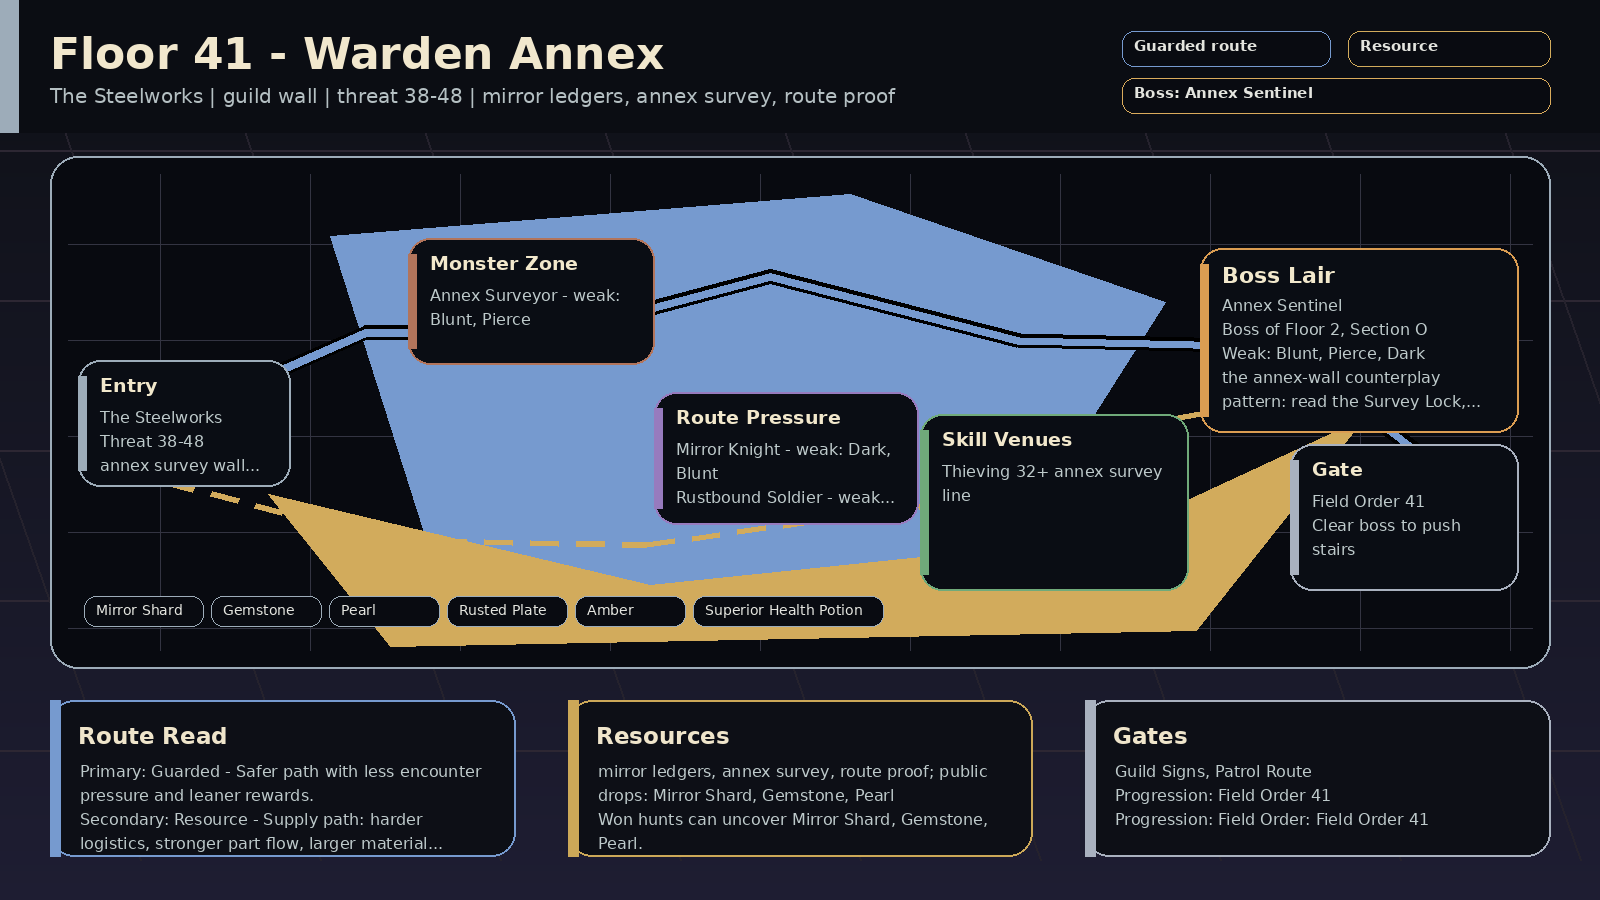 | ⚙️ Steel Crown | The Steelworks | Warden Annex | Payoff: mirror parts, annex survey, wall supplies; public drops: Mirror Shard, Gemstone, Pearl
Prep: Skill prep: Thieving 32+
Pressure: guild wall; encounters: Guild Signs, Patrol Route; boss: Annex Sentinel
Route: Route plan: Guarded primary for annex survey wall; Resource secondary for thieving and wall prep
Progress: Progression: Field Order: Field Order 41; boss entry: The Annex Muster | Read: Warden Annex (guild wall). The first section after the Warden. Bring your guild.
Prep: Train Thieving; prep around thieving and wall prep. Field Order: Field Order 41.
Route: Primary Guarded: annex survey wall. Secondary Resource: thieving and wall prep.
Trade: Supply axis: mirror parts, lock parts, wall supplies. Public demand centers on Mirror Shard, Gemstone, Pearl, Rusted Plate.
Boss: Annex Sentinel: Survey Lock warns that the Annex Press is next: Defend it. Use control on Mirror Reroute and burst the Measured Opening with blunt, pierce, dark, frost, or nature hits. | Read: Warden Annex rewards 🔨 blunt, 🏹 pierce, 🌑 dark, ❄️ frost; avoid relying only on 🗡️ slash. Mob signatures pressure map read, positioning, resource check, tempo check; the boss chart leans 🔨 blunt, 🏹 pierce, 🌑 dark.
Damage lanes: weak: blunt, pierce, dark, frost, nature, holy
Watch resists: resists: slash
Boss chart: weak: blunt, pierce, dark, frost, nature
resists: slash, holy
Mob pressure: map read, positioning, resource check, tempo check
Counters: map read, blunt, pierce, dark | 38-48 | 📐 Annex Surveyor / 🪞 Mirror Knight / 🛡️ Rustbound Soldier | 📐 Annex Sentinel | 🪙 the annex survey line req 32 | 🦴 Mirror Shard, 💎 Gemstone, ⚪ Pearl, 🦴 Rusted Plate, 🟠 Amber, 🧪 Superior Health Potion | 6% on won hunts: 🦴 Mirror Shard, 💎 Gemstone, ⚪ Pearl, 🦴 Rusted Plate
Won hunts can uncover Mirror Shard, Gemstone, Pearl.
Choose this floor for mirror parts, lock parts, wall supplies; trade for the rest. | The first section after the Warden. Bring your guild. | — | Field Order 41
win 2x Guarded route hunts on Floor 2, Section O
clear Guild Signs on Floor 2, Section O
defeat Annex Sentinel | 🛡️ Guarded primary: annex survey wall
⛏️ Resource secondary: thieving and wall prep
supply: mirror parts, lock parts, wall supplies | 🛡️ Guarded floor map marks annex survey wall; boss leans Bannerline, Countermarch; can roll Guarded Watch; matches Guild Signs, Tight Corners; boss rewards guarded answers
⛏️ Resource secondary map line supports thieving and wall prep; boss leans Cache Splitter, Ledgermaw; can roll Loaded Cache; matches Guild Signs, Patrol Route; boss has supply-line pressure; surveys public prep supply; primes Warden Assembly logistics; helps the next stair's logistics
🌑 Deep boss leans Nocturne Chain, Omen Mirror; can roll Black Signal; higher-risk EXP pressure is online; boss tests tempo or cleanse | 📐 Annex Sentinel Strike | — | — | Guild Signs 8%
Patrol Route 16%
Tight Corners 14% | steel, social, patrol, terrain | guild board, trade prep, shared farming, full HP | 10/10 |
| Floor 2, Section P | 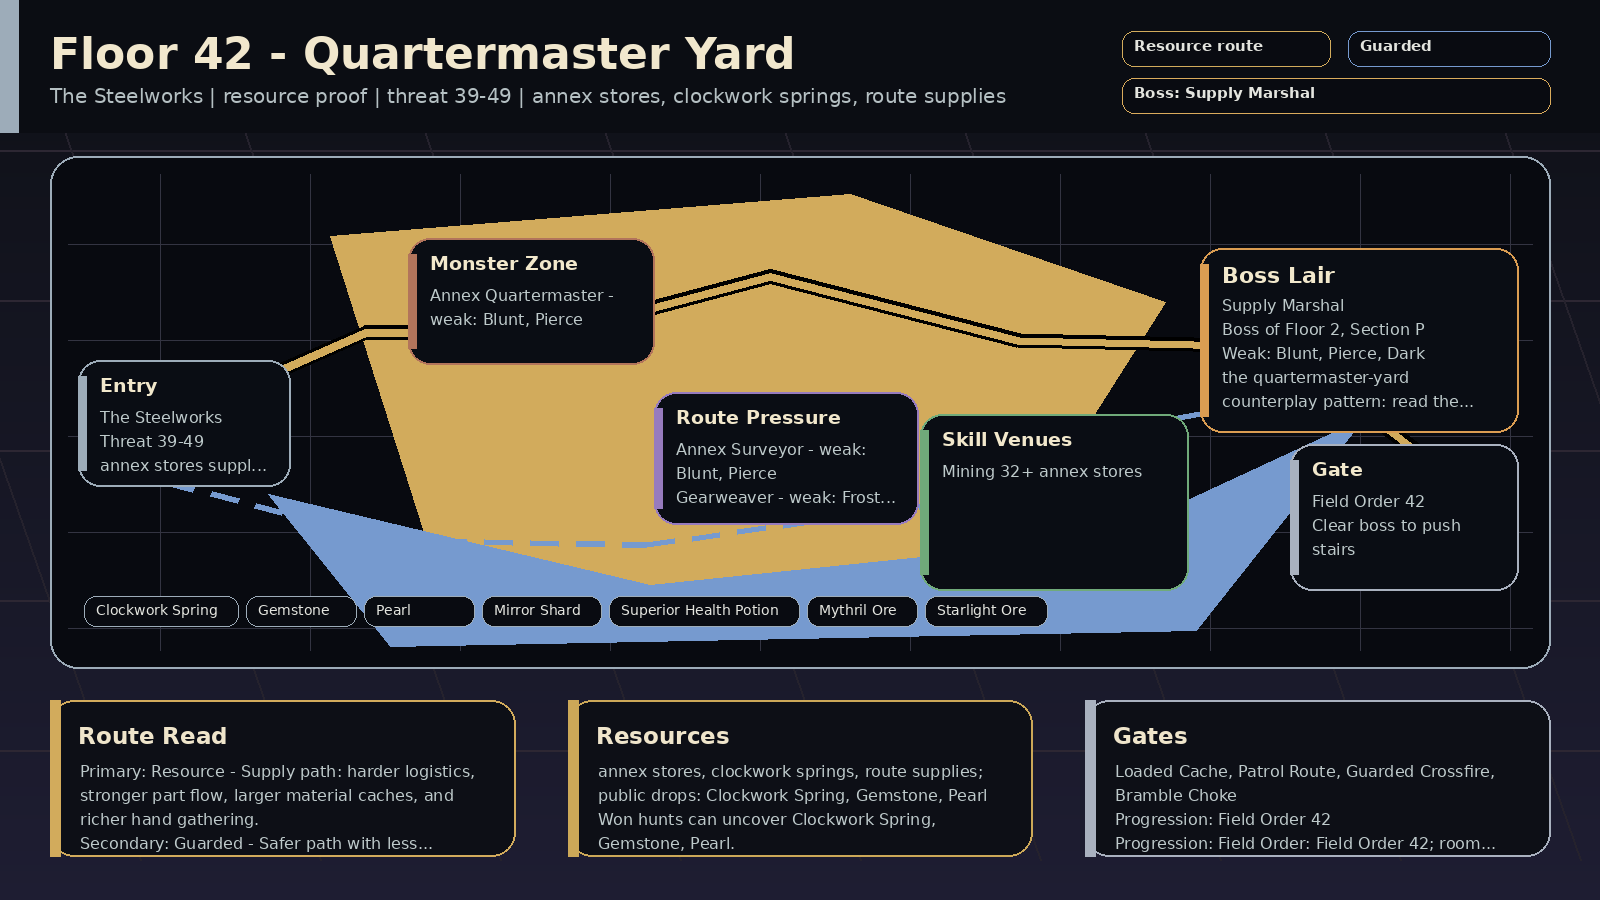 | ⚙️ Steel Crown | The Steelworks | Quartermaster Yard | Payoff: annex stores, clockwork springs, route supplies; public drops: Clockwork Spring, Gemstone, Pearl
Prep: Skill prep: Mining 32+
Pressure: supply check; encounters: Loaded Cache, Patrol Route; boss: Supply Marshal
Route: Route plan: Resource primary for annex stores supply fork; Guarded secondary for mining and supply runs
Progress: Progression: stair gate: The Annex Muster; Field Order: Field Order 42; room pressure 100% | Read: Quartermaster Yard (supply check). Bring tools and spare supplies.
Prep: Train Mining; prep around mining and supply runs. Stair gate: The Annex Muster.
Route: Primary Resource: annex stores supply fork. Secondary Guarded: mining and supply runs.
Trade: Supply axis: clockwork springs, starlight ore, mirror crates. Public demand centers on Clockwork Spring, Gemstone, Pearl, Mirror Shard.
Boss: Supply Marshal: Crate Count means Supply Press is next: Defend it. Use control on Ledger Drag and burst Open Crate with blunt, pierce, dark, frost, or nature hits. Boss-room pressure can appear at 100%. | Read: Quartermaster Yard rewards 🔨 blunt, 🏹 pierce, 🌑 dark, ❄️ frost; avoid relying only on 🗡️ slash, ✨ holy. Mob signatures pressure resource check, inventory pressure, defense guard, burst window; the boss chart leans 🔨 blunt, 🏹 pierce, 🌑 dark.
Damage lanes: weak: blunt, pierce, dark, frost, nature, fire
Watch resists: resists: slash, holy
Boss chart: weak: blunt, pierce, dark, frost, nature
resists: slash, holy
Mob pressure: resource check, inventory pressure, defense guard, burst window
Counters: tools, blunt, pierce, dark | 39-49 | 📦 Annex Quartermaster / 📐 Annex Surveyor / 🕷️ Gearweaver | 📦 Supply Marshal | ⛏️ the annex stores req 32 | 🦴 Clockwork Spring, 💎 Gemstone, ⚪ Pearl, 🦴 Mirror Shard, 🧪 Superior Health Potion, 🪨 Mythril Ore, ✨ Starlight Ore | 6% on won hunts: 🦴 Clockwork Spring, 💎 Gemstone, ⚪ Pearl, 🦴 Mirror Shard
Won hunts can uncover Clockwork Spring, Gemstone, Pearl.
Choose this floor for clockwork springs, starlight ore, mirror crates; trade for the rest. | Bring tools and spare supplies. | The Annex Muster
deliver 2x Steel Bar
deliver 3x Mirror Shard
have one of Mythril Pickaxe / Mythril Felling Axe / Ironwood Rod
win 2x Guarded route hunts on Floor 2, Section O or later | Field Order 42
win 2x Resource route hunts on Floor 2, Section P
clear Loaded Cache on Floor 2, Section P
recover Resource supply for Superior Health Potion / Clockwork Spring / Mythril Ore on Floor 2, Section P
win with a spent Supply Contract on Floor 2, Section P or later
answer boss variant lesson against: Stockpiled / Manifold / Quartermaster / Convoy-Bound / Surveyor / Tithe-Keeper / Ledgermaw / Seam-Sealed on Floor 2, Section P
mastery: ⛏️ Resource climb pressure read | ⛏️ Resource primary: annex stores supply fork
🛡️ Guarded secondary: mining and supply runs
supply: clockwork springs, starlight ore, mirror crates | ⛏️ Resource floor map marks annex stores supply fork; boss leans Cache Splitter, Convoy-Bound; Loaded Cache is in this floor's deck; matches Loaded Cache, Old Cache; boss has supply-line pressure; surveys public prep supply; primes Warden Assembly logistics
🛡️ Guarded secondary map line supports mining and supply runs; boss leans Formation Lock, Musterwarden; can roll Guarded Watch; boss rewards guarded answers
🌑 Deep boss leans Nocturne Chain, Omen Mirror; can roll Black Signal; higher-risk EXP pressure is online; boss tests tempo or cleanse | 📦 Marshal Strike | 📦 Cache Splitter
🚚 Convoy-Bound
🚚 Haulmaster
🧾 Ledgermaw | 📦 Supply Audit
📒 Toll Audit
🌿 Bramble Choke | Loaded Cache 24%
Patrol Route 16%
Old Cache 10% | steel, route, patrol, reward | inventory space, tools, armor breaking, full HP | 10/10 |
| Floor 2, Section Q | 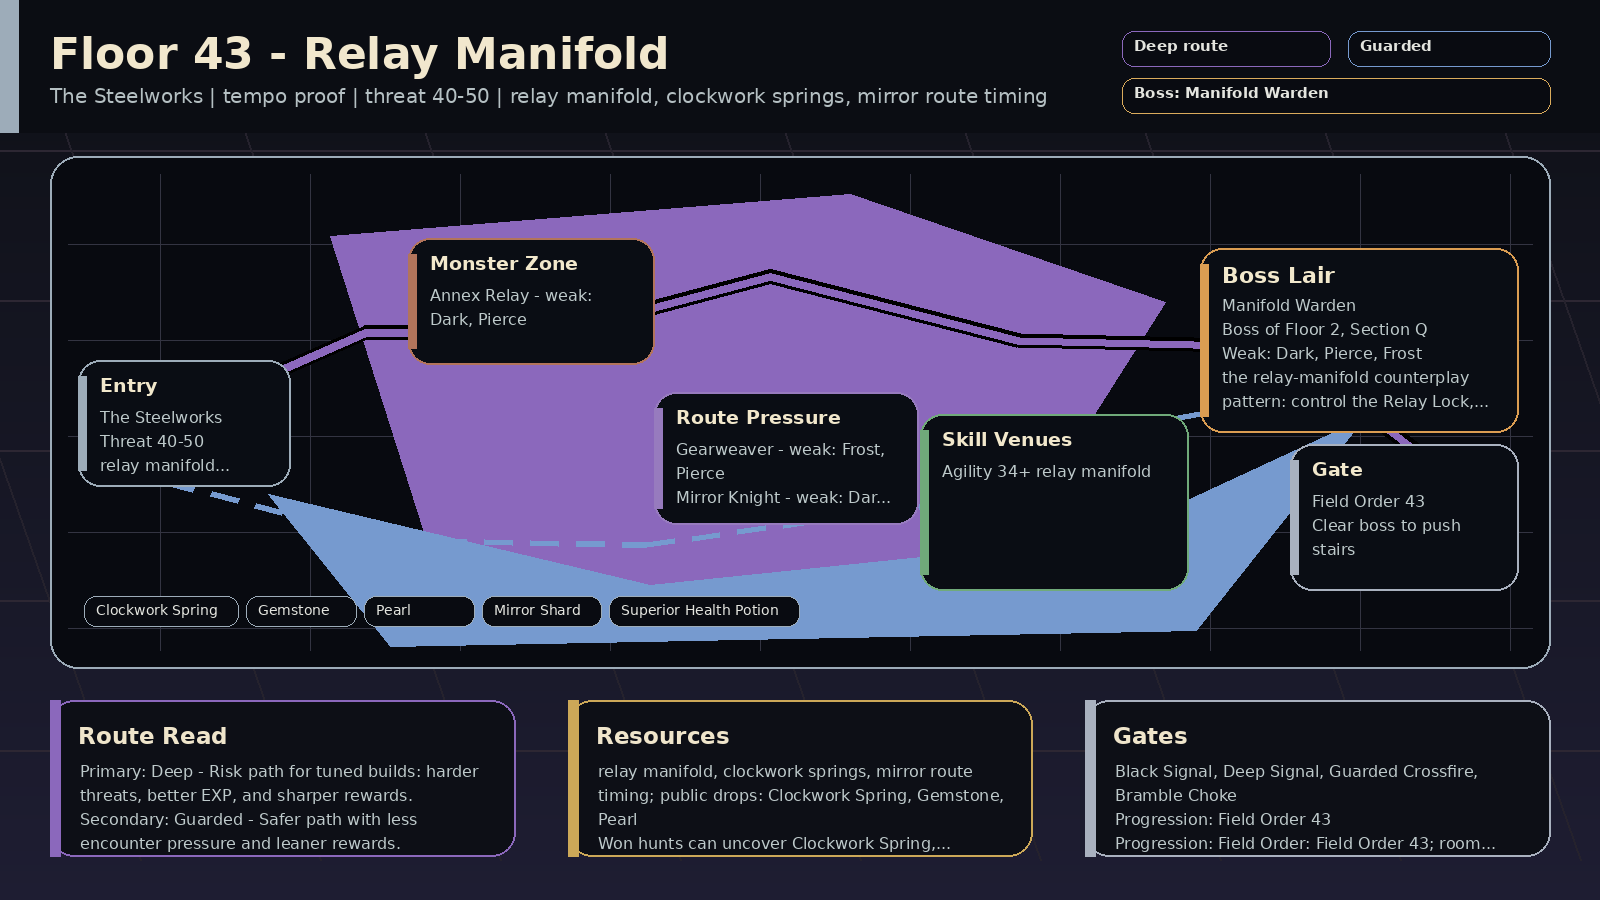 | ⚙️ Steel Crown | The Steelworks | Relay Manifold | Payoff: relay parts, clockwork springs, mirror shards; public drops: Clockwork Spring, Gemstone, Pearl
Prep: Skill prep: Agility 34+
Pressure: speed check; encounters: Black Signal, Deep Signal; boss: Manifold Warden
Route: Route plan: Deep primary for relay manifold paths; Guarded secondary for agility and Deep-route speed
Progress: Progression: Field Order: Field Order 43; room pressure 100% | Read: Relay Manifold (speed check). The relay manifold favors the Deep route, and its paths shift fast.
Prep: Train Agility; prep around agility and Deep-route speed. Field Order: Field Order 43.
Route: Primary Deep: relay manifold paths. Secondary Guarded: agility and Deep-route speed.
Trade: Supply axis: clockwork springs, mirror shards, relay parts. Public demand centers on Clockwork Spring, Gemstone, Pearl, Mirror Shard.
Boss: Manifold Warden: Use control on Relay Lock, Defend the Echo Press, watch for False Step, and burst Open Relay with dark, pierce, frost, blunt, or nature hits. Boss-room pressure can appear at 100%. | Read: Relay Manifold rewards 🌑 dark, 🏹 pierce, ❄️ frost, 🔨 blunt; avoid relying only on 🗡️ slash, ✨ holy. Mob signatures pressure deep signal, tempo check, positioning, slow; the boss chart leans 🌑 dark, 🏹 pierce, ❄️ frost.
Damage lanes: weak: dark, pierce, frost, blunt, nature, fire
Watch resists: resists: slash, holy
Boss chart: weak: dark, pierce, frost, blunt, nature
resists: slash, holy
Mob pressure: deep signal, tempo check, positioning, slow
Counters: control, speed control, dark, frost | 40-50 | 🌀 Annex Relay / 🕷️ Gearweaver / 🪞 Mirror Knight | 🌀 Manifold Warden | 🏃 the relay manifold req 34 | 🦴 Clockwork Spring, 💎 Gemstone, ⚪ Pearl, 🦴 Mirror Shard, 🧪 Superior Health Potion | 6% on won hunts: 🦴 Clockwork Spring, 💎 Gemstone, ⚪ Pearl, 🦴 Mirror Shard
Won hunts can uncover Clockwork Spring, Gemstone, Pearl.
Choose this floor for clockwork springs, mirror shards, relay parts; trade for the rest. | The relay manifold favors the Deep route, and its paths shift fast. | — | Field Order 43
win 2x Deep route hunts on Floor 2, Section Q
clear Black Signal on Floor 2, Section Q
win with a spent Deep route plan on Floor 2, Section Q or later
answer boss variant lesson against: Blackwake / Dark Rift / Riftmarked / Starless / Nightfall / Abyssal / Tempo-Locked / Blight Ledger on Floor 2, Section Q
answer Deep boss-room pressure: Nocturne Refrain / Split Beat / Blight Count / Null Chorus on Floor 2, Section Q
mastery: 🌑 Deep climb pressure read | 🌑 Deep primary: relay manifold paths
🛡️ Guarded secondary: agility and Deep-route speed
supply: clockwork springs, mirror shards, relay parts | 🌑 Deep floor map marks relay manifold paths; boss leans Blight Ledger, Doomsignal; Black Signal is in this floor's deck; matches Deep Signal, Unstable Floor; higher-risk EXP pressure is online; boss tests tempo or cleanse
🛡️ Guarded secondary map line supports agility and Deep-route speed; boss leans Formation Lock, Guard Marshal; can roll Guarded Watch; boss rewards guarded answers
⛏️ Resource boss leans Blight Ledger, Manifold; can roll Loaded Cache; boss has supply-line pressure; surveys public prep supply; primes Warden Assembly logistics | 🌀 Manifold Cut | 🎼 Dark Singer
📡 Doomsignal
🔗 Echo Binder
🫨 Mirror Echo | 🎼 Nocturne Refrain
⏱️ Split Beat
💧 Blight Count | Black Signal 22%
Deep Signal 8%
Unstable Floor 12% | steel, route, mystery, hazard | full HP, cleanse, escape plan, codex checks | 10/10 |
| Floor 2, Section R | 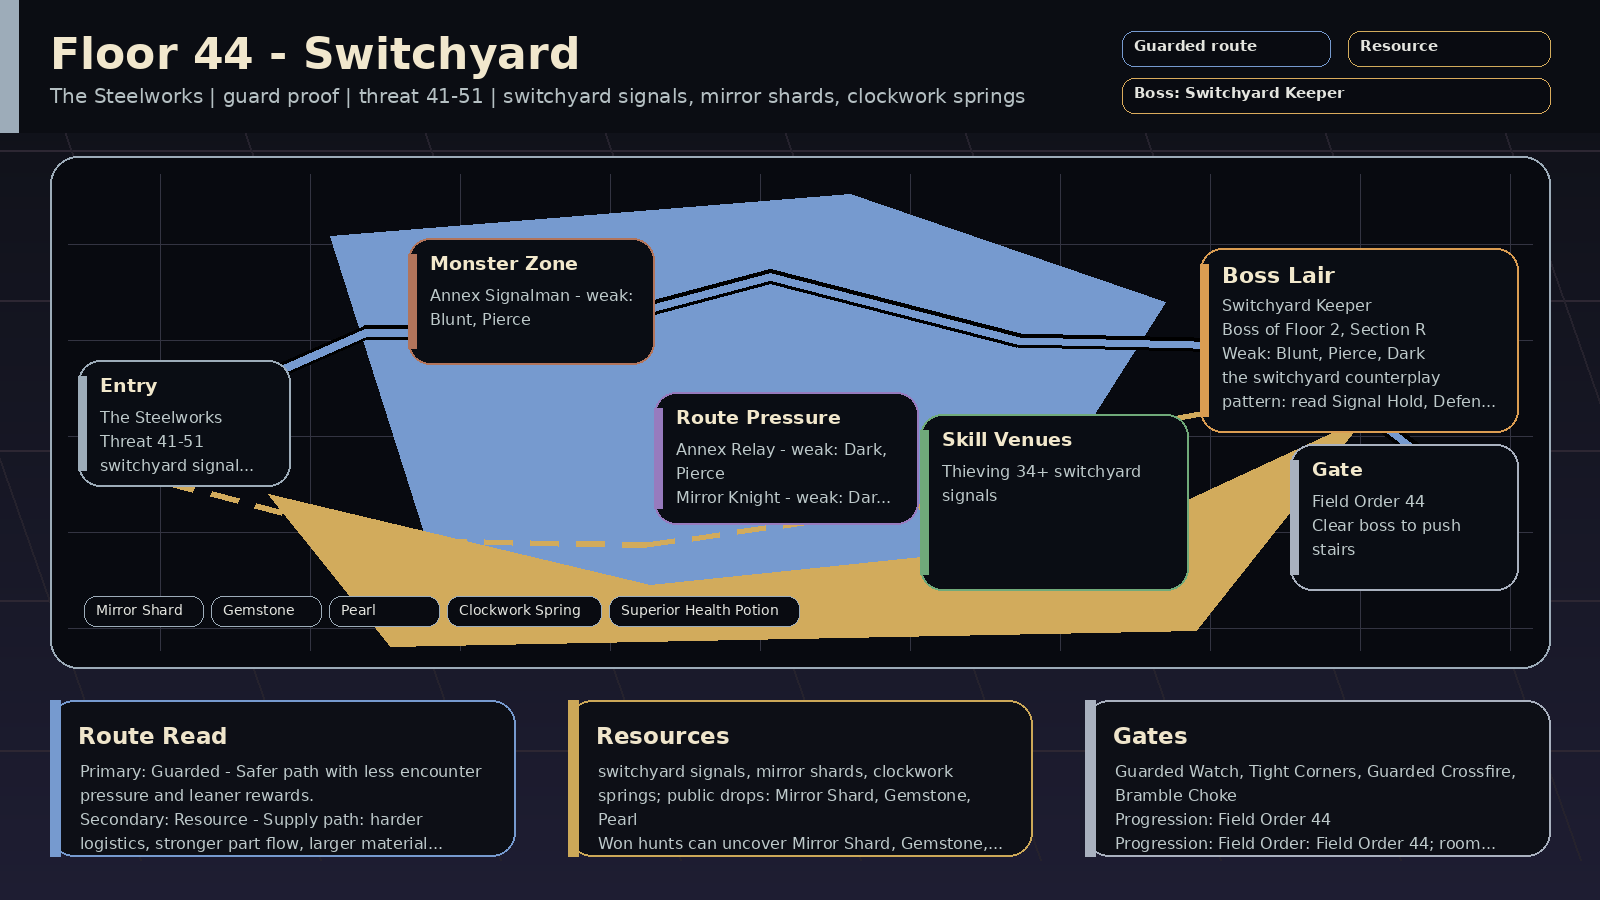 | ⚙️ Steel Crown | The Steelworks | Switchyard | Payoff: switchyard signals, mirror shards, clockwork springs; public drops: Mirror Shard, Gemstone, Pearl
Prep: Skill prep: Thieving 34+
Pressure: guard check; encounters: Guarded Watch, Tight Corners; boss: Switchyard Keeper
Route: Route plan: Guarded primary for switchyard signal line; Resource secondary for thieving and Guarded-route scouting
Progress: Progression: Field Order: Field Order 44; room pressure 100% | Read: Switchyard (guard check). The switchyard tracks shift underfoot. Keep your guard up.
Prep: Train Thieving; prep around thieving and Guarded-route scouting. Field Order: Field Order 44.
Route: Primary Guarded: switchyard signal line. Secondary Resource: thieving and Guarded-route scouting.
Trade: Supply axis: mirror shards, clockwork springs, signal parts. Public demand centers on Mirror Shard, Gemstone, Pearl, Clockwork Spring.
Boss: Switchyard Keeper: Signal Hold sets up Gate Slam: Defend it. Use control on Track Change and burst Open Signal with blunt, pierce, dark, frost, or nature hits. Boss-room pressure can appear at 100%. | Read: Switchyard rewards 🔨 blunt, 🏹 pierce, 🌑 dark, ❄️ frost; avoid relying only on 🗡️ slash, ✨ holy. Mob signatures pressure map read, positioning, guarded signal, tempo check; the boss chart leans 🔨 blunt, 🏹 pierce, 🌑 dark.
Damage lanes: weak: blunt, pierce, dark, frost, nature
Watch resists: resists: slash, holy
Boss chart: weak: blunt, pierce, dark, frost, nature
resists: slash, holy
Mob pressure: map read, positioning, guarded signal, tempo check
Counters: map read, control, blunt, pierce | 41-51 | 🚦 Annex Signalman / 🌀 Annex Relay / 🪞 Mirror Knight | 🚦 Switchyard Keeper | 🪙 the switchyard signals req 34 | 🦴 Mirror Shard, 💎 Gemstone, ⚪ Pearl, 🦴 Clockwork Spring, 🧪 Superior Health Potion | 6% on won hunts: 🦴 Mirror Shard, 💎 Gemstone, ⚪ Pearl, 🦴 Clockwork Spring
Won hunts can uncover Mirror Shard, Gemstone, Pearl.
Choose this floor for mirror shards, clockwork springs, signal parts; trade for the rest. | The switchyard tracks shift underfoot. Keep your guard up. | — | Field Order 44
win 2x Guarded route hunts on Floor 2, Section R
clear Guarded Watch on Floor 2, Section R
win with a spent Guarded route plan on Floor 2, Section R or later
answer boss variant lesson against: Trailwarden / Bannerline / Shieldwall / Countermarch / Vanguard Lock / Formation Lock / Guard Marshal / Musterwarden on Floor 2, Section R
answer Guarded boss-room pressure: Bramble Choke / Guarded Crossfire / Breaker Window / Null Chorus on Floor 2, Section R
mastery: 🛡️ Guarded climb pressure read | 🛡️ Guarded primary: switchyard signal line
⛏️ Resource secondary: thieving and Guarded-route scouting
supply: mirror shards, clockwork springs, signal parts | 🛡️ Guarded floor map marks switchyard signal line; boss leans Bannerline, Countermarch; Guarded Watch is in this floor's deck; matches Tight Corners; boss rewards guarded answers
⛏️ Resource secondary map line supports thieving and Guarded-route scouting; boss leans Blight Ledger, Cache Splitter; can roll Loaded Cache; matches Patrol Route; boss has supply-line pressure; surveys public prep supply; primes Warden Assembly logistics
🌑 Deep boss leans Blight Ledger, Nocturne Chain; can roll Black Signal; higher-risk EXP pressure is online; boss tests tempo or cleanse | 🚦 Signal Cut | 🚩 Bannerline
🥁 Countermarch
🧷 Formation Lock
📜 Guard Marshal | 🌿 Bramble Choke
🛡️ Guarded Crossfire
🪓 Breaker Window | Guarded Watch 16%
Tight Corners 14%
Patrol Route 16% | steel, route, terrain, patrol | defense, food, patience, blunt damage | 10/10 |
| Floor 2, Section S | 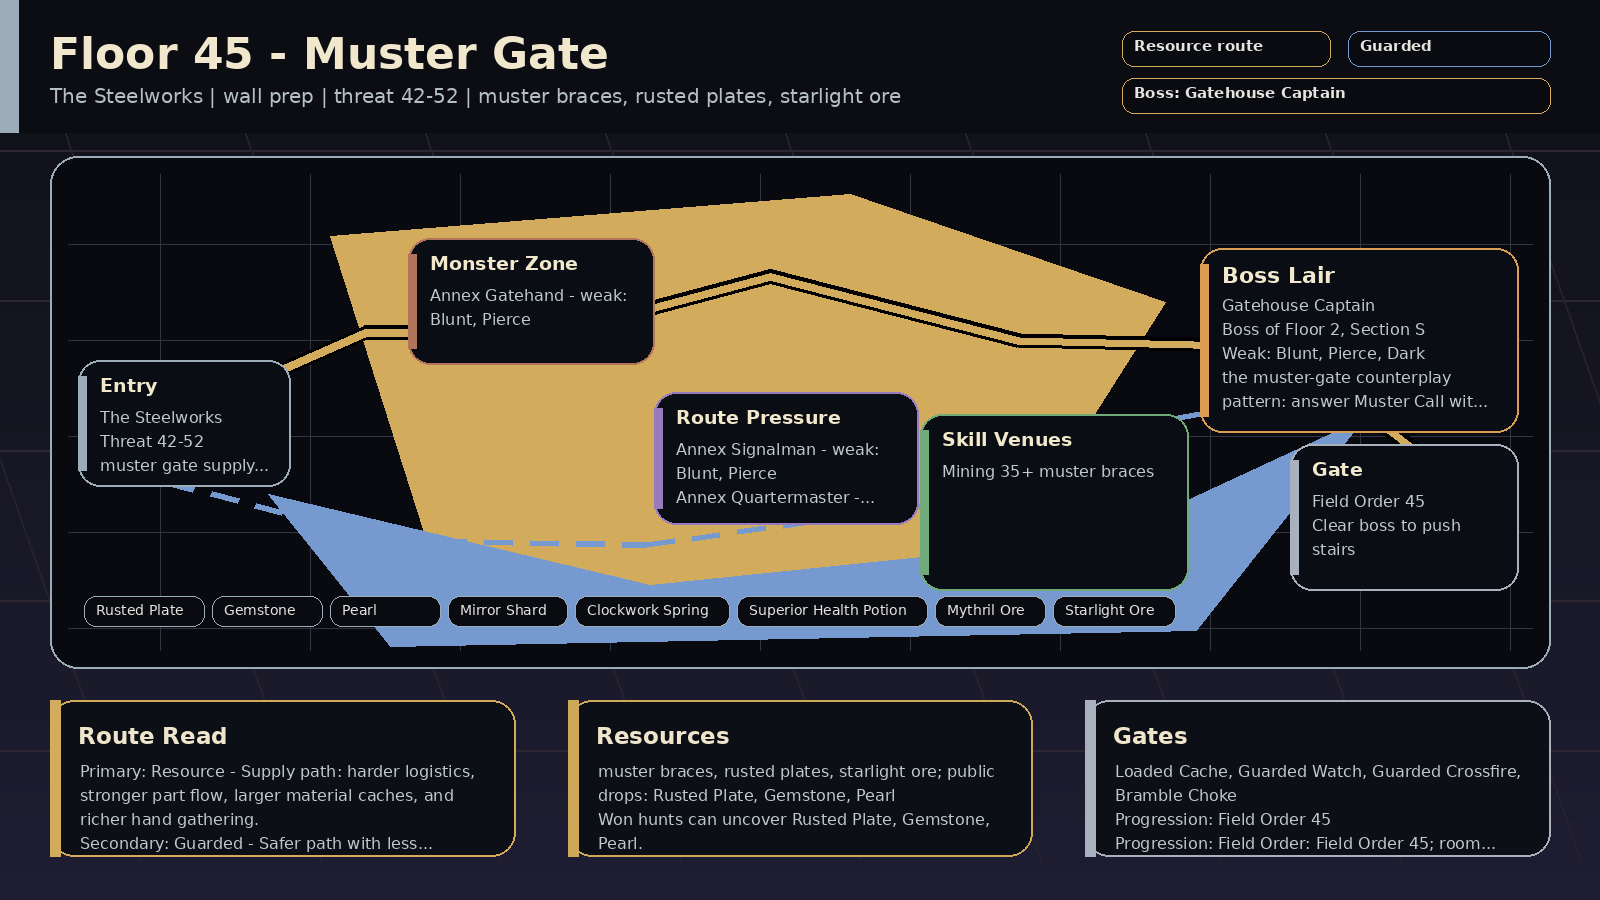 | ⚙️ Steel Crown | The Steelworks | Muster Gate | Payoff: muster braces, rusted plates, starlight ore; public drops: Rusted Plate, Gemstone, Pearl
Prep: Skill prep: Mining 35+
Pressure: wall prep; encounters: Loaded Cache, Guarded Watch; boss: Gatehouse Captain
Route: Route plan: Resource primary for muster gate supply line; Guarded secondary for mining and Resource-route supplies
Progress: Progression: Field Order: Field Order 45; room pressure 100% | Read: Muster Gate (wall prep). The last place to stock up before the Breach Wall.
Prep: Train Mining; prep around mining and Resource-route supplies. Field Order: Field Order 45.
Route: Primary Resource: muster gate supply line. Secondary Guarded: mining and Resource-route supplies.
Trade: Supply axis: starlight ore, rusted plates, gate braces. Public demand centers on Rusted Plate, Gemstone, Pearl, Mirror Shard.
Boss: Gatehouse Captain: Muster Call warns that Bar Drop is next: Defend it. Use tools or blunt/pierce/dark on Brace Line, and burst Open Gate with blunt, pierce, dark, frost, or nature hits. Boss-room pressure can appear at 100%. | Read: Muster Gate rewards 🔨 blunt, 🏹 pierce, 🌑 dark, ❄️ frost; avoid relying only on 🗡️ slash, ✨ holy. Mob signatures pressure resource check, defense guard, inventory pressure, wall prep; the boss chart leans 🔨 blunt, 🏹 pierce, 🌑 dark.
Damage lanes: weak: blunt, pierce, dark, frost, nature
Watch resists: resists: slash, holy
Boss chart: weak: blunt, pierce, dark, frost, nature
resists: slash, holy
Mob pressure: resource check, defense guard, inventory pressure, wall prep
Counters: tools, blunt, pierce, dark | 42-52 | 🚪 Annex Gatehand / 🚦 Annex Signalman / 📦 Annex Quartermaster | 🚪 Gatehouse Captain | ⛏️ the muster braces req 35 | 🦴 Rusted Plate, 💎 Gemstone, ⚪ Pearl, 🦴 Mirror Shard, 🦴 Clockwork Spring, 🧪 Superior Health Potion, 🪨 Mythril Ore, ✨ Starlight Ore | 6% on won hunts: 🦴 Rusted Plate, 💎 Gemstone, ⚪ Pearl, 🦴 Mirror Shard
Won hunts can uncover Rusted Plate, Gemstone, Pearl.
Choose this floor for starlight ore, rusted plates, gate braces; trade for the rest. | The last place to stock up before the Breach Wall. | — | Field Order 45
win 2x Resource route hunts on Floor 2, Section S
clear Loaded Cache on Floor 2, Section S
recover Resource supply for Superior Health Potion / Rusted Plate / Clockwork Spring on Floor 2, Section S
win with a spent Supply Contract on Floor 2, Section S or later
answer boss variant lesson against: Quartermaster / Ledgermaw / Seam-Sealed / Blight Ledger / Supply-Locked / Claim-Staked / Cache Splitter / Shortfall on Floor 2, Section S
mastery: ⛏️ Resource climb pressure read | ⛏️ Resource primary: muster gate supply line
🛡️ Guarded secondary: mining and Resource-route supplies
supply: starlight ore, rusted plates, gate braces | ⛏️ Resource floor map marks muster gate supply line; boss leans Blight Ledger, Cache Splitter; Loaded Cache is in this floor's deck; matches Guild Signs, Loaded Cache; boss has supply-line pressure; surveys public prep supply; primes Warden Assembly logistics
🛡️ Guarded secondary map line supports mining and Resource-route supplies; boss leans Bannerline, Citadel-Bound; Guarded Watch is in this floor's deck; matches Guild Signs; boss rewards guarded answers
🌑 Deep boss leans Blight Ledger, Omen Mirror; can roll Black Signal; higher-risk EXP pressure is online | 🚪 Gate Cut | 🚩 Bannerline
🏯 Citadel-Bound
📍 Claim-Staked
🧷 Formation Lock | 🪓 Breaker Window
🛡️ Guarded Crossfire
📒 Toll Audit | Loaded Cache 24%
Guarded Watch 16%
Guild Signs 8% | steel, route, social, tank | inventory space, tools, armor breaking, defense | 10/10 |
| Floor 2, Section T | 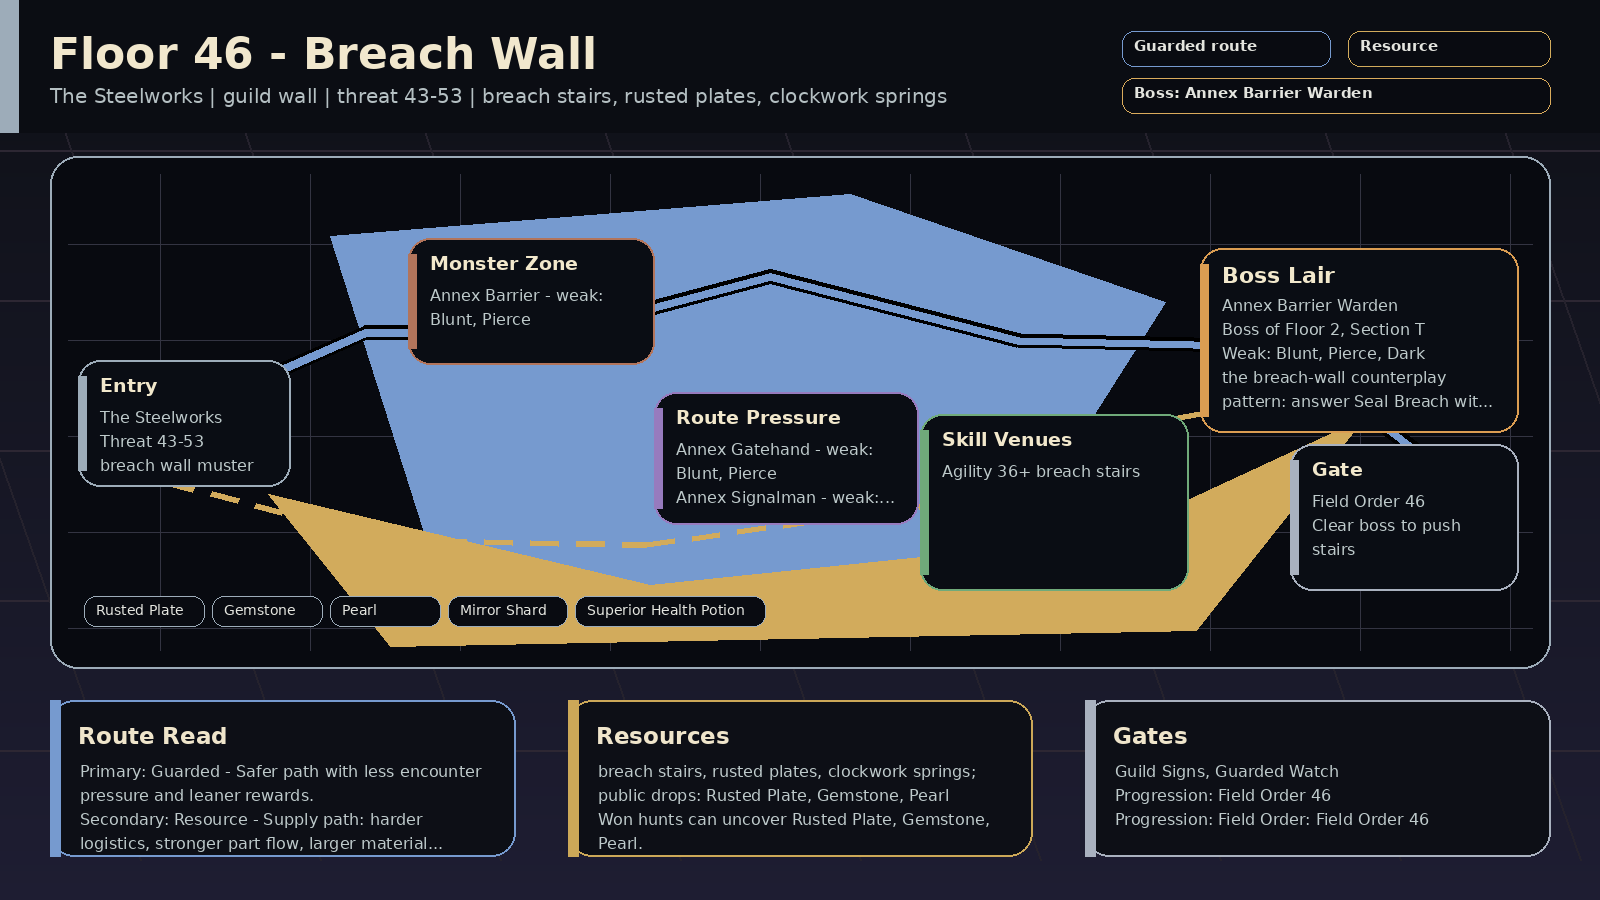 | ⚙️ Steel Crown | The Steelworks | Breach Wall | Payoff: breach stairs, rusted plates, clockwork springs; public drops: Rusted Plate, Gemstone, Pearl
Prep: Skill prep: Agility 36+
Pressure: guild wall; encounters: Guild Signs, Guarded Watch; boss: Annex Barrier Warden
Route: Route plan: Guarded primary for breach wall muster; Resource secondary for agility and guild wall positioning
Progress: Progression: Field Order: Field Order 46; boss entry: The Annex Campaign | Read: Breach Wall (guild wall). One guarded room. Bring your guild.
Prep: Train Agility; prep around agility and guild wall positioning. Field Order: Field Order 46.
Route: Primary Guarded: breach wall muster. Secondary Resource: agility and guild wall positioning.
Trade: Supply axis: rusted plates, clockwork springs, breach braces. Public demand centers on Rusted Plate, Gemstone, Pearl, Mirror Shard.
Boss: Annex Barrier Warden: Seal Breach warns that Breach Crush is next: Defend it. Use tools or blunt/pierce/dark on Brace Tax, and burst Open Breach with blunt, pierce, dark, frost, or nature hits. | Read: Breach Wall rewards 🔨 blunt, 🏹 pierce, 🌑 dark, ❄️ frost; avoid relying only on 🗡️ slash, ✨ holy. Mob signatures pressure wall prep, defense guard, guarded signal, resource check; the boss chart leans 🔨 blunt, 🏹 pierce, 🌑 dark.
Damage lanes: weak: blunt, pierce, dark, frost, nature
Watch resists: resists: slash, holy
Boss chart: weak: blunt, pierce, dark, frost, nature
resists: slash, holy
Mob pressure: wall prep, defense guard, guarded signal, resource check
Counters: tools, blunt, pierce, dark | 43-53 | 🧱 Annex Barrier / 🚪 Annex Gatehand / 🚦 Annex Signalman | 🧱 Annex Barrier Warden | 🏃 the breach stairs req 36 | 🦴 Rusted Plate, 💎 Gemstone, ⚪ Pearl, 🦴 Mirror Shard, 🧪 Superior Health Potion | 6% on won hunts: 🦴 Rusted Plate, 💎 Gemstone, ⚪ Pearl, 🦴 Mirror Shard
Won hunts can uncover Rusted Plate, Gemstone, Pearl.
Choose this floor for rusted plates, clockwork springs, breach braces; trade for the rest. | One guarded room. Bring your guild. | — | Field Order 46
win 2x Guarded route hunts on Floor 2, Section T
clear Guarded Watch on Floor 2, Section T
defeat Annex Barrier Warden | 🛡️ Guarded primary: breach wall muster
⛏️ Resource secondary: agility and guild wall positioning
supply: rusted plates, clockwork springs, breach braces | 🛡️ Guarded floor map marks breach wall muster; boss leans Citadel-Bound, Countermarch; Guarded Watch is in this floor's deck; matches Guild Signs, Tight Corners; boss rewards guarded answers
⛏️ Resource secondary map line supports agility and guild wall positioning; boss leans Blight Ledger, Cache Splitter; can roll Loaded Cache; matches Guild Signs; boss has supply-line pressure; surveys public prep supply; primes Warden Assembly logistics; helps the next stair's logistics
🌑 Deep boss leans Blight Ledger, Nocturne Chain; can roll Black Signal; higher-risk EXP pressure is online | 🧱 Barrier Cut | — | — | Guild Signs 8%
Guarded Watch 16%
Tight Corners 14% | steel, social, route, terrain | guild board, trade prep, shared farming, defense | 10/10 |
| Floor 2, Section U | 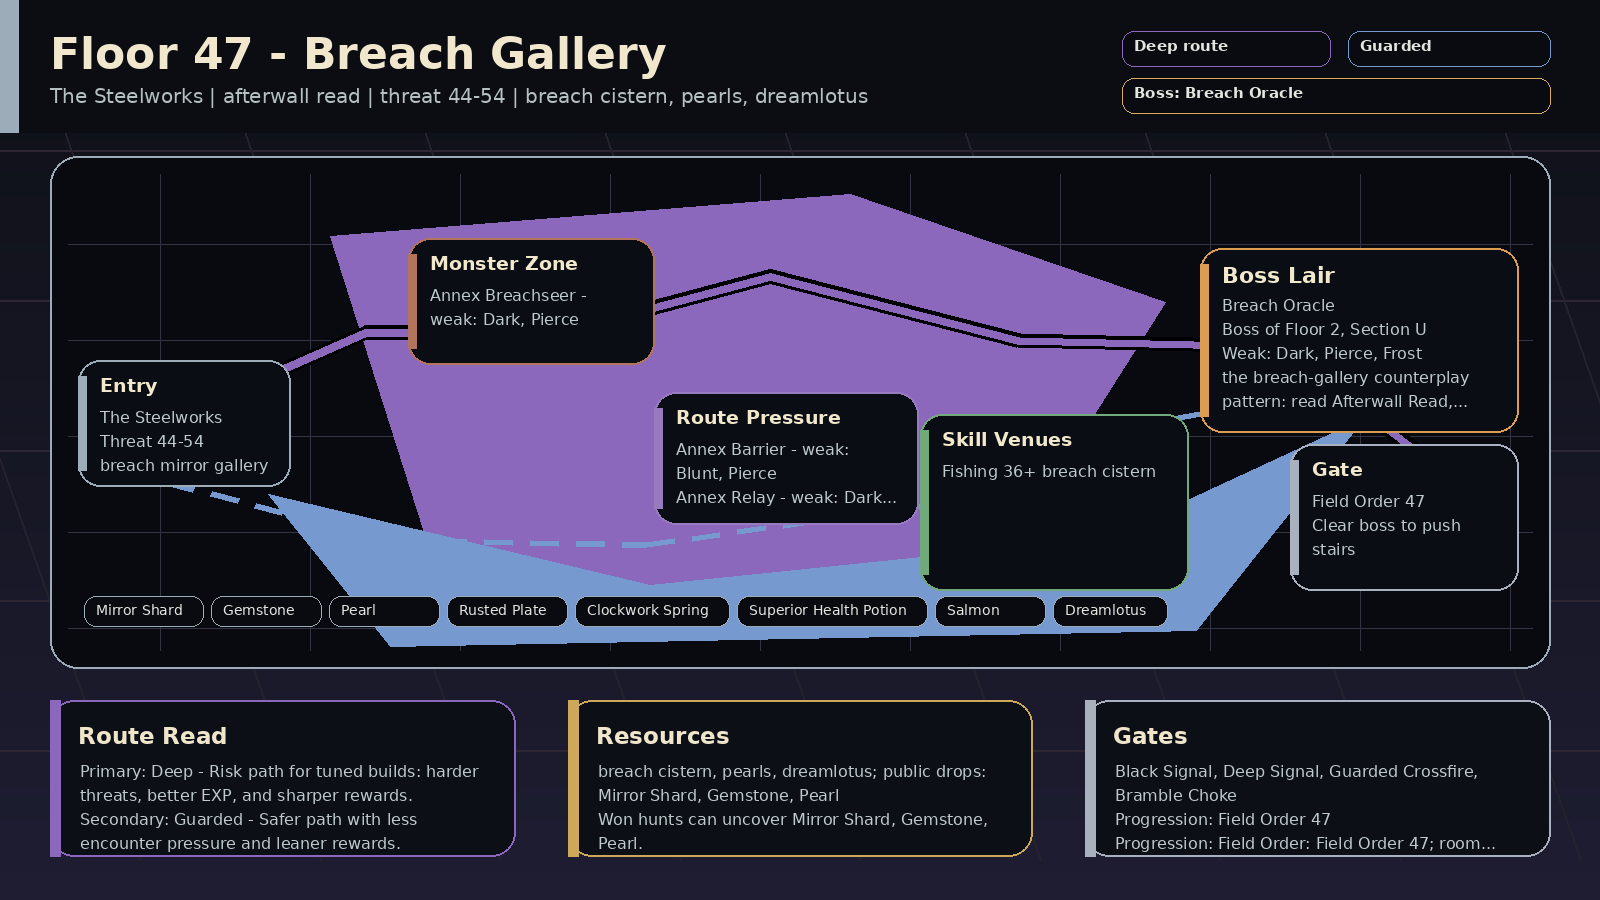 | ⚙️ Steel Crown | The Steelworks | Breach Gallery | Payoff: breach cistern, pearls, dreamlotus; public drops: Mirror Shard, Gemstone, Pearl
Prep: Skill prep: Fishing 36+
Pressure: mirror gallery; encounters: Black Signal, Deep Signal; boss: Breach Oracle
Route: Route plan: Deep primary for breach mirror gallery; Guarded secondary for fishing and Deep-route scouting
Progress: Progression: stair gate: The Annex Campaign; Field Order: Field Order 47; room pressure 100% | Read: Breach Gallery (mirror gallery). Mirrors everywhere throw off your timing.
Prep: Train Fishing; prep around fishing and Deep-route scouting. Stair gate: The Annex Campaign.
Route: Primary Deep: breach mirror gallery. Secondary Guarded: fishing and Deep-route scouting.
Trade: Supply axis: pearls, dreamlotus, breach lanterns. Public demand centers on Mirror Shard, Gemstone, Pearl, Rusted Plate.
Boss: Breach Oracle: Afterwall Read sets up Void Survey: Defend it. Cleanse Null Lantern and burst Open Diagram with dark, pierce, frost, blunt, or nature hits. Boss-room pressure can appear at 100%. | Read: Breach Gallery rewards 🌑 dark, 🏹 pierce, ❄️ frost, 🔨 blunt; avoid relying only on 🗡️ slash, ✨ holy. Mob signatures pressure deep signal, map read, curse, tempo check; the boss chart leans 🌑 dark, 🏹 pierce, ❄️ frost.
Damage lanes: weak: dark, pierce, frost, blunt, nature
Watch resists: resists: slash, holy
Boss chart: weak: dark, pierce, frost, blunt, nature
resists: slash, holy
Mob pressure: deep signal, map read, curse, tempo check
Counters: cleanse, dark, pierce, frost | 44-54 | 🧭 Annex Breachseer / 🧱 Annex Barrier / 🌀 Annex Relay | 🧭 Breach Oracle | 🎣 the breach cistern req 36 | 🦴 Mirror Shard, 💎 Gemstone, ⚪ Pearl, 🦴 Rusted Plate, 🦴 Clockwork Spring, 🧪 Superior Health Potion, 🐟 Salmon, 🪷 Dreamlotus | 6% on won hunts: 🦴 Mirror Shard, 💎 Gemstone, ⚪ Pearl, 🦴 Rusted Plate
Won hunts can uncover Mirror Shard, Gemstone, Pearl.
Choose this floor for pearls, dreamlotus, breach lanterns; trade for the rest. | Mirrors everywhere throw off your timing. | The Annex Campaign
win 8x hunts on Floor 2, Section O or later
win 2x Resource route hunts on Floor 2, Section O or later
deliver Starlight Ore
deliver 3x Rusted Plate | Field Order 47
win 2x Deep route hunts on Floor 2, Section U
clear Black Signal on Floor 2, Section U
win with a spent Deep route plan on Floor 2, Section U or later
answer boss variant lesson against: Blackwake / Dark Rift / Starless / Nightfall / Abyssal / Tempo-Locked / Blight Ledger / Riftclock on Floor 2, Section U
answer Deep boss-room pressure: Nocturne Refrain / Split Beat / Blight Count / Null Chorus on Floor 2, Section U
mastery: 🌑 Deep climb pressure read | 🌑 Deep primary: breach mirror gallery
🛡️ Guarded secondary: fishing and Deep-route scouting
supply: pearls, dreamlotus, breach lanterns | 🌑 Deep floor map marks breach mirror gallery; boss leans Abyssal, Blackwake; Black Signal is in this floor's deck; matches Deep Signal; higher-risk EXP pressure is online; boss tests tempo or cleanse
🛡️ Guarded secondary map line supports fishing and Deep-route scouting; boss leans Countermarch, Formation Lock; Guarded Watch is in this floor's deck; boss rewards guarded answers
⛏️ Resource boss leans Blight Ledger, Seam-Sealed; can roll Loaded Cache; boss has supply-line pressure; surveys public prep supply; primes Warden Assembly logistics | 🧭 Breach Mark | 🕳️ Abyssal
🌌 Dark Rift
🔗 Echo Binder
〽️ Echo-Marked | 🎼 Nocturne Refrain
⏱️ Split Beat
💧 Blight Count | Black Signal 22%
Deep Signal 8%
Guarded Watch 16% | steel, route, mystery, mystic | full HP, cleanse, escape plan, codex checks | 10/10 |
| Floor 2, Section V | 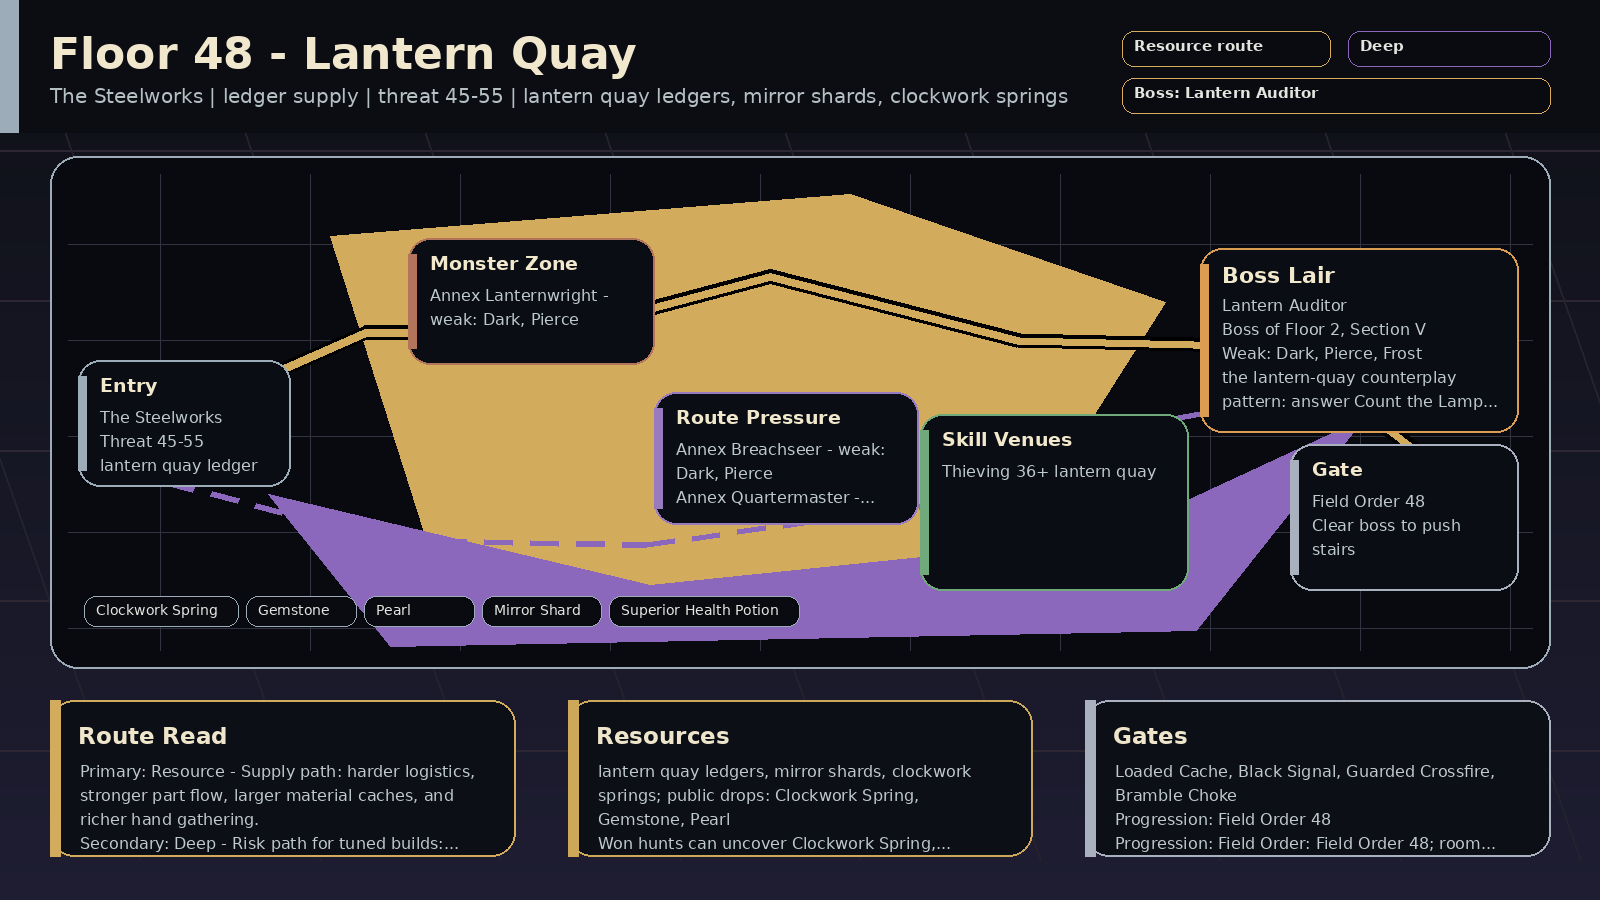 | ⚙️ Steel Crown | The Steelworks | Lantern Quay | Payoff: quay lanterns, mirror shards, clockwork springs; public drops: Clockwork Spring, Gemstone, Pearl
Prep: Skill prep: Thieving 36+
Pressure: supply run; encounters: Loaded Cache, Black Signal; boss: Lantern Auditor
Route: Route plan: Resource primary for lantern quay crates; Deep secondary for thieving and Resource-route supplies
Progress: Progression: Field Order: Field Order 48; room pressure 100% | Read: Lantern Quay (supply run). Crates move through here, and the Auditor counts every one.
Prep: Train Thieving; prep around thieving and Resource-route supplies. Field Order: Field Order 48.
Route: Primary Resource: lantern quay crates. Secondary Deep: thieving and Resource-route supplies.
Trade: Supply axis: mirror shards, clockwork springs, quay lanterns. Public demand centers on Clockwork Spring, Gemstone, Pearl, Mirror Shard.
Boss: Lantern Auditor: Defend Ledger Eclipse after its warning, cleanse Cold Wick, keep tools ready for Count the Lamps, and burst Open Wick with dark, pierce, frost, blunt, or nature hits. Boss-room pressure can appear at 100%. | Read: Lantern Quay rewards 🌑 dark, 🏹 pierce, ❄️ frost, 🔨 blunt; avoid relying only on 🗡️ slash, ✨ holy. Mob signatures pressure resource check, inventory pressure, curse, deep signal; the boss chart leans 🌑 dark, 🏹 pierce, ❄️ frost.
Damage lanes: weak: dark, pierce, frost, blunt, nature
Watch resists: resists: slash, holy
Boss chart: weak: dark, pierce, frost, blunt, nature
resists: slash, holy
Mob pressure: resource check, inventory pressure, curse, deep signal
Counters: cleanse, tools, dark, pierce | 45-55 | 🕯️ Annex Lanternwright / 🧭 Annex Breachseer / 📦 Annex Quartermaster | 🕯️ Lantern Auditor | 🪙 the lantern quay req 36 | 🦴 Clockwork Spring, 💎 Gemstone, ⚪ Pearl, 🦴 Mirror Shard, 🧪 Superior Health Potion | 6% on won hunts: 🦴 Clockwork Spring, 💎 Gemstone, ⚪ Pearl, 🦴 Mirror Shard
Won hunts can uncover Clockwork Spring, Gemstone, Pearl.
Choose this floor for mirror shards, clockwork springs, quay lanterns; trade for the rest. | Crates move through here, and the Auditor counts every one. | — | Field Order 48
win 2x Resource route hunts on Floor 2, Section V
clear Loaded Cache on Floor 2, Section V
recover Resource supply for Superior Health Potion / Clockwork Spring / Gemstone on Floor 2, Section V
win with a spent Supply Contract on Floor 2, Section V or later
answer boss variant lesson against: Quartermaster / Ledgermaw / Seam-Sealed / Blight Ledger / Supply-Locked / Claim-Staked / Cache Splitter / Shortfall on Floor 2, Section V
mastery: ⛏️ Resource climb pressure read | ⛏️ Resource primary: lantern quay crates
🌑 Deep secondary: thieving and Resource-route supplies
supply: mirror shards, clockwork springs, quay lanterns | ⛏️ Resource floor map marks lantern quay crates; boss leans Cache Splitter, Claim-Staked; Loaded Cache is in this floor's deck; matches Loaded Cache, Patrol Route; boss has supply-line pressure; surveys public prep supply; primes Warden Assembly logistics
🌑 Deep secondary map line supports thieving and Resource-route supplies; boss leans Blackwake, Echo Binder; Black Signal is in this floor's deck; higher-risk EXP pressure is online; boss tests tempo or cleanse
🛡️ Guarded can roll Guarded Watch; boss rewards guarded answers | 🕯️ Lamp Hook | 📦 Cache Splitter
🚚 Haulmaster
🧾 Ledgermaw
📋 Quartermaster | 📦 Supply Audit
📒 Toll Audit
💧 Blight Count | Loaded Cache 24%
Black Signal 22%
Patrol Route 16% | steel, route, patrol, standard | inventory space, tools, armor breaking, full HP | 10/10 |
| Floor 2, Section W | 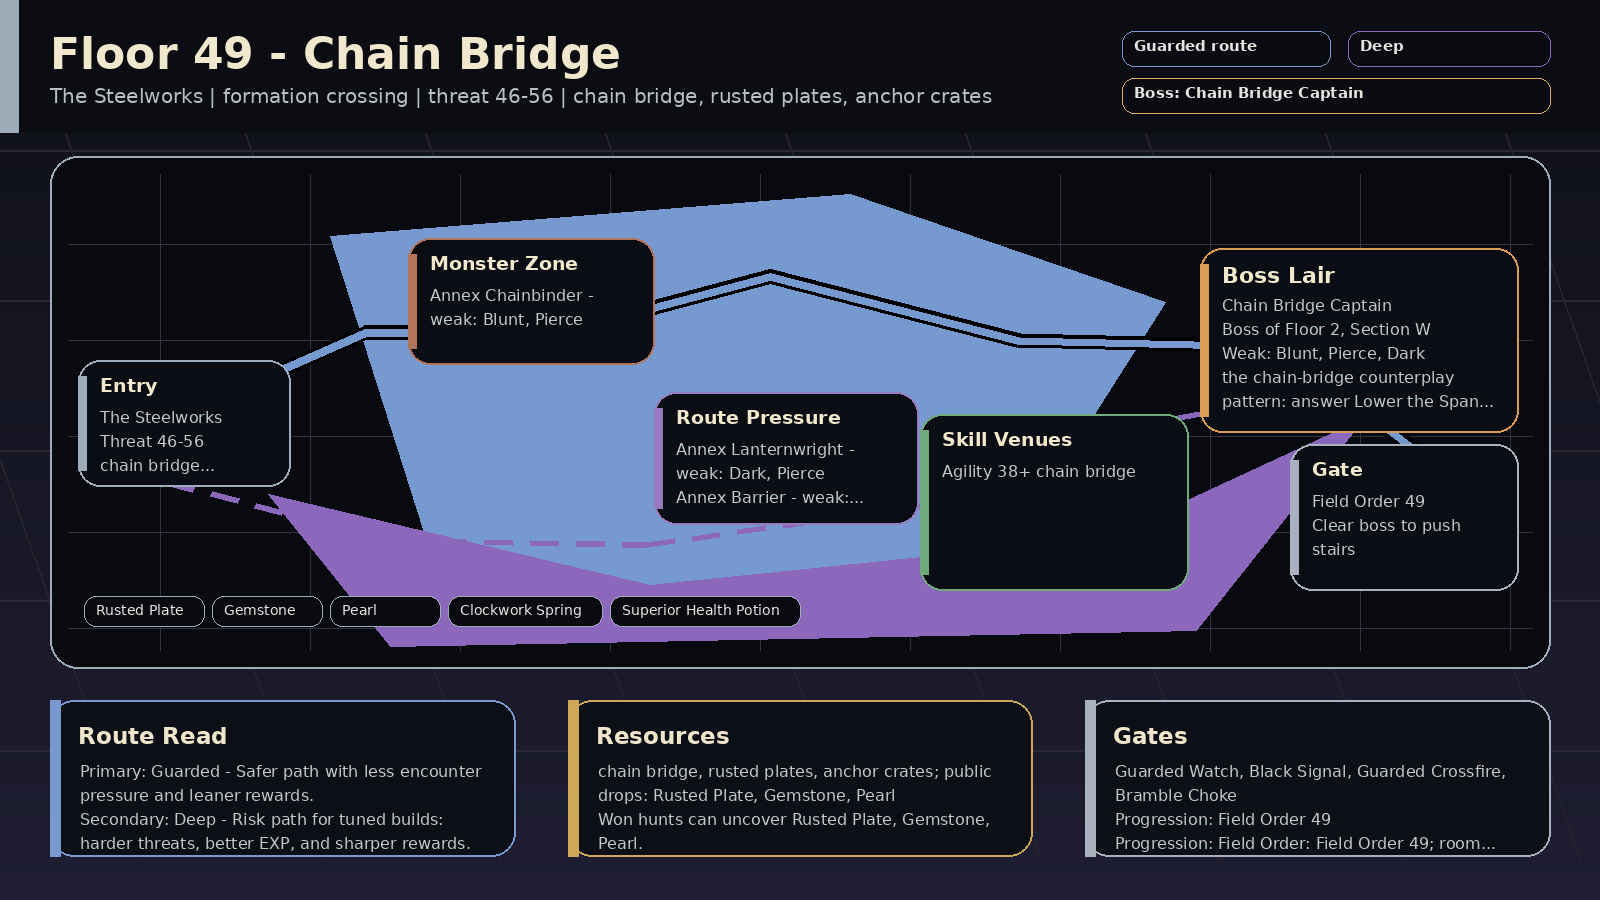 | ⚙️ Steel Crown | The Steelworks | Chain Bridge | Payoff: chain bridge, rusted plates, anchor crates; public drops: Rusted Plate, Gemstone, Pearl
Prep: Skill prep: Agility 38+
Pressure: bridge crossing; encounters: Guarded Watch, Black Signal; boss: Chain Bridge Captain
Route: Route plan: Guarded primary for chain bridge crossing; Deep secondary for agility and Guarded-route footing
Progress: Progression: Field Order: Field Order 49; room pressure 100% | Read: Chain Bridge (bridge crossing). You fight on the chain bridge while it lowers.
Prep: Train Agility; prep around agility and Guarded-route footing. Field Order: Field Order 49.
Route: Primary Guarded: chain bridge crossing. Secondary Deep: agility and Guarded-route footing.
Trade: Supply axis: rusted plates and chain anchors. Public demand centers on Rusted Plate, Gemstone, Pearl, Clockwork Spring.
Boss: Chain Bridge Captain: Defend Bridge Slam after its warning, use control on Lower the Span, use tools or blunt/pierce/dark on Anchor Tax, and burst Loose Link with blunt, pierce, dark, frost, or nature hits. Boss-room pressure can appear at 100%. | Read: Chain Bridge rewards 🔨 blunt, 🏹 pierce, 🌑 dark, ❄️ frost; avoid relying only on 🗡️ slash, ✨ holy. Mob signatures pressure guarded watch, positioning, slow, defense guard; the boss chart leans 🔨 blunt, 🏹 pierce, 🌑 dark.
Damage lanes: weak: blunt, pierce, dark, frost, nature
Watch resists: resists: slash, holy
Boss chart: weak: blunt, pierce, dark, frost, nature
resists: slash, holy
Mob pressure: guarded watch, positioning, slow, defense guard
Counters: control, blunt, pierce, dark | 46-56 | ⛓️ Annex Chainbinder / 🕯️ Annex Lanternwright / 🧱 Annex Barrier | ⛓️ Chain Bridge Captain | 🏃 the chain bridge req 38 | 🦴 Rusted Plate, 💎 Gemstone, ⚪ Pearl, 🦴 Clockwork Spring, 🧪 Superior Health Potion | 6% on won hunts: 🦴 Rusted Plate, 💎 Gemstone, ⚪ Pearl, 🦴 Clockwork Spring
Won hunts can uncover Rusted Plate, Gemstone, Pearl.
Choose this floor for rusted plates and chain anchors; trade for the rest. | You fight on the chain bridge while it lowers. | — | Field Order 49
win 2x Guarded route hunts on Floor 2, Section W
clear Guarded Watch on Floor 2, Section W
win with a spent Guarded route plan on Floor 2, Section W or later
answer boss variant lesson against: Trailwarden / Bannerline / Shieldwall / Countermarch / Vanguard Lock / Formation Lock / Guard Marshal / Phalanx-Bound on Floor 2, Section W
answer Guarded boss-room pressure: Bramble Choke / Guarded Crossfire / Breaker Window / Null Chorus on Floor 2, Section W
mastery: 🛡️ Guarded climb pressure read | 🛡️ Guarded primary: chain bridge crossing
🌑 Deep secondary: agility and Guarded-route footing
supply: rusted plates and chain anchors | 🛡️ Guarded floor map marks chain bridge crossing; boss leans Bannerline, Citadel-Bound; Guarded Watch is in this floor's deck; matches Tight Corners; boss rewards guarded answers
🌑 Deep secondary map line supports agility and Guarded-route footing; boss leans Blackwake, Echo Binder; Black Signal is in this floor's deck; higher-risk EXP pressure is online; boss tests tempo or cleanse
⛏️ Resource can roll Loaded Cache; boss has supply-line pressure; surveys public prep supply; primes Warden Assembly logistics | ⛓️ Chain Hook | 🚩 Bannerline
🏯 Citadel-Bound
🥁 Countermarch
🧷 Formation Lock | 🌿 Bramble Choke
🛡️ Guarded Crossfire
🪓 Breaker Window | Guarded Watch 16%
Black Signal 22%
Tight Corners 14% | steel, route, terrain, tank | defense, food, patience, full HP | 10/10 |
| Floor 2, Section X | 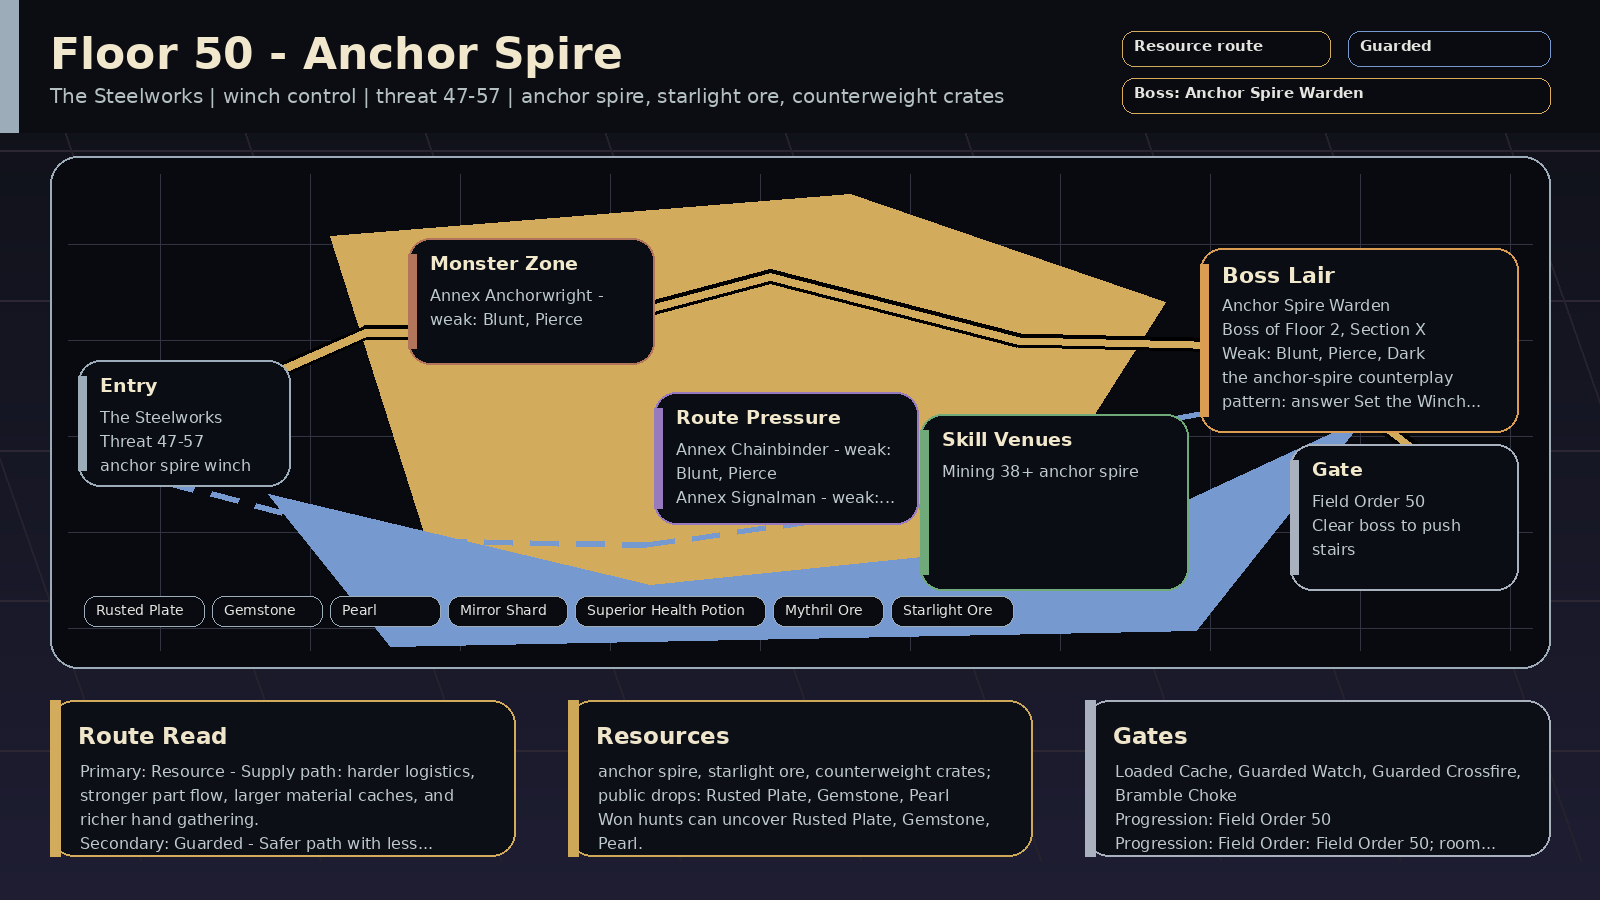 | ⚙️ Steel Crown | The Steelworks | Anchor Spire | Payoff: anchor spire, starlight ore, counterweight crates; public drops: Rusted Plate, Gemstone, Pearl
Prep: Skill prep: Mining 38+
Pressure: winch control; encounters: Loaded Cache, Guarded Watch; boss: Anchor Spire Warden
Route: Route plan: Resource primary for anchor spire winch; Guarded secondary for mining and Resource-route supplies
Progress: Progression: Field Order: Field Order 50; room pressure 100% | Read: Anchor Spire (winch control). The winch here holds the bridge chains. Bring tools.
Prep: Train Mining; prep around mining and Resource-route supplies. Field Order: Field Order 50.
Route: Primary Resource: anchor spire winch. Secondary Guarded: mining and Resource-route supplies.
Trade: Supply axis: starlight ore, rusted plates, counterweight crates. Public demand centers on Rusted Plate, Gemstone, Pearl, Mirror Shard.
Boss: Anchor Spire Warden: Defend Spire Drop after its warning, bring tools for Set the Winch, use control on Counterweight Toll, and burst Exposed Ratchet with blunt, pierce, dark, frost, or nature hits. Boss-room pressure can appear at 100%. | Read: Anchor Spire rewards 🔨 blunt, 🏹 pierce, 🌑 dark, ❄️ frost; avoid relying only on 🗡️ slash, ✨ holy. Mob signatures pressure resource check, defense guard, positioning, guarded watch; the boss chart leans 🔨 blunt, 🏹 pierce, 🌑 dark.
Damage lanes: weak: blunt, pierce, dark, frost, nature
Watch resists: resists: slash, holy
Boss chart: weak: blunt, pierce, dark, frost, nature
resists: slash, holy
Mob pressure: resource check, defense guard, positioning, guarded watch
Counters: tools, blunt, pierce, dark | 47-57 | ⚓ Annex Anchorwright / ⛓️ Annex Chainbinder / 🚦 Annex Signalman | ⚓ Anchor Spire Warden | ⛏️ the anchor spire req 38 | 🦴 Rusted Plate, 💎 Gemstone, ⚪ Pearl, 🦴 Mirror Shard, 🧪 Superior Health Potion, 🪨 Mythril Ore, ✨ Starlight Ore | 6% on won hunts: 🦴 Rusted Plate, 💎 Gemstone, ⚪ Pearl, 🦴 Mirror Shard
Won hunts can uncover Rusted Plate, Gemstone, Pearl.
Choose this floor for starlight ore, rusted plates, counterweight crates; trade for the rest. | The winch here holds the bridge chains. Bring tools. | — | Field Order 50
win 2x Resource route hunts on Floor 2, Section X
clear Loaded Cache on Floor 2, Section X
recover Resource supply for Superior Health Potion / Rusted Plate / Mythril Ore on Floor 2, Section X
win with a spent Supply Contract on Floor 2, Section X or later
answer boss variant lesson against: Quartermaster / Ledgermaw / Seam-Sealed / Blight Ledger / Supply-Locked / Claim-Staked / Cache Splitter / Shortfall on Floor 2, Section X
mastery: ⛏️ Resource climb pressure read | ⛏️ Resource primary: anchor spire winch
🛡️ Guarded secondary: mining and Resource-route supplies
supply: starlight ore, rusted plates, counterweight crates | ⛏️ Resource floor map marks anchor spire winch; boss leans Cache Splitter, Claim-Staked; Loaded Cache is in this floor's deck; matches Loaded Cache; boss has supply-line pressure; surveys public prep supply; primes Warden Assembly logistics
🛡️ Guarded secondary map line supports mining and Resource-route supplies; boss leans Bannerline, Citadel-Bound; Guarded Watch is in this floor's deck; matches Tight Corners; boss rewards guarded answers
🌑 Deep can roll Black Signal; higher-risk EXP pressure is online; boss tests tempo or cleanse | ⚓ Anchor Pull | 🚩 Bannerline
🏯 Citadel-Bound
🥁 Countermarch
🧷 Formation Lock | 🌿 Bramble Choke
🪓 Breaker Window
🛡️ Guarded Crossfire | Loaded Cache 24%
Guarded Watch 16%
Tight Corners 14% | steel, route, terrain, tank | inventory space, tools, armor breaking, defense | 10/10 |
| Floor 2, Section Y | 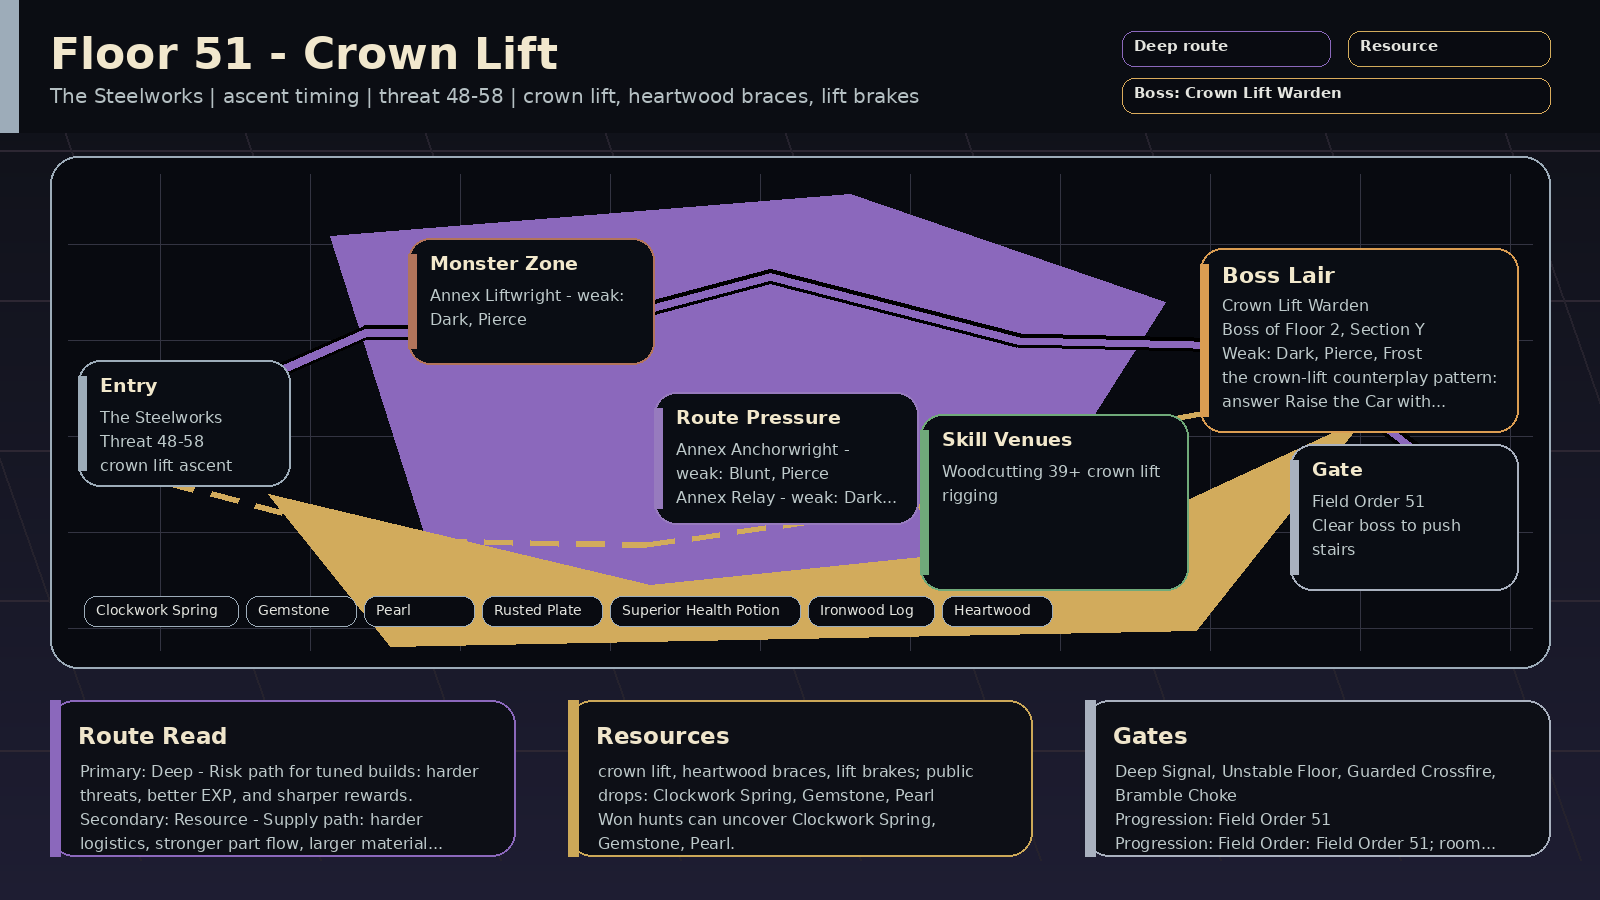 | ⚙️ Steel Crown | The Steelworks | Crown Lift | Payoff: crown lift, heartwood braces, lift brakes; public drops: Clockwork Spring, Gemstone, Pearl
Prep: Skill prep: Woodcutting 39+
Pressure: ascent timing; encounters: Deep Signal, Unstable Floor; boss: Crown Lift Warden
Route: Route plan: Deep primary for crown lift ascent; Resource secondary for woodcutting and Deep-route timing
Progress: Progression: Field Order: Field Order 51; room pressure 100% | Read: Crown Lift (ascent timing). The lift climbs in stages. Defend when the car drops.
Prep: Train Woodcutting; prep around woodcutting and Deep-route timing. Field Order: Field Order 51.
Route: Primary Deep: crown lift ascent. Secondary Resource: woodcutting and Deep-route timing.
Trade: Supply axis: heartwood, clockwork springs, lift brakes. Public demand centers on Clockwork Spring, Gemstone, Pearl, Rusted Plate.
Boss: Crown Lift Warden: Defend Lift Crash after its warning, use control on Raise the Car, bring tools for Brake Audit, and burst Unpinned Brake with dark, pierce, frost, blunt, or nature hits. Boss-room pressure can appear at 100%. | Read: Crown Lift rewards 🌑 dark, 🏹 pierce, ❄️ frost, 🔨 blunt; avoid relying only on 🗡️ slash, ✨ holy. Mob signatures pressure deep signal, tempo check, positioning, slow; the boss chart leans 🌑 dark, 🏹 pierce, ❄️ frost.
Damage lanes: weak: dark, pierce, frost, blunt, nature
Watch resists: resists: slash, holy
Boss chart: weak: dark, pierce, frost, blunt, nature
resists: slash, holy
Mob pressure: deep signal, tempo check, positioning, slow
Counters: control, dark, pierce, frost | 48-58 | 🏗️ Annex Liftwright / ⚓ Annex Anchorwright / 🌀 Annex Relay | 🏗️ Crown Lift Warden | 🌲 the crown lift rigging req 39 | 🦴 Clockwork Spring, 💎 Gemstone, ⚪ Pearl, 🦴 Rusted Plate, 🧪 Superior Health Potion, 🪵 Ironwood Log, 🌳 Heartwood | 6% on won hunts: 🦴 Clockwork Spring, 💎 Gemstone, ⚪ Pearl, 🦴 Rusted Plate
Won hunts can uncover Clockwork Spring, Gemstone, Pearl.
Choose this floor for heartwood, clockwork springs, lift brakes; trade for the rest. | The lift climbs in stages. Defend when the car drops. | — | Field Order 51
win 2x Deep route hunts on Floor 2, Section Y
clear Deep Signal on Floor 2, Section Y
win with a spent Deep route plan on Floor 2, Section Y or later
answer boss variant lesson against: Blackwake / Dark Rift / Starless / Nightfall / Abyssal / Tempo-Locked / Blight Ledger / Riftclock on Floor 2, Section Y
answer Deep boss-room pressure: Blight Count / Nocturne Refrain / Split Beat / Null Chorus on Floor 2, Section Y
mastery: 🌑 Deep climb pressure read | 🌑 Deep primary: crown lift ascent
⛏️ Resource secondary: woodcutting and Deep-route timing
supply: heartwood, clockwork springs, lift brakes | 🌑 Deep floor map marks crown lift ascent; boss leans Abyssal, Blackwake; can roll Black Signal; matches Deep Signal, Unstable Floor; higher-risk EXP pressure is online; boss tests tempo or cleanse
⛏️ Resource secondary map line supports woodcutting and Deep-route timing; boss leans Cache Splitter, Haulmaster; Loaded Cache is in this floor's deck; matches Loaded Cache; boss has supply-line pressure; surveys public prep supply; primes Warden Assembly logistics; helps the next stair's logistics
🛡️ Guarded can roll Guarded Watch; boss rewards guarded answers | 🏗️ Lift Hook | 🕳️ Abyssal
🌑 Blackwake
🌌 Dark Rift
🔗 Echo Binder | 💧 Blight Count
🧰 Cache Collapse
🎼 Nocturne Refrain | Deep Signal 8%
Unstable Floor 12%
Loaded Cache 24% | steel, mystery, hazard, route | codex checks, quest journal, wiki map, accuracy through skills | 10/10 |
| Floor 2, Section Z | 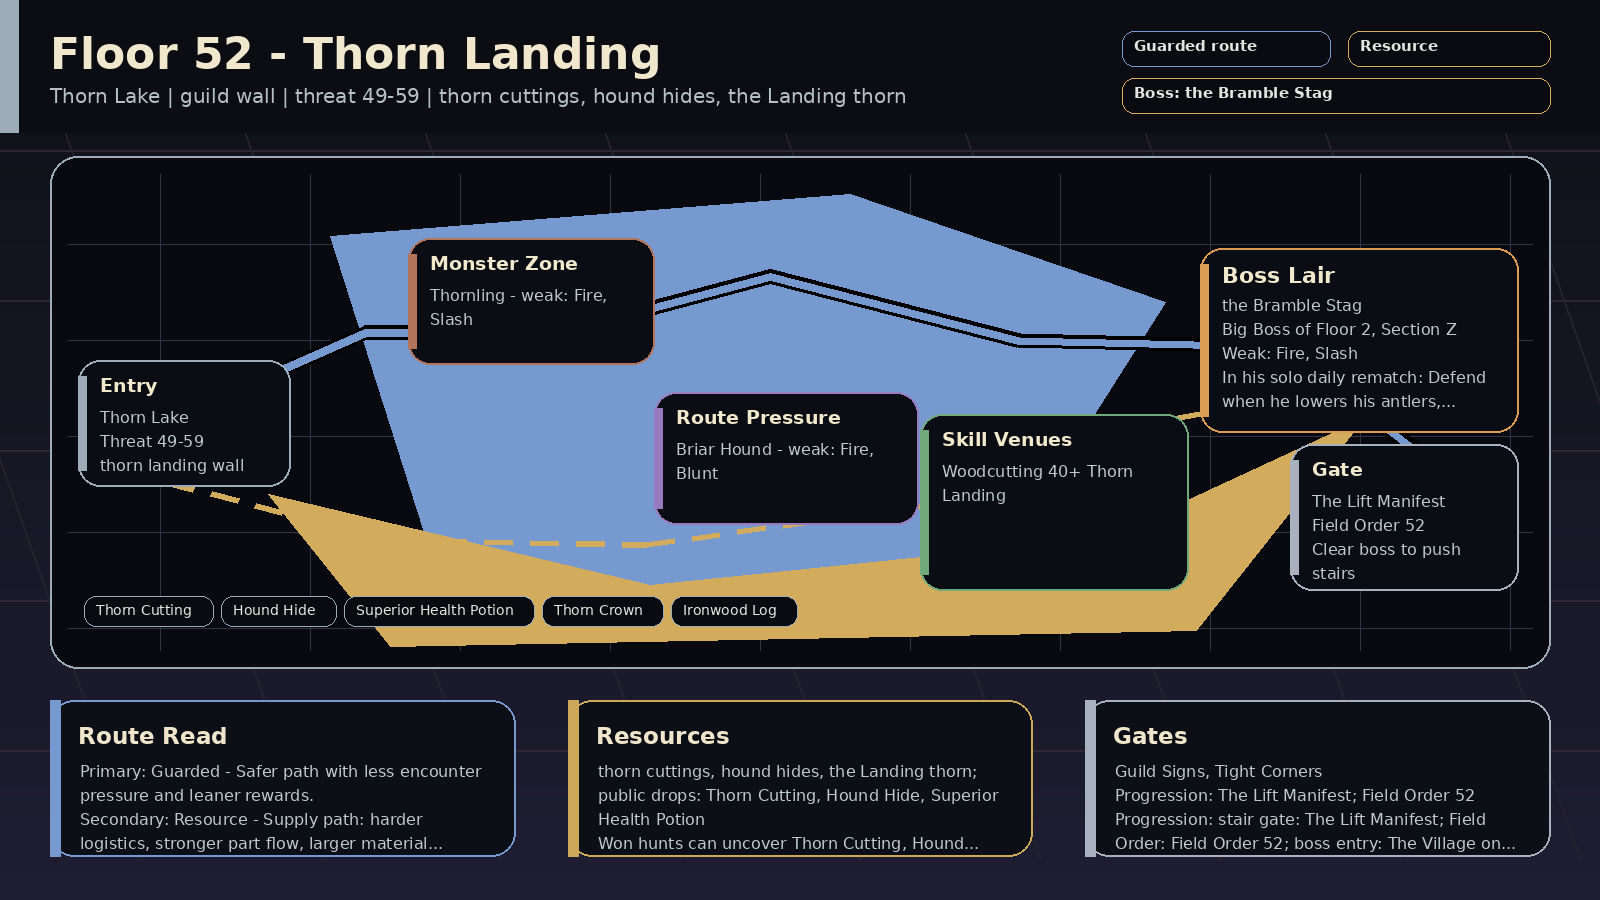 | 🌊 Thorn Lake | Thorn Lake | Thorn Landing | Payoff: thorn cuttings, vole pelts, the Landing thorn; public drops: Thorn Cutting, Vole Pelt, Superior Health Potion
Prep: Skill prep: Woodcutting 40+
Pressure: guild wall; encounters: Guild Signs, Tight Corners; boss: the Bramble Stag
Route: Route plan: Guarded primary for thorn landing wall; Resource secondary for woodcutting and wall prep
Progress: Progression: stair gate: The Lift Manifest; Field Order: Field Order 52; boss entry: The Village on the Lake | Read: Thorn Landing (guild wall). The Lift stops in thorn. The Bramble Stag holds the Landing.
Prep: Train Woodcutting; prep around woodcutting and wall prep. Stair gate: The Lift Manifest.
Route: Primary Guarded: thorn landing wall. Secondary Resource: woodcutting and wall prep.
Trade: Supply axis: thorn cuttings, vole pelts, bramble cord. Public demand centers on Thorn Cutting, Vole Pelt, Superior Health Potion, Thorn Crown.
Boss: the Bramble Stag: In his solo daily rematch: Defend when he lowers his antlers, interrupt the Thorn Pulse after the Deep Breath, and cleanse the thorn bleed. The Old Halter calms him there once he is at 50% health or less with his guard down: when his Crown Loosens, or right after you Defend the Antler Cleave. | Read: Thorn Landing rewards 🔥 fire, 🗡️ slash, 🏹 pierce; avoid relying only on 🌿 nature. Mob signatures pressure slow, control, bleed, damage; the boss chart leans 🔥 fire, 🗡️ slash.
Damage lanes: weak: fire, slash, pierce
Watch resists: resists: nature
Boss chart: weak: fire, slash
resists: nature
Mob pressure: slow, control, bleed, damage
Counters: cleanse, slash, burst, pierce | 49-59 | 🌿 Thornling / 🐀 Reed Vole | 🦌 the Bramble Stag | 🌲 the Thorn Landing req 40 | 🌿 Thorn Cutting, 🐀 Vole Pelt, 🧪 Superior Health Potion, 👑 Thorn Crown, 🪵 Ironwood Log | 6% on won hunts: 🌿 Thorn Cutting, 🐀 Vole Pelt, 🧪 Superior Health Potion, 🪵 Ironwood Log
Won hunts can uncover Thorn Cutting, Vole Pelt, Superior Health Potion.
Choose this floor for thorn cuttings, vole pelts, bramble cord; trade for the rest. | The Lift stops in thorn. The Bramble Stag holds the Landing. | The Lift Manifest
train Woodcutting at the crown lift rigging on Floor 2, Section Y
deliver Starlight Ore
deliver Heartwood
deliver 2x Clockwork Spring | Field Order 52
win 2x Guarded route hunts on Floor 2, Section Z
clear Guild Signs on Floor 2, Section Z
defeat the Bramble Stag | 🛡️ Guarded primary: thorn landing wall
⛏️ Resource secondary: woodcutting and wall prep
supply: thorn cuttings, vole pelts, bramble cord | 🛡️ Guarded floor map marks thorn landing wall; boss leans Brambleward; can roll Guarded Watch; matches Guild Signs, Tight Corners; boss rewards guarded answers
⛏️ Resource secondary map line supports woodcutting and wall prep; can roll Loaded Cache; matches Guild Signs; boss has supply-line pressure; surveys public prep supply; primes Warden Assembly logistics
🌑 Deep can roll Black Signal; matches Bad Air; higher-risk EXP pressure is online; boss tests tempo or cleanse | 🦌 Lowered Antlers | — | — | Guild Signs 8%
Tight Corners 14%
Bad Air 12% | Thorn Lake, social, terrain, hazard | guild board, trade prep, shared farming, blunt damage | 10/10 |
| Floor 3, Section A | 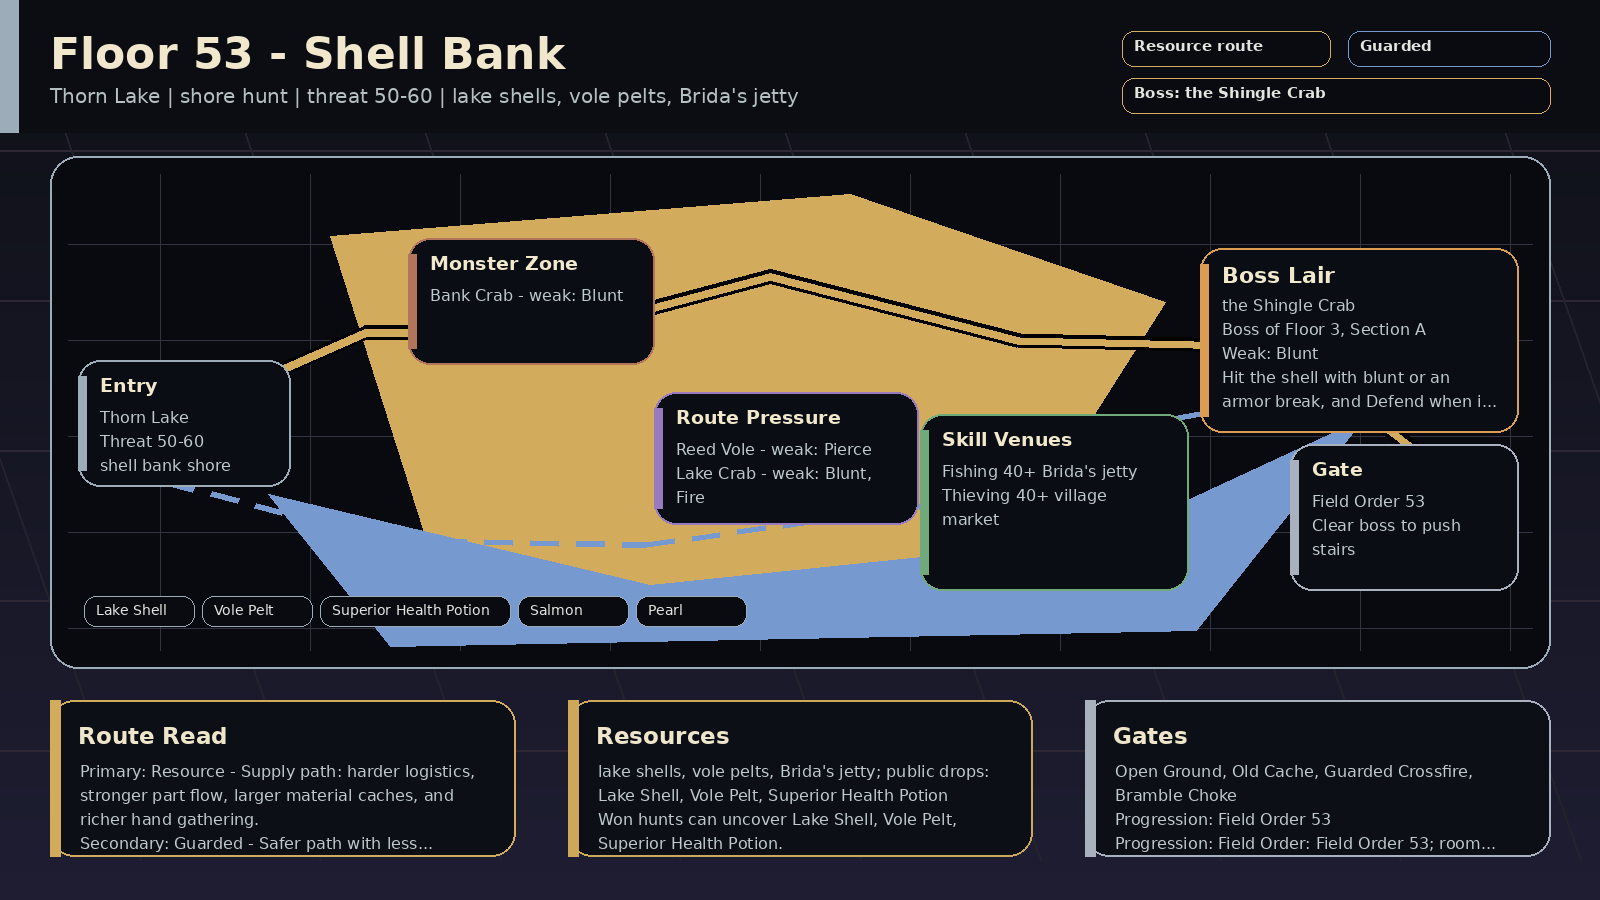 | 🌊 Thorn Lake | Thorn Lake | Shell Bank | Payoff: lake shells, vole pelts, Brida's jetty; public drops: Lake Shell, Vole Pelt, Superior Health Potion
Prep: Skill prep: Fishing 40+, Thieving 40+
Pressure: shore hunt; encounters: Open Ground, Old Cache; boss: the Shingle Crab
Route: Route plan: Resource primary for shell bank shore; Guarded secondary for fishing and shell breaking
Progress: Progression: Field Order: Field Order 53; room pressure 100% | Read: Shell Bank (shore hunt). The village's first shore. Crabs dig in along the bank.
Prep: Train Fishing, Thieving; prep around fishing and shell breaking. Field Order: Field Order 53.
Route: Primary Resource: shell bank shore. Secondary Guarded: fishing and shell breaking.
Trade: Supply axis: lake shells, vole pelts, perch. Public demand centers on Lake Shell, Vole Pelt, Superior Health Potion, Salmon.
Boss: the Shingle Crab: Hit the shell with blunt or an armor break, and Defend when it turns its shell to swing. Boss-room pressure can appear at 100%. | Read: Shell Bank rewards 🔨 blunt, 🏹 pierce, 🔥 fire; avoid relying only on 🗡️ slash. Mob signatures pressure positioning, slow, damage, debuff; the boss chart leans 🔨 blunt.
Damage lanes: weak: blunt, pierce, fire
Watch resists: resists: slash
Boss chart: weak: blunt
resists: slash
Mob pressure: positioning, slow, damage, debuff
Counters: speed control, blunt, burst, pierce | 50-60 | 🦀 Bank Crab / 🐀 Reed Vole / 🦀 Lake Crab | 🦀 the Shingle Crab | 🎣 Brida's jetty req 40
🪙 the village market req 40 | 🐚 Lake Shell, 🐀 Vole Pelt, 🧪 Superior Health Potion, 🐟 Salmon, ⚪ Pearl | 6% on won hunts: 🐚 Lake Shell, 🐀 Vole Pelt, 🧪 Superior Health Potion, 🐟 Salmon
Won hunts can uncover Lake Shell, Vole Pelt, Superior Health Potion.
Choose this floor for lake shells, vole pelts, perch; trade for the rest. | The village's first shore. Crabs dig in along the bank. | — | Field Order 53
win 2x Resource route hunts on Floor 3, Section A
clear Old Cache on Floor 3, Section A
recover Resource supply for Superior Health Potion / Lake Shell / Vole Pelt on Floor 3, Section A
win with a spent Supply Contract on Floor 3, Section A or later
answer boss variant lesson against: Blight Ledger / Rampart / Brambleward / Snareweb / Bulwark / Sentinel / Cachebound / Orebound on Floor 3, Section A
mastery: ⛏️ Resource climb pressure read | ⛏️ Resource primary: shell bank shore
🛡️ Guarded secondary: fishing and shell breaking
supply: lake shells, vole pelts, perch | ⛏️ Resource floor map marks shell bank shore; can roll Loaded Cache; matches Old Cache, Patrol Route; surveys public prep supply; primes Warden Assembly logistics
🛡️ Guarded secondary map line supports fishing and shell breaking; boss leans Rampart, Sentinel; can roll Guarded Watch; boss rewards guarded answers
🌑 Deep can roll Black Signal; higher-risk EXP pressure is online; boss tests tempo or cleanse | 🦀 Shell Turns | 🧱 Rampart
🌿 Brambleward
🕸️ Snareweb
🛡️ Bulwark | 🌿 Bramble Choke
📦 Supply Audit
📒 Toll Audit | Open Ground 18%
Old Cache 10%
Patrol Route 16% | Thorn Lake, terrain, reward, patrol | speed control, stamina planning, opening burst, inventory space | 10/10 |
| Floor 3, Section B | 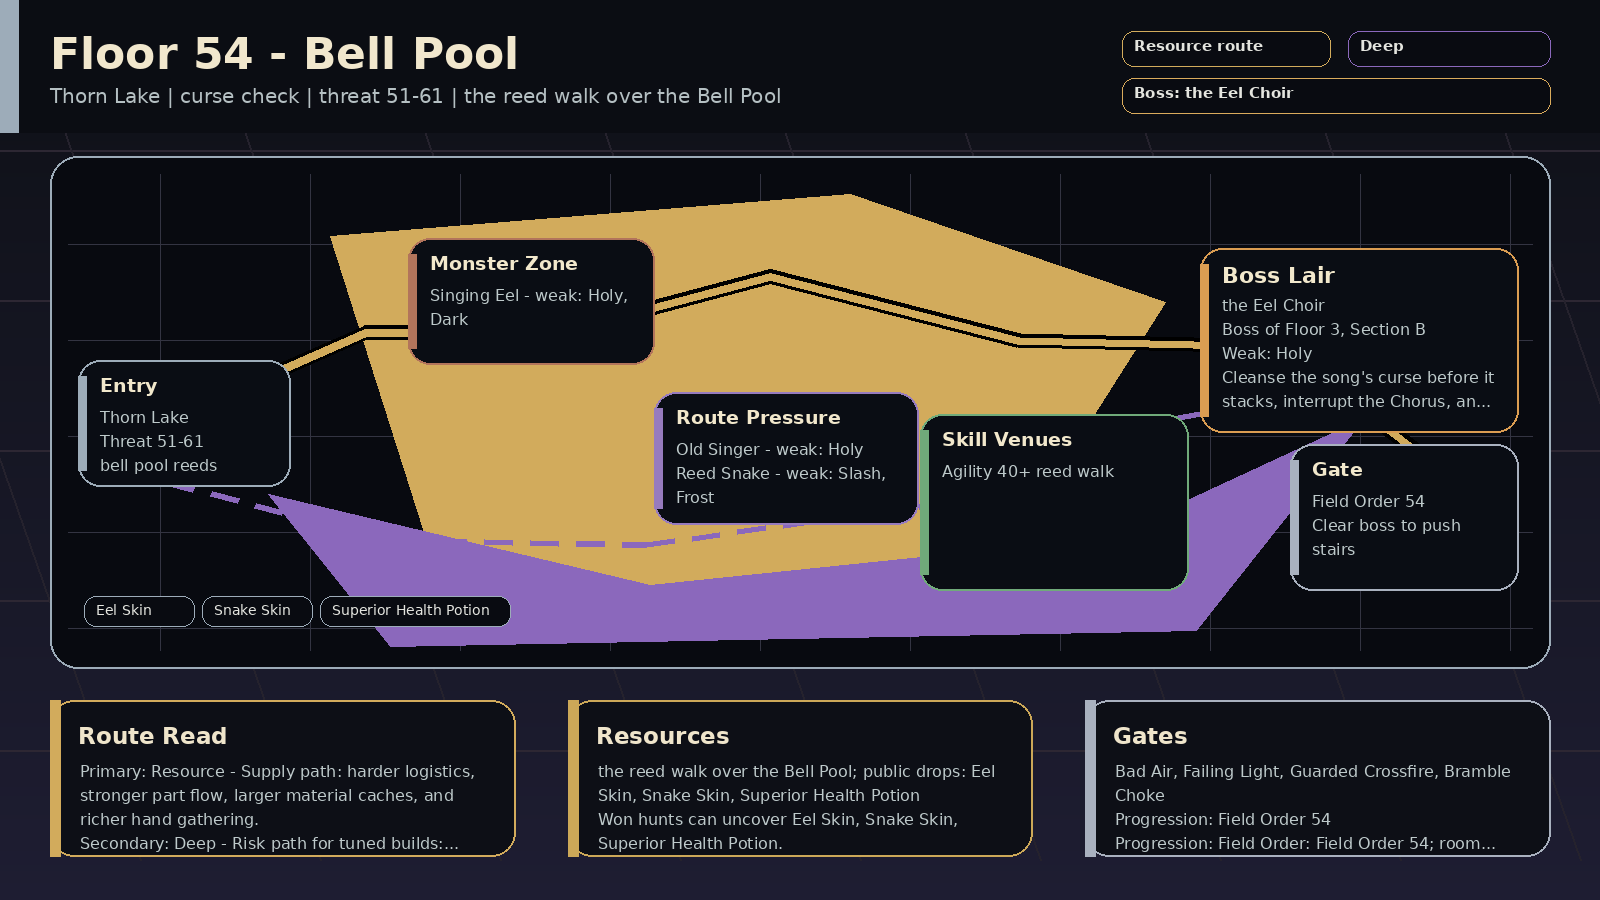 | 🌊 Thorn Lake | Thorn Lake | Bell Pool | Payoff: the reed walk over the Bell Pool; public drops: Eel Skin, Snake Skin, Superior Health Potion
Prep: Skill prep: Agility 40+
Pressure: curse check; encounters: Bad Air, Failing Light; boss: the Eel Choir
Route: Route plan: Resource primary for bell pool reeds; Deep secondary for agility and cleanse prep
Progress: Progression: Field Order: Field Order 54; room pressure 100% | Read: Bell Pool (curse check). Eels sing back to the bell. Bring a cleanse.
Prep: Train Agility; prep around agility and cleanse prep. Field Order: Field Order 54.
Route: Primary Resource: bell pool reeds. Secondary Deep: agility and cleanse prep.
Trade: Supply axis: eel skins, snake skins, antidotes. Public demand centers on Eel Skin, Snake Skin, Superior Health Potion.
Boss: the Eel Choir: Cleanse the song's curse before it stacks, interrupt the Chorus, and bring holy if you have it. Boss-room pressure can appear at 100%. | Read: Bell Pool rewards ✨ holy, 🌑 dark, 🗡️ slash, ❄️ frost; avoid relying only on 🌿 nature. Mob signatures pressure curse, cleanse check, damage down, damage; the boss chart leans ✨ holy.
Damage lanes: weak: holy, dark, slash, frost
Watch resists: resists: nature
Boss chart: weak: holy
resists: frost
Mob pressure: curse, cleanse check, damage down, damage
Counters: cleanse, holy, slash, burst | 51-61 | 🐟 Singing Eel / 🐟 Old Singer / 🐍 Reed Snake | 🎶 the Eel Choir | 🏃 the reed walk req 40 | 🐟 Eel Skin, 🐍 Snake Skin, 🧪 Superior Health Potion | 6% on won hunts: 🐟 Eel Skin, 🐍 Snake Skin, 🧪 Superior Health Potion
Won hunts can uncover Eel Skin, Snake Skin, Superior Health Potion.
Choose this floor for eel skins, snake skins, antidotes; trade for the rest. | Eels sing back to the bell. Bring a cleanse. | — | Field Order 54
win 2x Resource route hunts on Floor 3, Section B
clear Bad Air on Floor 3, Section B
recover Resource supply for Superior Health Potion / Eel Skin / Snake Skin on Floor 3, Section B
win with a spent Supply Contract on Floor 3, Section B or later
answer boss variant lesson against: Blight Ledger / Gravetide / Hexbound / Night Chorus / Brambleward / Cachebound / Orebound / Scrap-Fused on Floor 3, Section B
mastery: ⛏️ Resource climb pressure read | ⛏️ Resource primary: bell pool reeds
🌑 Deep secondary: agility and cleanse prep
supply: eel skins, snake skins, antidotes | ⛏️ Resource floor map marks bell pool reeds; can roll Loaded Cache; surveys public prep supply; primes Warden Assembly logistics
🌑 Deep secondary map line supports agility and cleanse prep; boss leans Night Chorus; can roll Black Signal; matches Bad Air; higher-risk EXP pressure is online; boss tests tempo or cleanse
🛡️ Guarded can roll Guarded Watch; boss rewards guarded answers | 🎶 Chorus
counters: cleanse, holy, control | 🌊 Gravetide
🕯️ Hexbound
🌌 Night Chorus
💧 Blight Ledger | 💧 Blight Count
🎼 Nocturne Refrain
🎼 Null Chorus | Bad Air 12%
Failing Light 12%
Old Wards 10% | Thorn Lake, hazard, mystery, mystic | antidotes, cleanse skills, food belt, accuracy through skills | 10/10 |
| Floor 3, Section C | 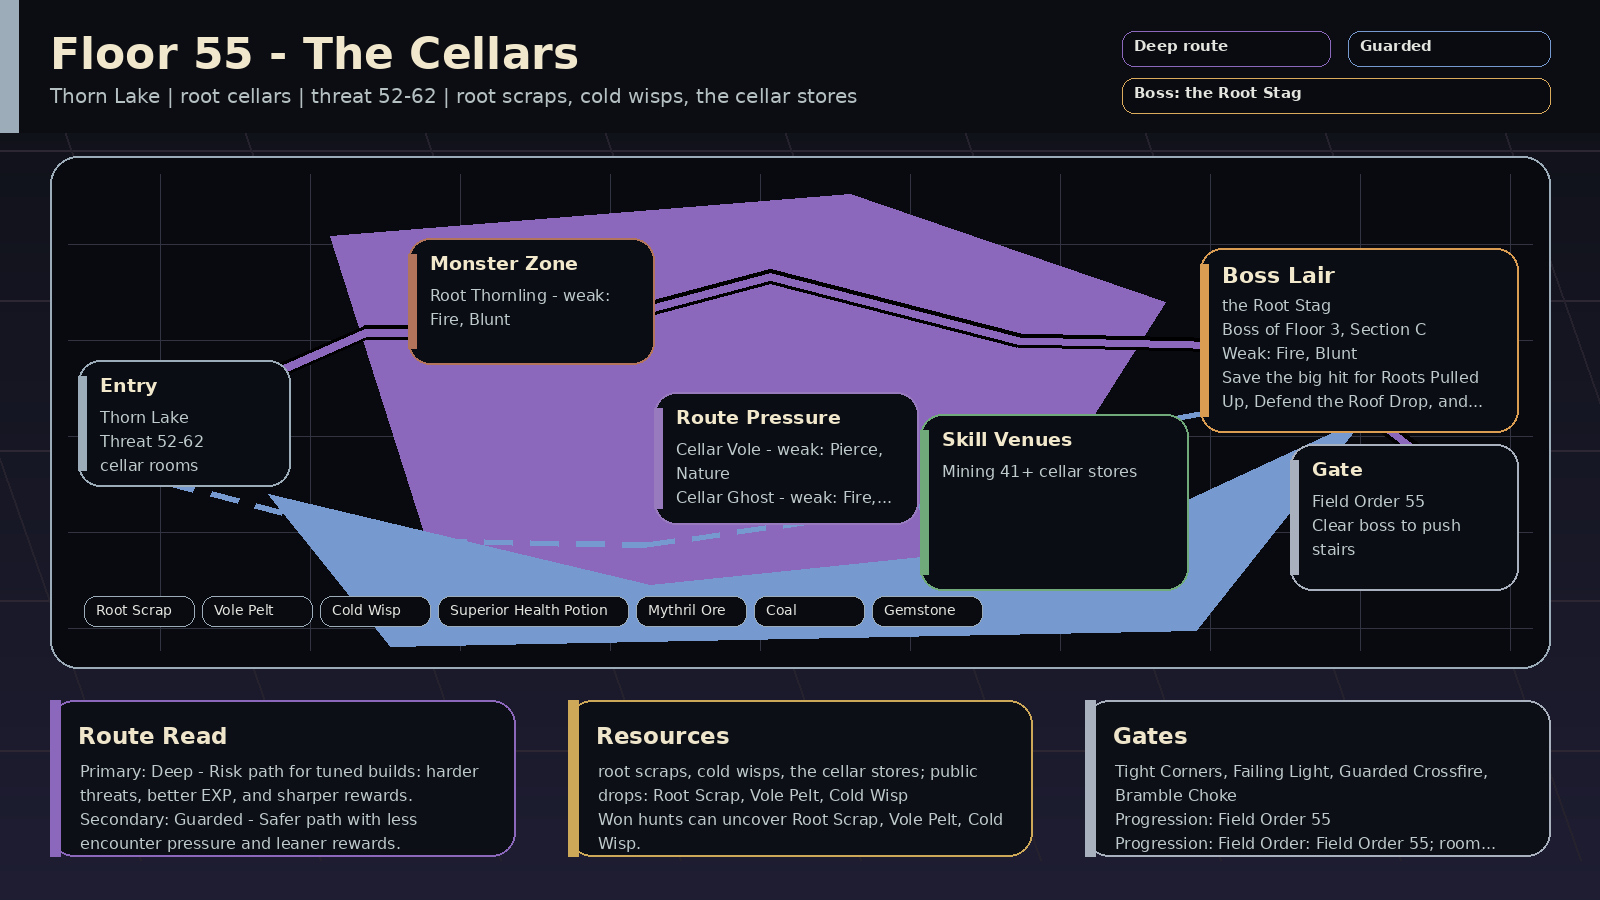 | 🌊 Thorn Lake | Thorn Lake | The Cellars | Payoff: root scraps, cold wisps, the cellar stores; public drops: Root Scrap, Vole Pelt, Cold Wisp
Prep: Skill prep: Mining 41+
Pressure: root cellars; encounters: Tight Corners, Failing Light; boss: the Root Stag
Route: Route plan: Deep primary for cellar rooms; Guarded secondary for mining and burst timing
Progress: Progression: Field Order: Field Order 55; room pressure 100% | Read: The Cellars (root cellars). Rooms under the village, shaped like the houses above.
Prep: Train Mining; prep around mining and burst timing. Field Order: Field Order 55.
Route: Primary Deep: cellar rooms. Secondary Guarded: mining and burst timing.
Trade: Supply axis: root scraps, cold wisps, coal. Public demand centers on Root Scrap, Vole Pelt, Cold Wisp, Superior Health Potion.
Boss: the Root Stag: Save the big hit for Roots Pulled Up, Defend the Roof Drop, and cleanse the Root Legs bleed. Boss-room pressure can appear at 100%. | Read: The Cellars rewards 🔥 fire, 🔨 blunt, 🏹 pierce, 🌿 nature; avoid relying only on 🗡️ slash. Mob signatures pressure defense guard, damage, stance, debuff; the boss chart leans 🔨 blunt, 🏹 pierce.
Damage lanes: weak: fire, blunt, pierce, nature, holy
Watch resists: resists: slash
Boss chart: weak: blunt, pierce
resists: slash
Mob pressure: defense guard, damage, stance, debuff
Counters: burst, pierce, cleanse, control | 52-62 | 🌱 Root Thornling / 🐀 Cellar Vole / 👻 Cellar Ghost | 🦌 the Root Stag | ⛏️ the cellar stores req 41 | 🌱 Root Scrap, 🐀 Vole Pelt, 👻 Cold Wisp, 🧪 Superior Health Potion, 🪨 Mythril Ore, 🪨 Coal, 💎 Gemstone | 6% on won hunts: 🌱 Root Scrap, 🐀 Vole Pelt, 👻 Cold Wisp, 🧪 Superior Health Potion
Won hunts can uncover Root Scrap, Vole Pelt, Cold Wisp.
Choose this floor for root scraps, cold wisps, coal; trade for the rest. | Rooms under the village, shaped like the houses above. | — | Field Order 55
win 2x Deep route hunts on Floor 3, Section C
clear Tight Corners on Floor 3, Section C
win with a spent Deep route plan on Floor 3, Section C or later
answer boss variant lesson against: Eclipse / Starless / Umbral Choir / Blight Ledger / Echo-Marked / Night Chorus / Silence-Bound / Ironroot on Floor 3, Section C
answer Deep boss-room pressure: Blight Count / Nocturne Refrain / Null Chorus / Split Beat on Floor 3, Section C
mastery: 🌑 Deep climb pressure read | 🌑 Deep primary: cellar rooms
🛡️ Guarded secondary: mining and burst timing
supply: root scraps, cold wisps, coal | 🌑 Deep floor map marks cellar rooms; can roll Black Signal; higher-risk EXP pressure is online; boss tests tempo or cleanse
🛡️ Guarded secondary map line supports mining and burst timing; can roll Guarded Watch; matches Tight Corners; boss rewards guarded answers
⛏️ Resource can roll Loaded Cache; matches Old Cache; boss has supply-line pressure; surveys public prep supply; primes Warden Assembly logistics | 🏚️ Sagging Roof | 🌲 Ironroot
➕ Mender
🌿 Brambleward
🕸️ Snareweb | 🌿 Bramble Choke
🧰 Cache Collapse
🛡️ Guarded Crossfire | Tight Corners 14%
Failing Light 12%
Old Cache 10% | Thorn Lake, terrain, hazard, reward | blunt damage, defense pierce, longer sustain, accuracy through skills | 10/10 |
| Floor 3, Section D | 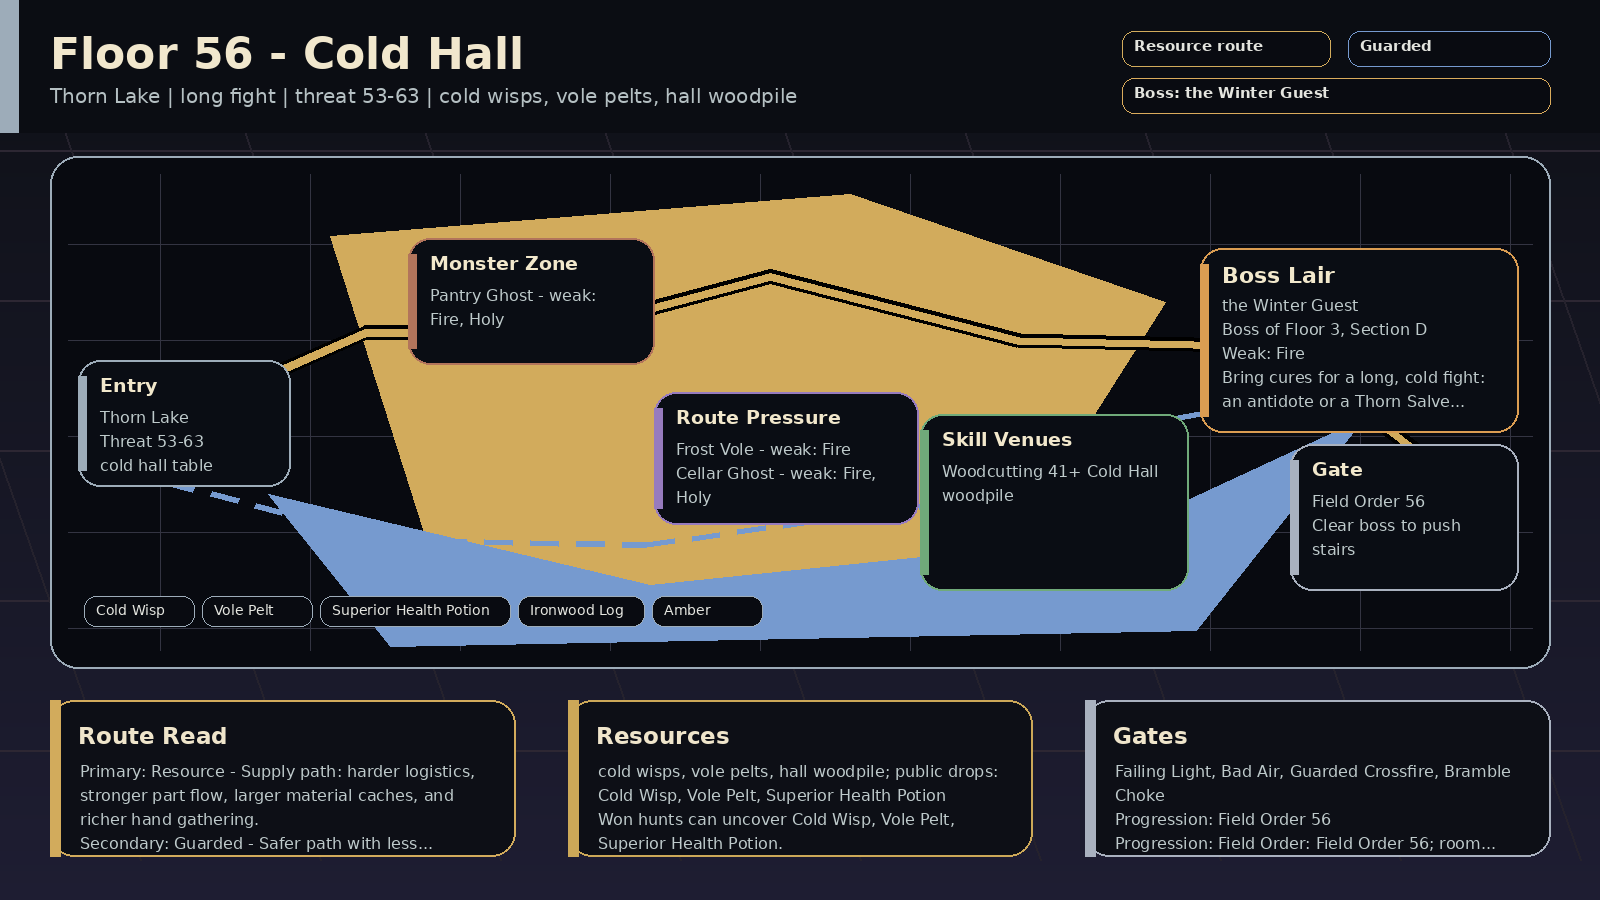 | 🌊 Thorn Lake | Thorn Lake | Cold Hall | Payoff: cold wisps, vole pelts, hall woodpile; public drops: Cold Wisp, Vole Pelt, Superior Health Potion
Prep: Skill prep: Woodcutting 41+
Pressure: long fight; encounters: Failing Light, Bad Air; boss: the Winter Guest
Route: Route plan: Resource primary for cold hall table; Guarded secondary for woodcutting and cures
Progress: Progression: Field Order: Field Order 56; room pressure 100% | Read: Cold Hall (long fight). A table laid for a course that never came. Bring cures.
Prep: Train Woodcutting; prep around woodcutting and cures. Field Order: Field Order 56.
Route: Primary Resource: cold hall table. Secondary Guarded: woodcutting and cures.
Trade: Supply axis: cold wisps, vole pelts, thorn salves. Public demand centers on Cold Wisp, Vole Pelt, Superior Health Potion, Ironwood Log.
Boss: the Winter Guest: Bring cures for a long, cold fight: an antidote or a Thorn Salve clears the curse, and cures still work past your one potion. Hit it with fire and Defend the Frozen Course. Boss-room pressure can appear at 100%. | Read: Cold Hall rewards 🔥 fire, ✨ holy; avoid relying only on ❄️ frost, 🗡️ slash. Mob signatures pressure map read, slow, damage, debuff; the boss chart leans 🔥 fire.
Damage lanes: weak: fire, holy
Watch resists: resists: frost, slash
Boss chart: weak: fire
resists: frost
Mob pressure: map read, slow, damage, debuff
Counters: map read, holy, fire, cleanse | 53-63 | 👻 Pantry Ghost / 🐀 Frost Vole / 👻 Cellar Ghost | 🥶 the Winter Guest | 🌲 the Cold Hall woodpile req 41 | 👻 Cold Wisp, 🐀 Vole Pelt, 🧪 Superior Health Potion, 🪵 Ironwood Log, 🟠 Amber | 6% on won hunts: 👻 Cold Wisp, 🐀 Vole Pelt, 🧪 Superior Health Potion, 🪵 Ironwood Log
Won hunts can uncover Cold Wisp, Vole Pelt, Superior Health Potion.
Choose this floor for cold wisps, vole pelts, thorn salves; trade for the rest. | A table laid for a course that never came. Bring cures. | — | Field Order 56
win 2x Resource route hunts on Floor 3, Section D
clear Failing Light on Floor 3, Section D
recover Resource supply for Superior Health Potion / Cold Wisp / Amber on Floor 3, Section D
win with a spent Supply Contract on Floor 3, Section D or later
answer boss variant lesson against: Blight Ledger / Frostbound / Mindshear / Executioner / Brambleward / Cachebound / Orebound / Scrap-Fused on Floor 3, Section D
mastery: ⛏️ Resource climb pressure read | ⛏️ Resource primary: cold hall table
🛡️ Guarded secondary: woodcutting and cures
supply: cold wisps, vole pelts, thorn salves | ⛏️ Resource floor map marks cold hall table; can roll Loaded Cache; surveys public prep supply; primes Warden Assembly logistics
🛡️ Guarded secondary map line supports woodcutting and cures; Guarded Watch is in this floor's deck; boss rewards guarded answers
🌑 Deep can roll Black Signal; matches Bad Air; higher-risk EXP pressure is online; boss tests tempo or cleanse | ❄️ Rime on the Table
counters: fire | ❄️ Frostbound
🧠 Mindshear
💀 Executioner
💧 Blight Ledger | 💧 Blight Count
🌿 Bramble Choke
🛡️ Guarded Crossfire | Failing Light 12%
Bad Air 12%
Guarded Watch 16% | Thorn Lake, hazard, route, mystic | accuracy through skills, scout reads, defend timing, antidotes | 10/10 |
| Floor 3, Section E | 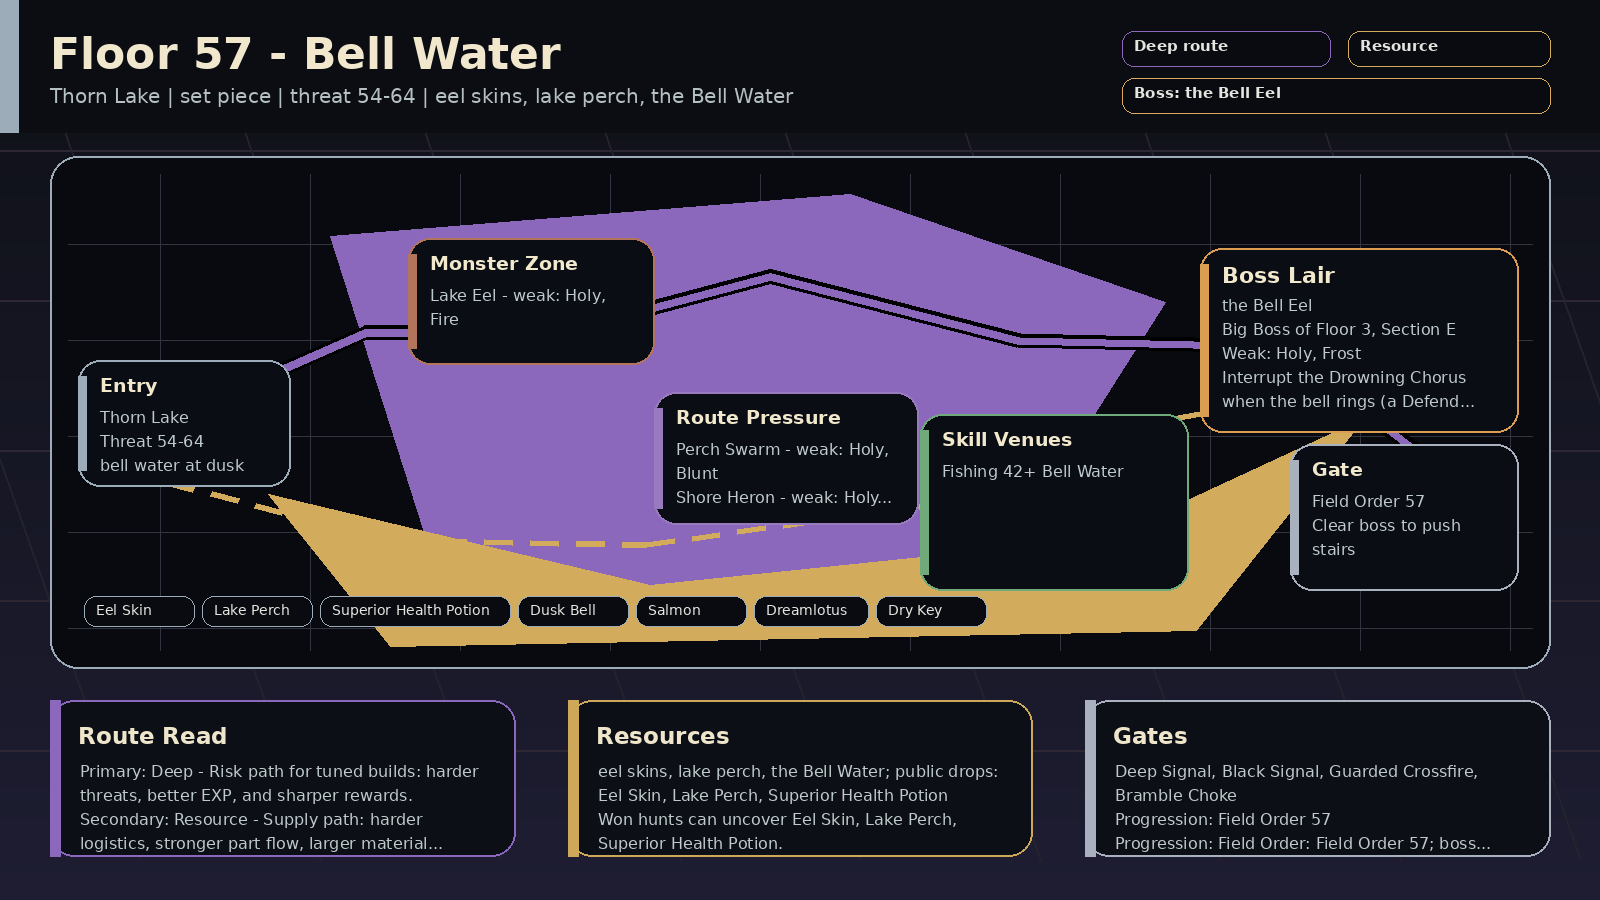 | 🌊 Thorn Lake | Thorn Lake | Bell Water | Payoff: eel skins, lake perch, the Bell Water; public drops: Eel Skin, Lake Perch, Superior Health Potion
Prep: Skill prep: Fishing 42+
Pressure: set piece; encounters: Deep Signal, Black Signal; boss: the Bell Eel
Route: Route plan: Deep primary for bell water at dusk; Resource secondary for fishing and map reading
Progress: Progression: Field Order: Field Order 57; boss entry: The Bell at Dusk; room pressure 100% | Read: Bell Water (set piece). The bell rings under the lake at dusk. The Bell Eel comes up to it.
Prep: Train Fishing; prep around fishing and map reading. Field Order: Field Order 57.
Route: Primary Deep: bell water at dusk. Secondary Resource: fishing and map reading.
Trade: Supply axis: eel skins, lake perch, dry keys. Public demand centers on Eel Skin, Lake Perch, Superior Health Potion, Dusk Bell.
Boss: the Bell Eel: Interrupt the Drowning Chorus when the bell rings (a Defend doesn't stop it), cleanse its curse if it lands, Defend the Tail Slam, and burst when the eel surfaces. Boss-room pressure can appear at 100%. | Read: Bell Water rewards ✨ holy, 🔥 fire, 🔨 blunt, 🏹 pierce; avoid relying only on ❄️ frost. Mob signatures pressure slow, control, bleed, damage; the boss chart leans ❄️ frost, 🏹 pierce.
Damage lanes: weak: holy, fire, blunt, pierce
Watch resists: resists: frost
Boss chart: weak: frost, pierce
resists: nature
Mob pressure: slow, control, bleed, damage
Counters: cleanse, slash, burst, defend | 54-64 | 🐟 Lake Eel / 🐟 Perch Swarm / 🪶 Shore Heron | 🔔 the Bell Eel | 🎣 the Bell Water req 42 | 🐟 Eel Skin, 🐟 Lake Perch, 🧪 Superior Health Potion, 🔔 Dusk Bell, 🐟 Salmon, 🪷 Dreamlotus, 🗝️ Dry Key | 6% on won hunts: 🐟 Eel Skin, 🐟 Lake Perch, 🧪 Superior Health Potion, 🐟 Salmon
Won hunts can uncover Eel Skin, Lake Perch, Superior Health Potion.
Choose this floor for eel skins, lake perch, dry keys; trade for the rest. | The bell rings under the lake at dusk. The Bell Eel comes up to it. | — | Field Order 57
win 2x Deep route hunts on Floor 3, Section E
clear Black Signal on Floor 3, Section E
win with a spent Deep route plan on Floor 3, Section E or later
answer boss variant lesson against: Eclipse / Starless / Umbral Choir / Blight Ledger / Echo-Marked / Night Chorus / Silence-Bound / Gravetide on Floor 3, Section E
answer Deep boss-room pressure: Split Beat / Nocturne Refrain / Blight Count / Null Chorus on Floor 3, Section E
mastery: 🌑 Deep climb pressure read | 🌑 Deep primary: bell water at dusk
⛏️ Resource secondary: fishing and map reading
supply: eel skins, lake perch, dry keys | 🌑 Deep floor map marks bell water at dusk; boss leans Umbral Choir; Black Signal is in this floor's deck; matches Deep Signal; higher-risk EXP pressure is online; boss tests tempo or cleanse
⛏️ Resource secondary map line supports fishing and map reading; can roll Loaded Cache; boss has supply-line pressure; surveys public prep supply; primes Warden Assembly logistics; helps the next stair's logistics
🛡️ Guarded can roll Guarded Watch; boss rewards guarded answers | 🔔 The Bell Rings | 🎼 Umbral Choir
〽️ Echo-Marked
🌌 Night Chorus
🌊 Gravetide | ⏱️ Split Beat
🎼 Nocturne Refrain
💧 Blight Count | Deep Signal 8%
Black Signal 22%
Open Ground 18% | Thorn Lake, mystery, route, terrain | codex checks, quest journal, wiki map, full HP | 10/10 |
| Floor 3, Section F | 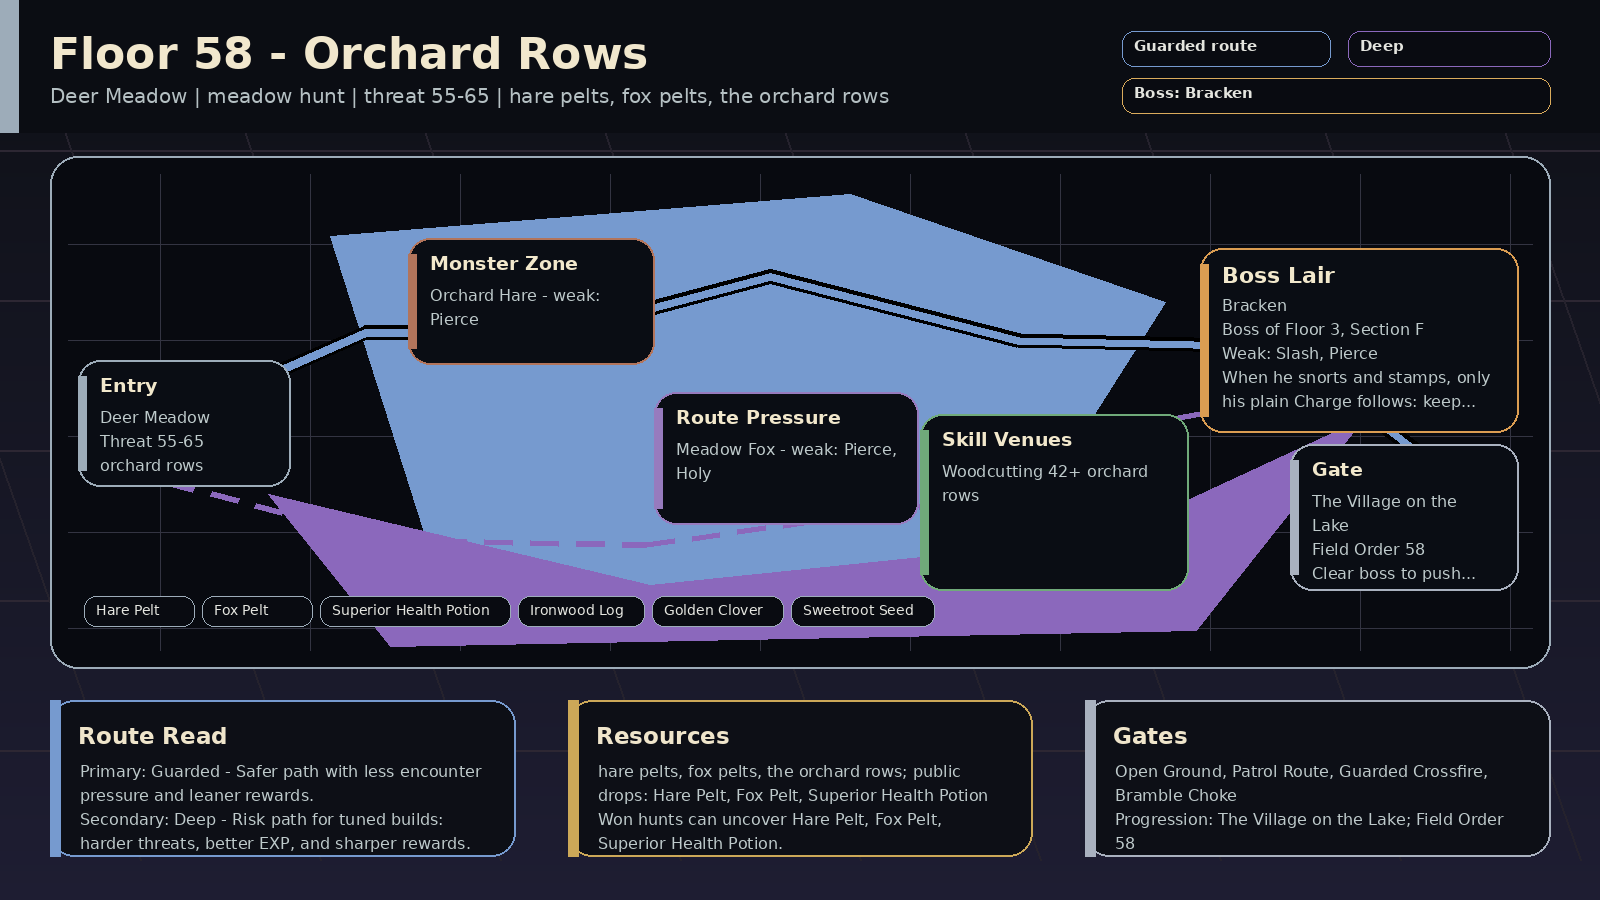 | 🌊 Thorn Lake | Deer Meadow | Orchard Rows | Payoff: hare pelts, fox pelts, the orchard rows; public drops: Hare Pelt, Fox Pelt, Superior Health Potion
Prep: Skill prep: Woodcutting 42+
Pressure: meadow hunt; encounters: Open Ground, Patrol Route; boss: Bracken
Route: Route plan: Guarded primary for orchard rows; Deep secondary for woodcutting and Defend timing
Progress: Progression: stair gate: The Village on the Lake; Field Order: Field Order 58; room pressure 100% | Read: Orchard Rows (meadow hunt). Deer and hares in the apple rows. Bracken warns before his big charge.
Prep: Train Woodcutting; prep around woodcutting and Defend timing. Stair gate: The Village on the Lake.
Route: Primary Guarded: orchard rows. Secondary Deep: woodcutting and Defend timing.
Trade: Supply axis: hare pelts, fox pelts, ironwood logs. Public demand centers on Hare Pelt, Fox Pelt, Superior Health Potion, Ironwood Log.
Boss: Bracken: When he snorts and stamps, only his plain Charge follows: keep hitting. Defend when he paws the ground, and slow him so the charges come late. Boss-room pressure can appear at 100%. | Read: Orchard Rows rewards 🏹 pierce, ✨ holy; avoid relying only on ❄️ frost. Mob signatures pressure defense guard, damage, stance, debuff; the boss chart leans 🗡️ slash, 🏹 pierce.
Damage lanes: weak: pierce, holy
Watch resists: resists: frost
Boss chart: weak: slash, pierce
Mob pressure: defense guard, damage, stance, debuff
Counters: burst, pierce, control | 55-65 | 🐇 Orchard Hare / 🦊 Meadow Fox | 🐗 Bracken | 🌲 the orchard rows req 42 | 🐇 Hare Pelt, 🦊 Fox Pelt, 🧪 Superior Health Potion, 🪵 Ironwood Log, 🍀 Golden Clover, 🌱 Sweetroot Seed | 6% on won hunts: 🐇 Hare Pelt, 🦊 Fox Pelt, 🧪 Superior Health Potion, 🪵 Ironwood Log
Won hunts can uncover Hare Pelt, Fox Pelt, Superior Health Potion.
Choose this floor for hare pelts, fox pelts, ironwood logs; trade for the rest. | Deer and hares in the apple rows. Bracken warns before his big charge. | The Village on the Lake
defeat 3x Thornling (found on Floor 2, Section Z)
deliver 2x Thorn Cutting
defeat the Bramble Stag
deliver 2x Lake Shell | Field Order 58
win 2x Guarded route hunts on Floor 3, Section F
clear Open Ground on Floor 3, Section F
win with a spent Guarded route plan on Floor 3, Section F or later
answer boss variant lesson against: Watchmarked / Trailwarden / Bannerline / Shieldwall / Countermarch / Wardbreaker / Linebreaker / Holdfast on Floor 3, Section F
answer Guarded boss-room pressure: Bramble Choke / Breaker Window / Guarded Crossfire / Null Chorus on Floor 3, Section F
mastery: 🛡️ Guarded climb pressure read | 🛡️ Guarded primary: orchard rows
🌑 Deep secondary: woodcutting and Defend timing
supply: hare pelts, fox pelts, ironwood logs | 🛡️ Guarded floor map marks orchard rows; can roll Guarded Watch; boss rewards guarded answers
🌑 Deep secondary map line supports woodcutting and Defend timing; can roll Black Signal; higher-risk EXP pressure is online
⛏️ Resource can roll Loaded Cache; matches Patrol Route; surveys public prep supply; primes Warden Assembly logistics | 🐗 Snorts and Stamps | 🐺 Packbound
🕸️ Snareweb
🩸 Rupturing
⏱️ Tempo-Locked | 🌿 Bramble Choke
⏱️ Split Beat
📦 Supply Audit | Open Ground 18%
Patrol Route 16%
Market Caravan 10% | Deer Meadow, terrain, patrol, reward | speed control, stamina planning, opening burst, full HP | 10/10 |
| Floor 3, Section G | 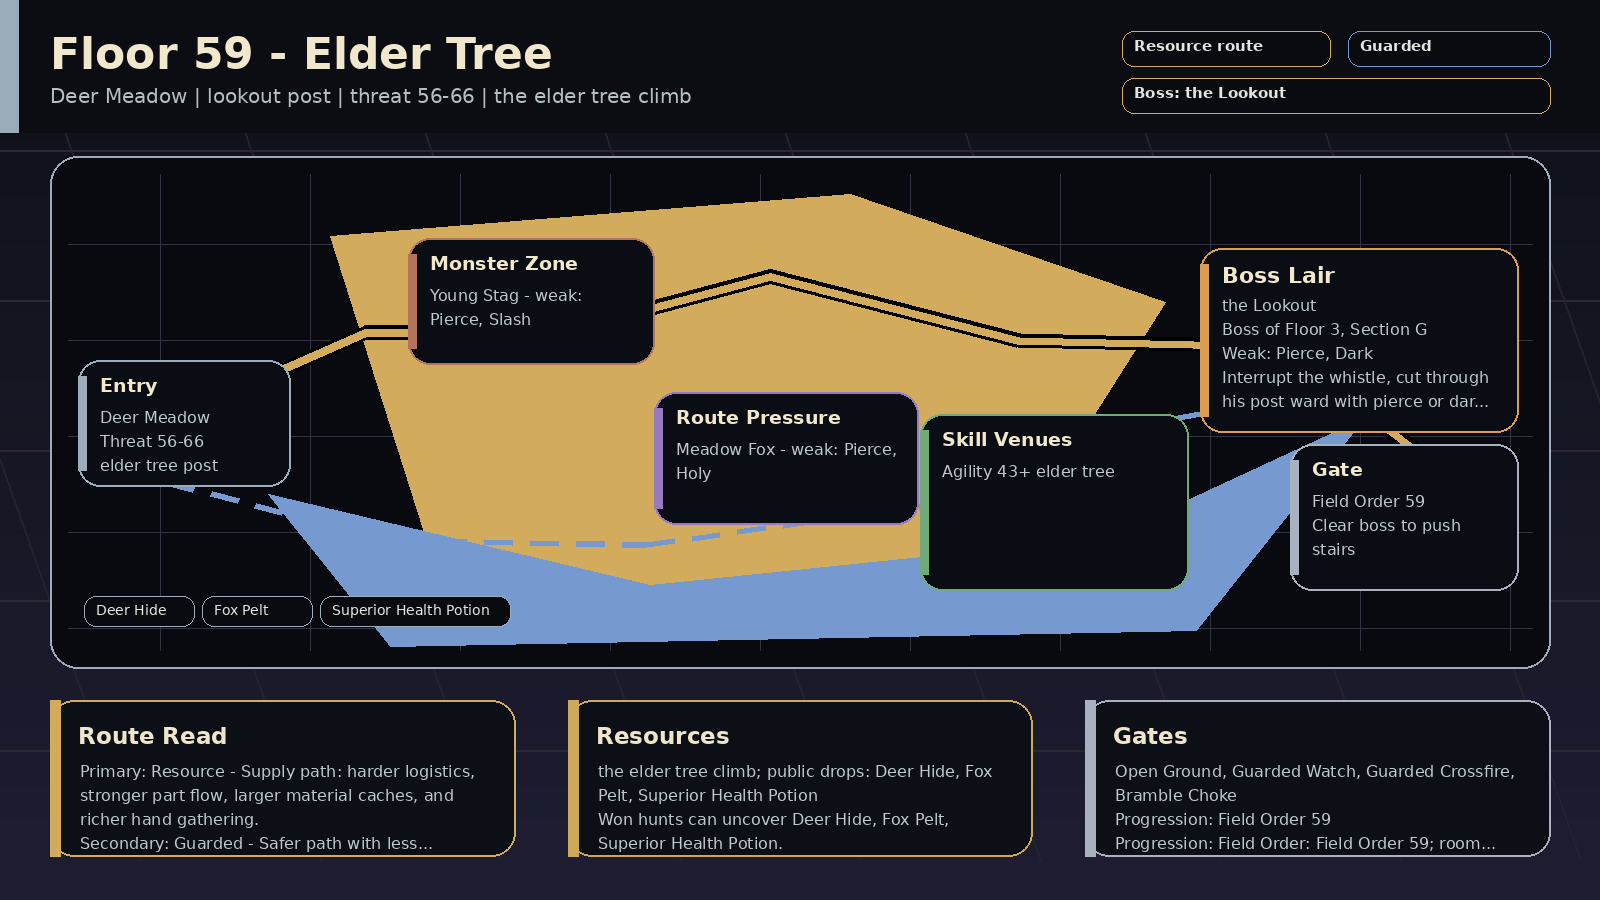 | 🌊 Thorn Lake | Deer Meadow | Elder Tree | Payoff: the elder tree climb; public drops: Deer Hide, Fox Pelt, Superior Health Potion
Prep: Skill prep: Agility 43+
Pressure: lookout post; encounters: Open Ground, Guarded Watch; boss: the Lookout
Route: Route plan: Resource primary for elder tree post; Guarded secondary for agility and interrupts
Progress: Progression: Field Order: Field Order 59; room pressure 100% | Read: Elder Tree (lookout post). A poacher's lookout sits on the skinning post.
Prep: Train Agility; prep around agility and interrupts. Field Order: Field Order 59.
Route: Primary Resource: elder tree post. Secondary Guarded: agility and interrupts.
Trade: Supply axis: deer hides and fox pelts. Public demand centers on Deer Hide, Fox Pelt, Superior Health Potion.
Boss: the Lookout: Interrupt the whistle, cut through his post ward with pierce or dark, Defend the Volley after he nocks three, and burst when he drops down. Boss-room pressure can appear at 100%. | Read: Elder Tree rewards 🏹 pierce, 🗡️ slash, ✨ holy; avoid relying only on 🔨 blunt. Mob signatures pressure heavy hit, positioning, damage, debuff; the boss chart leans 🏹 pierce, 🌑 dark.
Damage lanes: weak: pierce, slash, holy
Watch resists: resists: blunt
Boss chart: weak: pierce, dark
resists: frost
Mob pressure: heavy hit, positioning, damage, debuff
Counters: defend, speed control, burst, control | 56-66 | 🦌 Young Stag / 🦊 Meadow Fox | 🏹 the Lookout | 🏃 the elder tree req 43 | 🦌 Deer Hide, 🦊 Fox Pelt, 🧪 Superior Health Potion | 6% on won hunts: 🦌 Deer Hide, 🦊 Fox Pelt, 🧪 Superior Health Potion
Won hunts can uncover Deer Hide, Fox Pelt, Superior Health Potion.
Choose this floor for deer hides and fox pelts; trade for the rest. | A poacher's lookout sits on the skinning post. | — | Field Order 59
win 2x Resource route hunts on Floor 3, Section G
clear Open Ground on Floor 3, Section G
recover Resource supply for Superior Health Potion / Deer Hide / Fox Pelt on Floor 3, Section G
win with a spent Supply Contract on Floor 3, Section G or later
answer boss variant lesson against: Trailwarden / Countermarch / Watchmarked / Bannerline / Holdfast / Cachebound / Orebound / Scrap-Fused on Floor 3, Section G
mastery: ⛏️ Resource climb pressure read | ⛏️ Resource primary: elder tree post
🛡️ Guarded secondary: agility and interrupts
supply: deer hides and fox pelts | ⛏️ Resource floor map marks elder tree post; can roll Loaded Cache; boss has supply-line pressure; surveys public prep supply; primes Warden Assembly logistics
🛡️ Guarded secondary map line supports agility and interrupts; boss leans Countermarch, Trailwarden; Guarded Watch is in this floor's deck; boss rewards guarded answers
🌑 Deep can roll Black Signal; higher-risk EXP pressure is online; boss tests tempo or cleanse | 🪵 Climbs the Post
counters: dark, pierce, armor break | 🧭 Trailwarden
🥁 Countermarch
👁️ Watchmarked
🚩 Bannerline | 🌿 Bramble Choke
🪓 Breaker Window
🛡️ Guarded Crossfire | Open Ground 18%
Guarded Watch 16%
Narrow Stair 14% | Deer Meadow, terrain, route, standard | speed control, stamina planning, opening burst, defense | 10/10 |
| Floor 3, Section H | 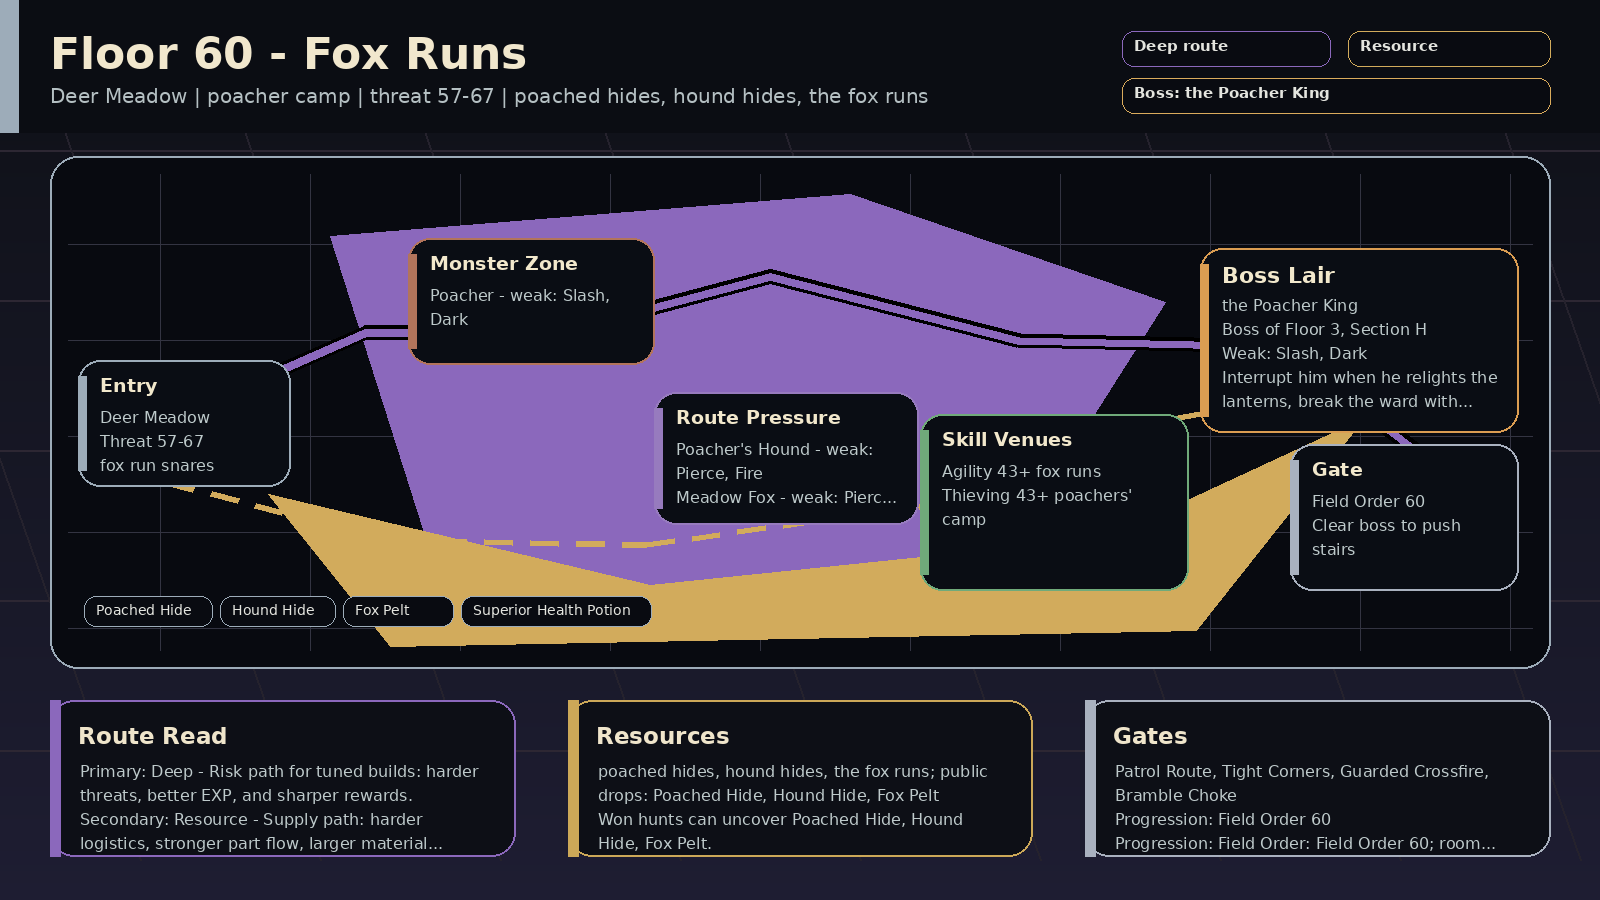 | 🌊 Thorn Lake | Deer Meadow | Fox Runs | Payoff: poached hides, hound hides, the fox runs; public drops: Poached Hide, Hound Hide, Fox Pelt
Prep: Skill prep: Agility 43+, Thieving 43+
Pressure: poacher camp; encounters: Patrol Route, Tight Corners; boss: the Poacher King
Route: Route plan: Deep primary for fox run snares; Resource secondary for agility and ward breaking
Progress: Progression: Field Order: Field Order 60; room pressure 100% | Read: Fox Runs (poacher camp). Snares in the grass. The Poacher King keeps his lanterns lit.
Prep: Train Agility, Thieving; prep around agility and ward breaking. Field Order: Field Order 60.
Route: Primary Deep: fox run snares. Secondary Resource: agility and ward breaking.
Trade: Supply axis: poached hides, hound hides, fox pelts. Public demand centers on Poached Hide, Hound Hide, Fox Pelt, Superior Health Potion.
Boss: the Poacher King: Interrupt him when he relights the lanterns, break the ward with dark, slash or an armor break, Defend the Lantern Smash, and bank the burst for Lanterns Gutter. Boss-room pressure can appear at 100%. | Read: Fox Runs rewards 🗡️ slash, 🌑 dark, 🏹 pierce, 🔥 fire; avoid relying only on 🔨 blunt. Mob signatures pressure positioning, heavy hit, damage, control; the boss chart leans 🗡️ slash, 🌑 dark.
Damage lanes: weak: slash, dark, pierce, fire, holy
Watch resists: resists: blunt
Boss chart: weak: slash, dark
resists: blunt
Mob pressure: positioning, heavy hit, damage, control
Counters: defend, guard, cleanse, slash | 57-67 | 🏹 Poacher / 🐕 Poacher's Hound / 🦊 Meadow Fox | 👑 the Poacher King | 🏃 the fox runs req 43
🪙 the poachers' camp req 43 | 🧥 Poached Hide, 🐕 Hound Hide, 🦊 Fox Pelt, 🧪 Superior Health Potion | 6% on won hunts: 🧥 Poached Hide, 🐕 Hound Hide, 🦊 Fox Pelt, 🧪 Superior Health Potion
Won hunts can uncover Poached Hide, Hound Hide, Fox Pelt.
Choose this floor for poached hides, hound hides, fox pelts; trade for the rest. | Snares in the grass. The Poacher King keeps his lanterns lit. | — | Field Order 60
win 2x Deep route hunts on Floor 3, Section H
clear Black Signal on Floor 3, Section H
win with a spent Deep route plan on Floor 3, Section H or later
answer boss variant lesson against: Tempo-Locked / Snareweb / Bulwark / Trailwarden / Bannerline / Countermarch / Blackwake / Eclipse on Floor 3, Section H
answer Deep boss-room pressure: Nocturne Refrain / Null Chorus / Split Beat / Blight Count on Floor 3, Section H
mastery: 🌑 Deep climb pressure read | 🌑 Deep primary: fox run snares
⛏️ Resource secondary: agility and ward breaking
supply: poached hides, hound hides, fox pelts | 🌑 Deep floor map marks fox run snares; Black Signal is in this floor's deck; higher-risk EXP pressure is online; boss tests tempo or cleanse
⛏️ Resource secondary map line supports agility and ward breaking; can roll Loaded Cache; matches Patrol Route; boss has supply-line pressure; surveys public prep supply; primes Warden Assembly logistics
🛡️ Guarded boss leans Trailwarden; can roll Guarded Watch; matches Tight Corners; boss rewards guarded answers | 🏮 Lantern Ward
counters: dark, slash, armor break | 🕸️ Snareweb
🛡️ Bulwark
🧭 Trailwarden
🚩 Bannerline | 🌿 Bramble Choke
🛡️ Guarded Crossfire
🎼 Nocturne Refrain | Patrol Route 16%
Tight Corners 14%
Black Signal 22% | Deer Meadow, patrol, terrain, route | full HP, correct damage type, escape plan, blunt damage | 10/10 |
| Floor 3, Section I | 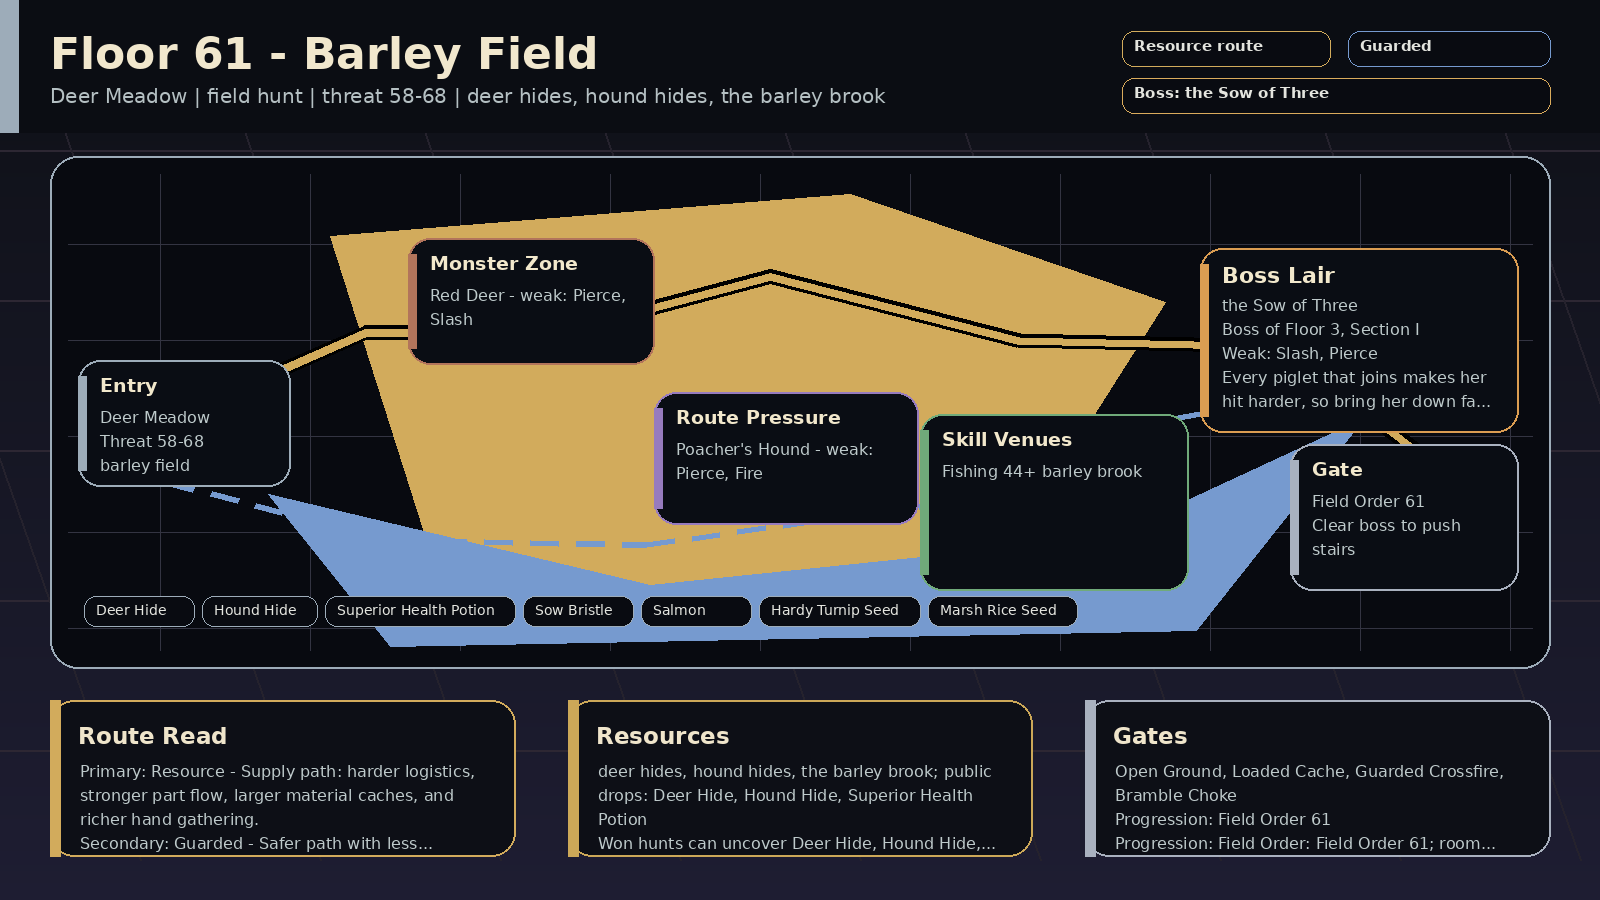 | 🌊 Thorn Lake | Deer Meadow | Barley Field | Payoff: deer hides, hound hides, the barley brook; public drops: Deer Hide, Hound Hide, Superior Health Potion
Prep: Skill prep: Fishing 44+
Pressure: field hunt; encounters: Open Ground, Loaded Cache; boss: the Sow of Three
Route: Route plan: Resource primary for barley field; Guarded secondary for fishing and farm supplies
Progress: Progression: Field Order: Field Order 61; room pressure 100% | Read: Barley Field (field hunt). Nell's barley. A sow and three piglets root through it.
Prep: Train Fishing; prep around fishing and farm supplies. Field Order: Field Order 61.
Route: Primary Resource: barley field. Secondary Guarded: fishing and farm supplies.
Trade: Supply axis: deer hides, turnips, rice, feed sacks. Public demand centers on Deer Hide, Hound Hide, Superior Health Potion, Sow Bristle.
Boss: the Sow of Three: Every piglet that joins makes her hit harder, so bring her down fast, and Defend the Sow Charge after her low call. A Feed Sack calms her once she is at 50% health or less with her guard down: when she's Blown, or right after you Defend the Sow Charge. Boss-room pressure can appear at 100%. | Read: Barley Field rewards 🏹 pierce, 🗡️ slash, 🔥 fire; no dominant mob resist lane stands out. Mob signatures pressure heavy hit, positioning, damage, slow; the boss chart leans 🗡️ slash, 🏹 pierce.
Damage lanes: weak: pierce, slash, fire
Watch resists: —
Boss chart: weak: slash, pierce
Mob pressure: heavy hit, positioning, damage, slow
Counters: defend, speed control, cleanse, slash | 58-68 | 🦌 Red Deer / 🐕 Poacher's Hound | 🐖 the Sow of Three | 🎣 the barley brook req 44 | 🦌 Deer Hide, 🐕 Hound Hide, 🧪 Superior Health Potion, 🐗 Sow Bristle, 🐟 Salmon, 🌱 Hardy Turnip Seed, 🌱 Marsh Rice Seed | 6% on won hunts: 🦌 Deer Hide, 🐕 Hound Hide, 🧪 Superior Health Potion, 🐗 Sow Bristle
Won hunts can uncover Deer Hide, Hound Hide, Superior Health Potion.
Choose this floor for deer hides, turnips, rice, feed sacks; trade for the rest. | Nell's barley. A sow and three piglets root through it. | — | Field Order 61
win 2x Resource route hunts on Floor 3, Section I
clear Loaded Cache on Floor 3, Section I
recover Resource supply for Superior Health Potion / Deer Hide / Hound Hide on Floor 3, Section I
win with a spent Supply Contract on Floor 3, Section I or later
answer boss variant lesson against: Packbound / Snareweb / Tempo-Locked / Crusher / Ravenous / Cachebound / Orebound / Scrap-Fused on Floor 3, Section I
mastery: ⛏️ Resource climb pressure read | ⛏️ Resource primary: barley field
🛡️ Guarded secondary: fishing and farm supplies
supply: deer hides, turnips, rice, feed sacks | ⛏️ Resource floor map marks barley field; Loaded Cache is in this floor's deck; matches Loaded Cache, Patrol Route; boss has supply-line pressure; surveys public prep supply; primes Warden Assembly logistics
🛡️ Guarded secondary map line supports fishing and farm supplies; can roll Guarded Watch; boss rewards guarded answers
🌑 Deep can roll Black Signal; higher-risk EXP pressure is online; boss tests tempo or cleanse | 🐖 Low Call | 🐺 Packbound
🕸️ Snareweb
⏱️ Tempo-Locked
💥 Crusher | 📦 Supply Audit
📒 Toll Audit
💧 Blight Count | Open Ground 18%
Loaded Cache 24%
Patrol Route 16% | Deer Meadow, terrain, route, patrol | speed control, stamina planning, opening burst, inventory space | 10/10 |
| Floor 3, Section J | 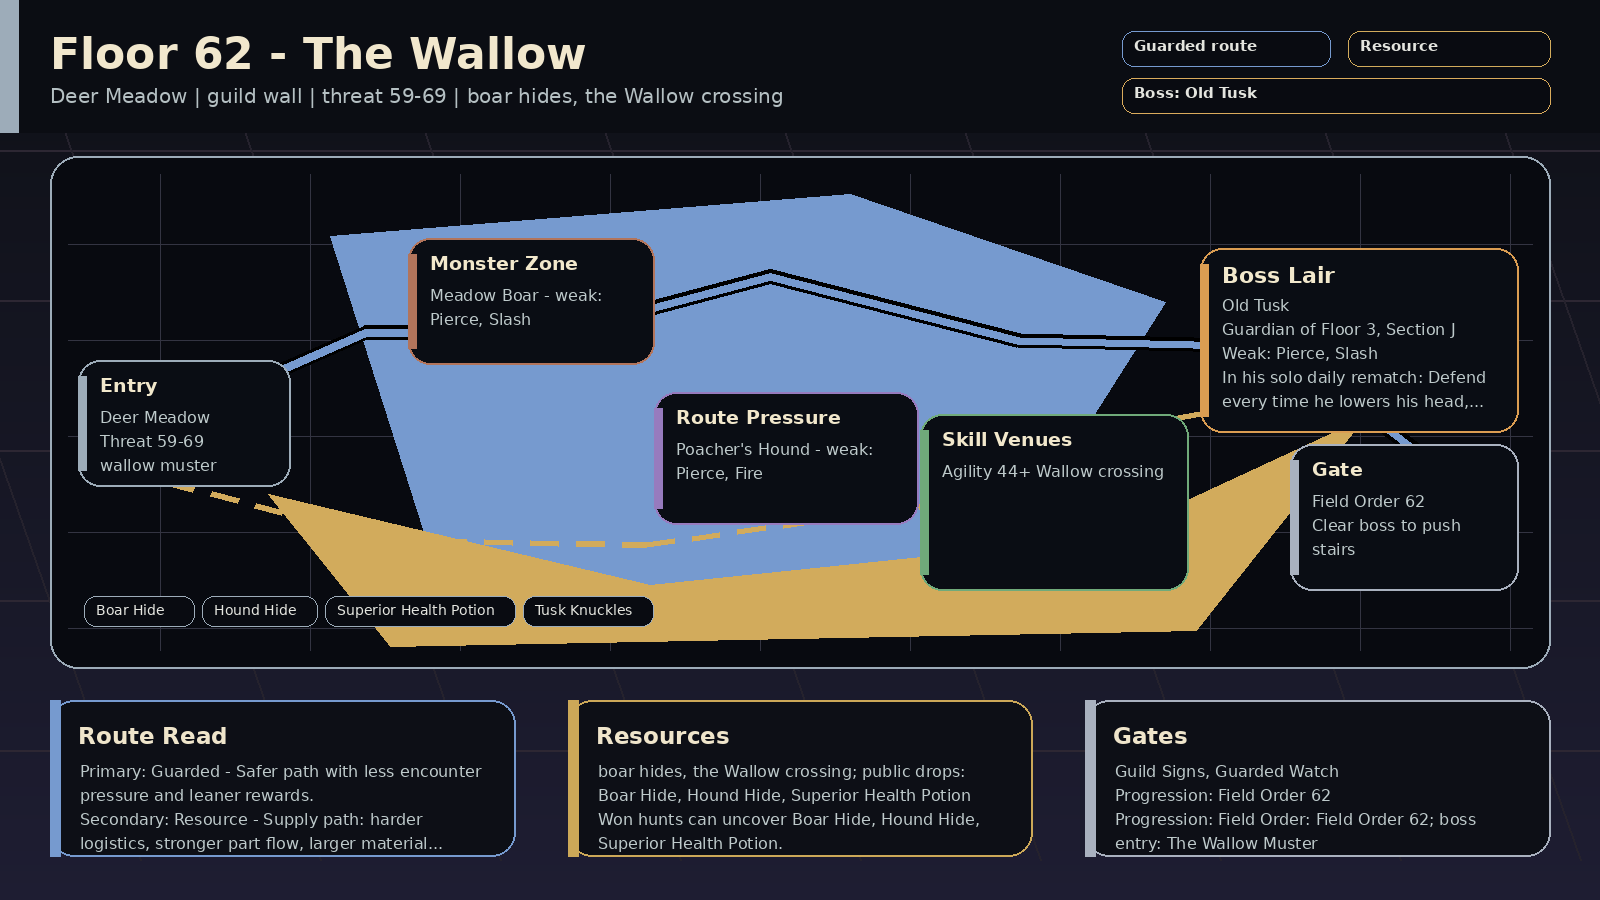 | 🌊 Thorn Lake | Deer Meadow | The Wallow | Payoff: boar hides, the Wallow crossing; public drops: Boar Hide, Hound Hide, Superior Health Potion
Prep: Skill prep: Agility 44+
Pressure: guild wall; encounters: Guild Signs, Guarded Watch; boss: Old Tusk
Route: Route plan: Guarded primary for wallow muster; Resource secondary for agility and wall prep
Progress: Progression: Field Order: Field Order 62; boss entry: The Wallow Muster | Read: The Wallow (guild wall). Old Tusk's wallow. A crew makes the charges easier to take.
Prep: Train Agility; prep around agility and wall prep. Field Order: Field Order 62.
Route: Primary Guarded: wallow muster. Secondary Resource: agility and wall prep.
Trade: Supply axis: boar hides, deer hides, hare pelts. Public demand centers on Boar Hide, Hound Hide, Superior Health Potion, Tusk Knuckles.
Boss: Old Tusk: In his solo daily rematch: Defend every time he lowers his head, break his count with Assess or an interrupt, and hit with pierce or slash. A Feed Sack calms him there once he is at 50% health or less with his guard down: when he's Winded, or right after you Defend the Tusk Charge. | Read: The Wallow rewards 🏹 pierce, 🗡️ slash, 🔥 fire; avoid relying only on 🔨 blunt. Mob signatures pressure heavy hit, positioning, damage, slow; the boss chart leans 🏹 pierce, 🗡️ slash.
Damage lanes: weak: pierce, slash, fire
Watch resists: resists: blunt
Boss chart: weak: pierce, slash
resists: blunt
Mob pressure: heavy hit, positioning, damage, slow
Counters: defend, speed control, cleanse, slash | 59-69 | 🐗 Meadow Boar / 🐕 Poacher's Hound | 🐗 Old Tusk | 🏃 the Wallow crossing req 44 | 🐗 Boar Hide, 🐕 Hound Hide, 🧪 Superior Health Potion, 🐗 Tusk Knuckles | 6% on won hunts: 🐗 Boar Hide, 🐕 Hound Hide, 🧪 Superior Health Potion
Won hunts can uncover Boar Hide, Hound Hide, Superior Health Potion.
Choose this floor for boar hides, deer hides, hare pelts; trade for the rest. | Old Tusk's wallow. A crew makes the charges easier to take. | — | Field Order 62
win 2x Guarded route hunts on Floor 3, Section J
clear Guarded Watch on Floor 3, Section J
defeat Old Tusk | 🛡️ Guarded primary: wallow muster
⛏️ Resource secondary: agility and wall prep
supply: boar hides, deer hides, hare pelts | 🛡️ Guarded floor map marks wallow muster; Guarded Watch is in this floor's deck; matches Guild Signs; boss rewards guarded answers
⛏️ Resource secondary map line supports agility and wall prep; can roll Loaded Cache; matches Guild Signs; boss has supply-line pressure; surveys public prep supply; primes Warden Assembly logistics; helps the next stair's logistics
🌑 Deep boss leans Tempo-Locked; can roll Black Signal; higher-risk EXP pressure is online; boss tests tempo or cleanse | 🐗 Lowers His Head | — | — | Guild Signs 8%
Guarded Watch 16%
Open Ground 18% | Deer Meadow, social, route, terrain | guild board, trade prep, shared farming, defense | 10/10 |
| Floor 3, Section K | 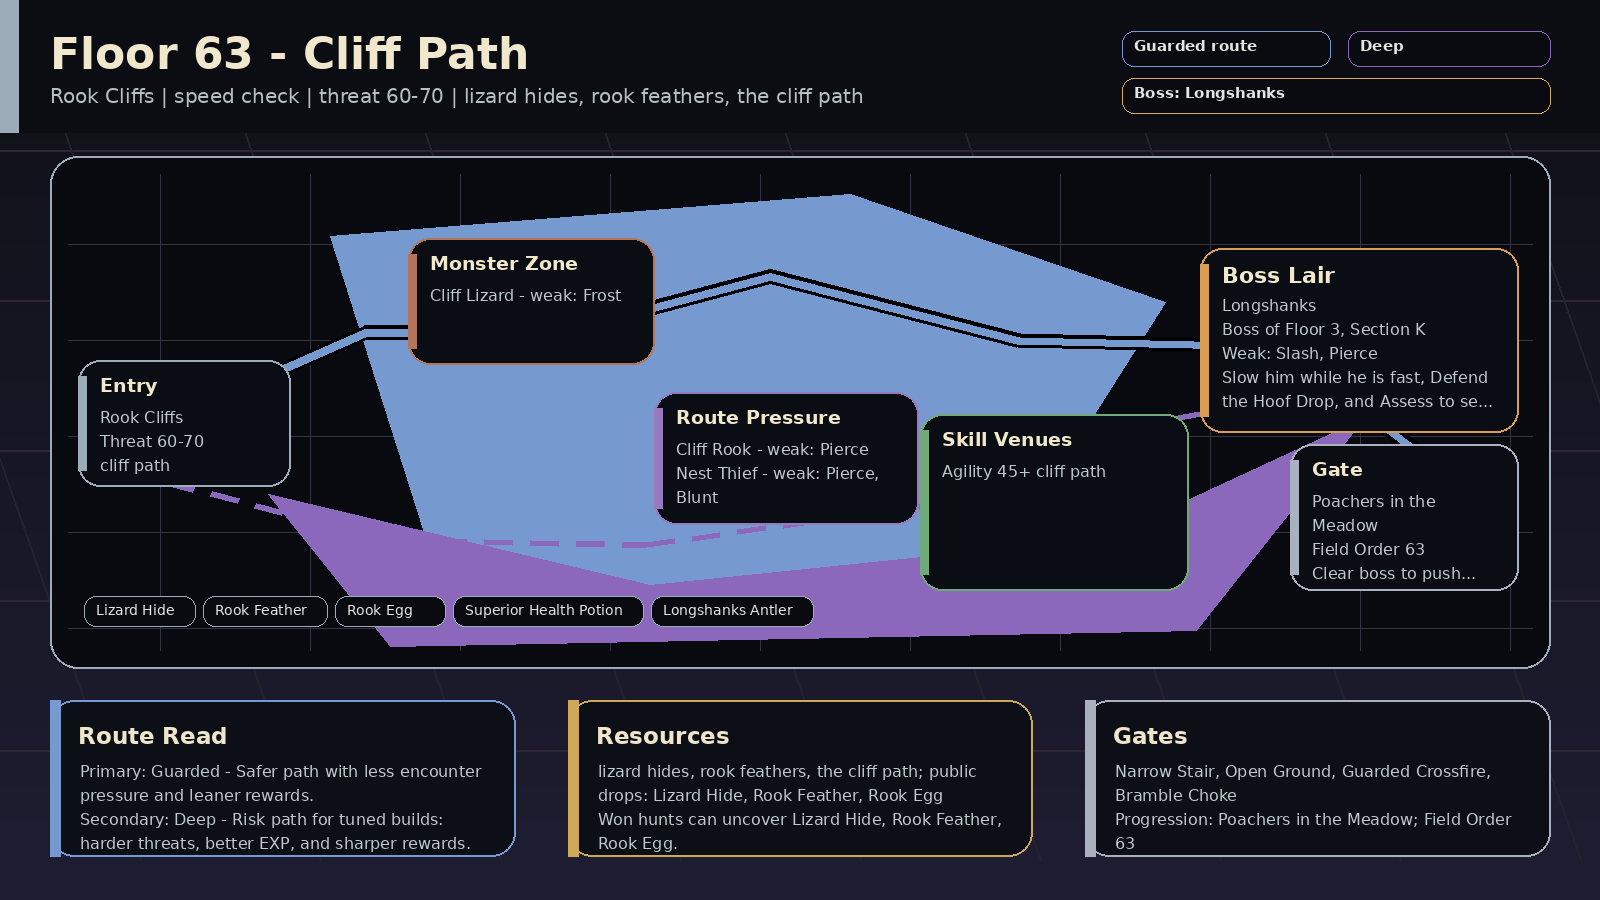 | 🌊 Thorn Lake | Rook Cliffs | Cliff Path | Payoff: lizard hides, rook feathers, the cliff path; public drops: Lizard Hide, Rook Feather, Rook Egg
Prep: Skill prep: Agility 45+
Pressure: speed check; encounters: Narrow Stair, Open Ground; boss: Longshanks
Route: Route plan: Guarded primary for cliff path; Deep secondary for agility and speed control
Progress: Progression: stair gate: Poachers in the Meadow; Field Order: Field Order 63; room pressure 100% | Read: Cliff Path (speed check). A narrow path up the cliff. Longshanks will not stand still on it.
Prep: Train Agility; prep around agility and speed control. Stair gate: Poachers in the Meadow.
Route: Primary Guarded: cliff path. Secondary Deep: agility and speed control.
Trade: Supply axis: lizard hides, rook feathers, rook eggs. Public demand centers on Lizard Hide, Rook Feather, Rook Egg, Superior Health Potion.
Boss: Longshanks: Slow him while he is fast, Defend the Hoof Drop, and Assess to see the leap coming. A Sweetroot Bundle calms him once he is at 50% health or less with his guard down, and only a Defended Hoof Drop brings that: right after you Defend it. Boss-room pressure can appear at 100%. | Read: Cliff Path rewards ❄️ frost, 🏹 pierce, 🔨 blunt; avoid relying only on 🔥 fire. Mob signatures pressure bleed, cleanse check, damage, debuff; the boss chart leans 🗡️ slash, 🏹 pierce.
Damage lanes: weak: frost, pierce, blunt
Watch resists: resists: fire
Boss chart: weak: slash, pierce
Mob pressure: bleed, cleanse check, damage, debuff
Counters: cleanse, sustain, burst, control | 60-70 | 🦎 Cliff Lizard / 🐦⬛ Cliff Rook / 🦎 Nest Thief | 🦌 Longshanks | 🏃 the cliff path req 45 | 🦎 Lizard Hide, 🪶 Rook Feather, 🥚 Rook Egg, 🧪 Superior Health Potion, 🦌 Longshanks Antler | 6% on won hunts: 🦎 Lizard Hide, 🪶 Rook Feather, 🥚 Rook Egg, 🧪 Superior Health Potion
Won hunts can uncover Lizard Hide, Rook Feather, Rook Egg.
Choose this floor for lizard hides, rook feathers, rook eggs; trade for the rest. | A narrow path up the cliff. Longshanks will not stand still on it. | Poachers in the Meadow
train Agility at the fox runs on Floor 3, Section H
defeat 6x Poacher (found on Floor 3, Section H)
defeat the Poacher King
beat or calm the Sow of Three | Field Order 63
win 2x Guarded route hunts on Floor 3, Section K
clear Narrow Stair on Floor 3, Section K
win with a spent Guarded route plan on Floor 3, Section K or later
answer boss variant lesson against: Watchmarked / Trailwarden / Countermarch / Holdfast / Phasewalk / Tempo-Locked / Packbound / Sentinel on Floor 3, Section K
answer Guarded boss-room pressure: Bramble Choke / Breaker Window / Guarded Crossfire / Null Chorus on Floor 3, Section K
mastery: 🛡️ Guarded climb pressure read | 🛡️ Guarded primary: cliff path
🌑 Deep secondary: agility and speed control
supply: lizard hides, rook feathers, rook eggs | 🛡️ Guarded floor map marks cliff path; boss leans Countermarch; can roll Guarded Watch; boss rewards guarded answers
🌑 Deep secondary map line supports agility and speed control; boss leans Tempo-Locked; can roll Black Signal; higher-risk EXP pressure is online; boss tests tempo or cleanse
⛏️ Resource can roll Loaded Cache; matches Patrol Route; surveys public prep supply; primes Warden Assembly logistics | 🦌 Bounds Away
counters: speed control, control | 🫥 Phasewalk
⏱️ Tempo-Locked
🥁 Countermarch
🐺 Packbound | 🌿 Bramble Choke
⏱️ Split Beat
📦 Supply Audit | Narrow Stair 14%
Open Ground 18%
Patrol Route 16% | Rook Cliffs, terrain, patrol, swift | opening burst, positioning, single-target focus, speed control | 10/10 |
| Floor 3, Section L | 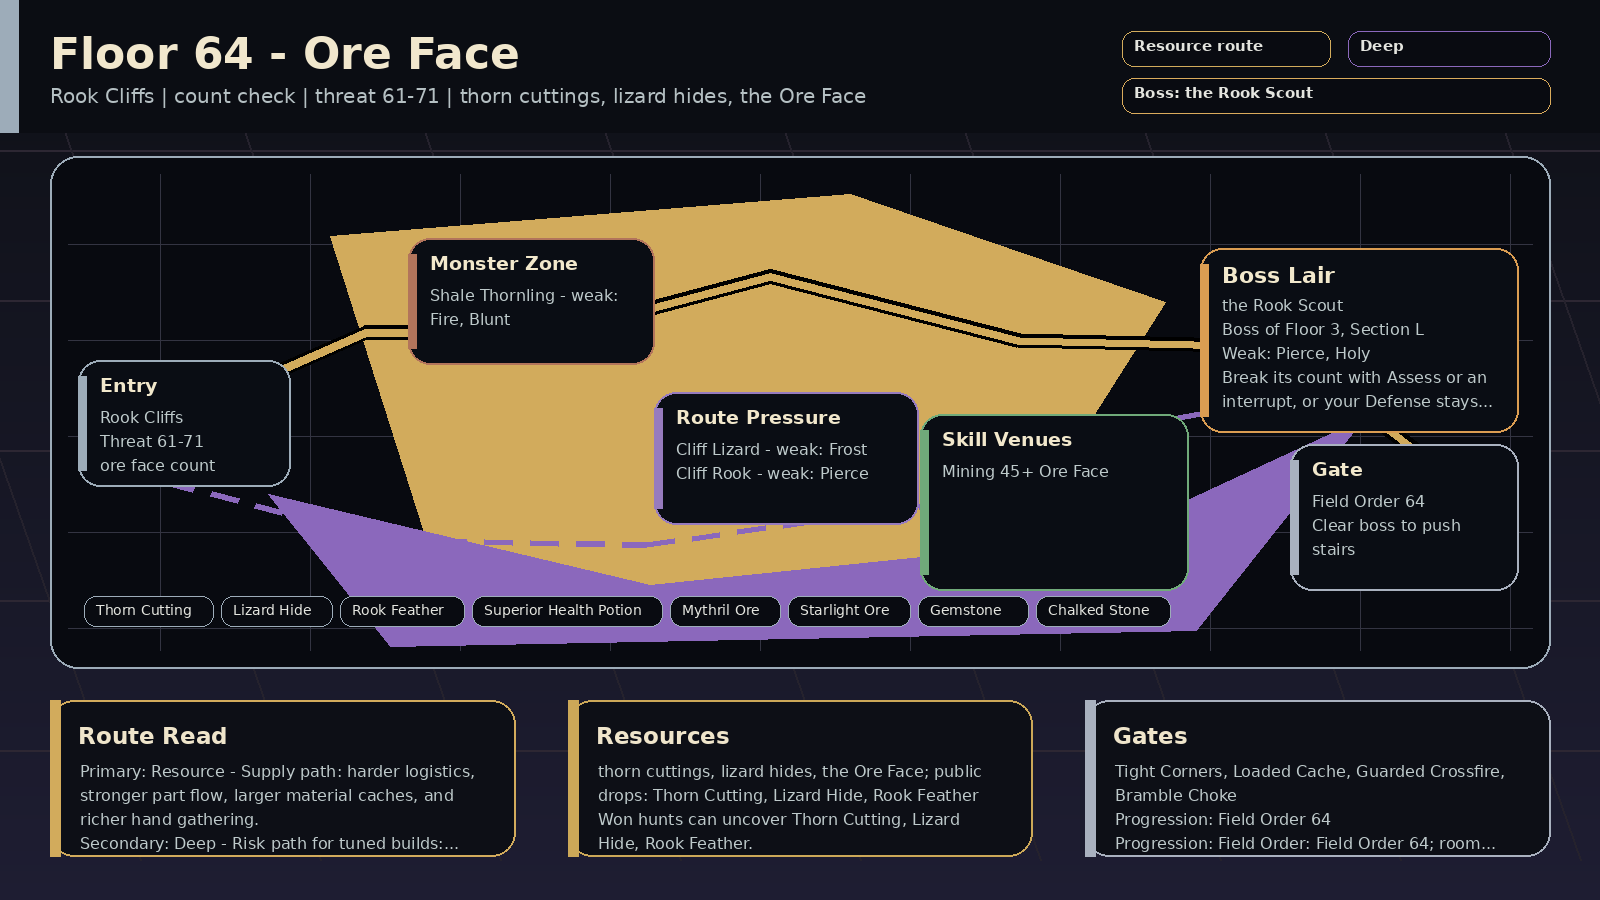 | 🌊 Thorn Lake | Rook Cliffs | Ore Face | Payoff: thorn cuttings, lizard hides, the Ore Face; public drops: Thorn Cutting, Lizard Hide, Rook Feather
Prep: Skill prep: Mining 45+
Pressure: count check; encounters: Tight Corners, Loaded Cache; boss: the Rook Scout
Route: Route plan: Resource primary for ore face count; Deep secondary for mining and map reading
Progress: Progression: Field Order: Field Order 64; room pressure 100% | Read: Ore Face (count check). The rooks count climbers here. Break the count.
Prep: Train Mining; prep around mining and map reading. Field Order: Field Order 64.
Route: Primary Resource: ore face count. Secondary Deep: mining and map reading.
Trade: Supply axis: thorn cuttings, lizard hides, gemstones. Public demand centers on Thorn Cutting, Lizard Hide, Rook Feather, Superior Health Potion.
Boss: the Rook Scout: Break its count with Assess or an interrupt, or your Defense stays down; Defend the Marked Dive after it tilts its head, burst while it preens, and hit it with pierce or holy. Boss-room pressure can appear at 100%. | Read: Ore Face rewards 🔥 fire, 🔨 blunt, ❄️ frost, 🏹 pierce; avoid relying only on 🌿 nature. Mob signatures pressure heavy hit, damage, bleed, cleanse check; the boss chart leans 🏹 pierce, ✨ holy.
Damage lanes: weak: fire, blunt, frost, pierce
Watch resists: resists: nature
Boss chart: weak: pierce, holy
resists: frost
Mob pressure: heavy hit, damage, bleed, cleanse check
Counters: defend, cleanse, sustain, burst | 61-71 | 🌿 Shale Thornling / 🦎 Cliff Lizard / 🐦⬛ Cliff Rook | 🐦⬛ the Rook Scout | ⛏️ the Ore Face req 45 | 🌿 Thorn Cutting, 🦎 Lizard Hide, 🪶 Rook Feather, 🧪 Superior Health Potion, 🪨 Mythril Ore, ✨ Starlight Ore, 💎 Gemstone, 🪨 Chalked Stone | 6% on won hunts: 🌿 Thorn Cutting, 🦎 Lizard Hide, 🪶 Rook Feather, 🧪 Superior Health Potion
Won hunts can uncover Thorn Cutting, Lizard Hide, Rook Feather.
Choose this floor for thorn cuttings, lizard hides, gemstones; trade for the rest. | The rooks count climbers here. Break the count. | — | Field Order 64
win 2x Resource route hunts on Floor 3, Section L
clear Loaded Cache on Floor 3, Section L
recover Resource supply for Thorn Cutting / Superior Health Potion / Lizard Hide on Floor 3, Section L
win with a spent Supply Contract on Floor 3, Section L or later
answer boss variant lesson against: Surveyor / Relay-Bound / Countermarch / Watchmarked / Holdfast / Trailwarden / Tempo-Locked / Cachebound on Floor 3, Section L
mastery: ⛏️ Resource climb pressure read | ⛏️ Resource primary: ore face count
🌑 Deep secondary: mining and map reading
supply: thorn cuttings, lizard hides, gemstones | ⛏️ Resource floor map marks ore face count; Loaded Cache is in this floor's deck; matches Loaded Cache; boss has supply-line pressure; surveys public prep supply; primes Warden Assembly logistics
🌑 Deep secondary map line supports mining and map reading; boss leans Tempo-Locked; can roll Black Signal; higher-risk EXP pressure is online; boss tests tempo or cleanse
🛡️ Guarded boss leans Countermarch, Watchmarked; Guarded Watch is in this floor's deck; matches Tight Corners; boss rewards guarded answers | 🔢 Counts the Climbers
counters: map read, control | 🥁 Countermarch
👁️ Watchmarked
🧷 Holdfast
🧭 Trailwarden | 🌿 Bramble Choke
🪓 Breaker Window
🛡️ Guarded Crossfire | Tight Corners 14%
Loaded Cache 24%
Guarded Watch 16% | Rook Cliffs, terrain, route, tank | blunt damage, defense pierce, longer sustain, inventory space | 10/10 |
| Floor 3, Section M | 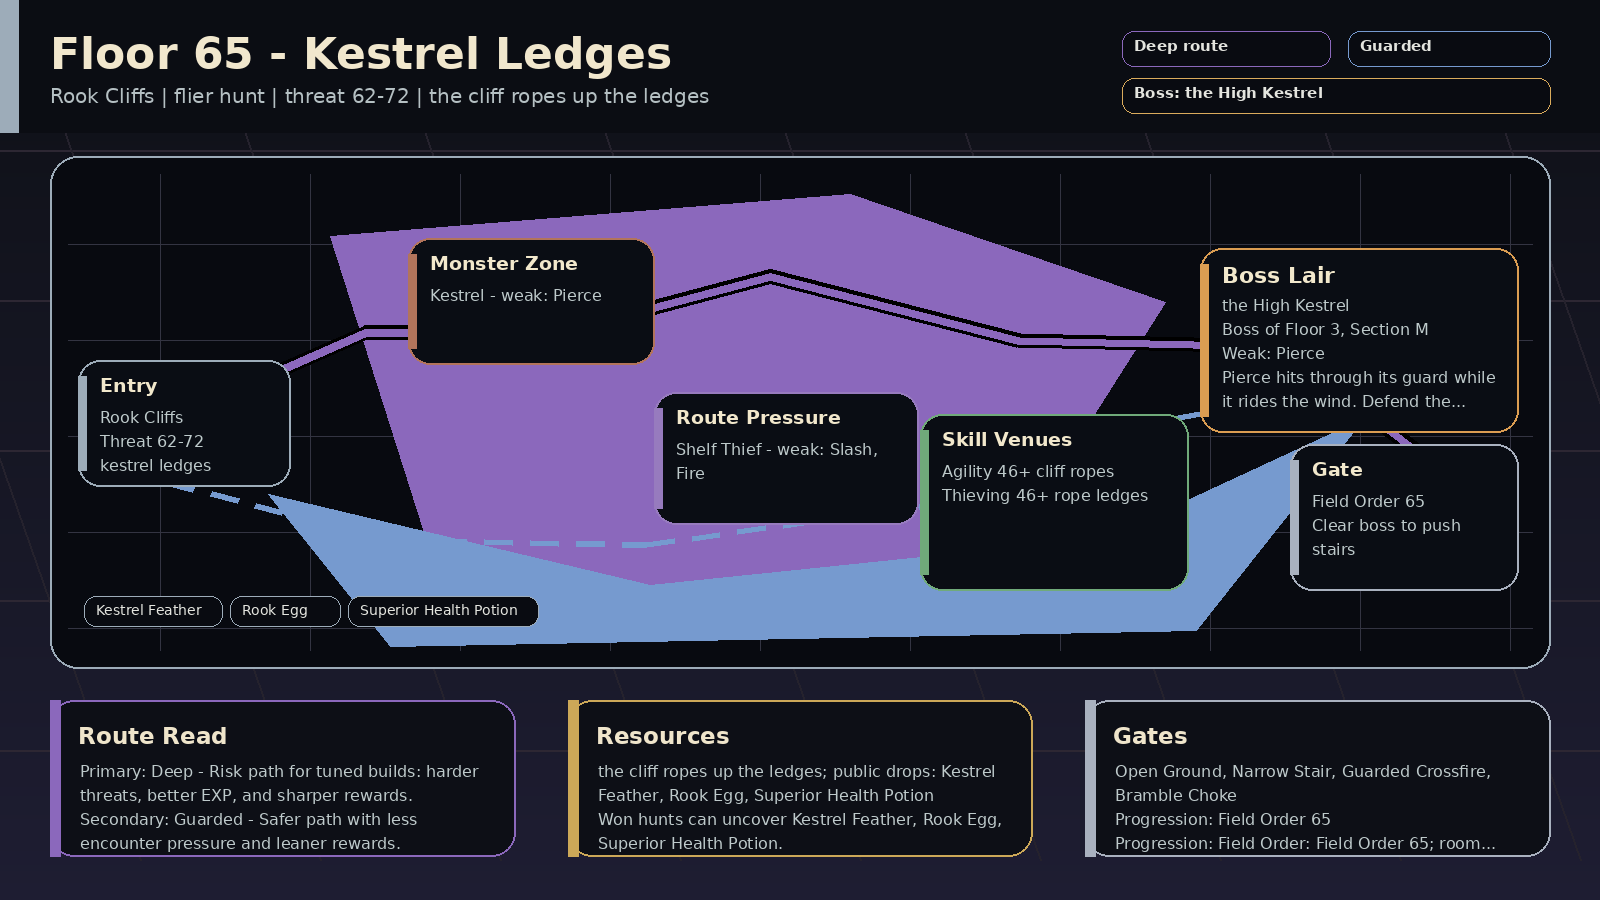 | 🌊 Thorn Lake | Rook Cliffs | Kestrel Ledges | Payoff: the cliff ropes up the ledges; public drops: Kestrel Feather, Rook Egg, Superior Health Potion
Prep: Skill prep: Agility 46+, Thieving 46+
Pressure: flier hunt; encounters: Open Ground, Narrow Stair; boss: the High Kestrel
Route: Route plan: Deep primary for kestrel ledges; Guarded secondary for agility and pierce
Progress: Progression: Field Order: Field Order 65; room pressure 100% | Read: Kestrel Ledges (flier hunt). Kestrels ride the wind above the ledges. Bring pierce.
Prep: Train Agility, Thieving; prep around agility and pierce. Field Order: Field Order 65.
Route: Primary Deep: kestrel ledges. Secondary Guarded: agility and pierce.
Trade: Supply axis: kestrel feathers and rook eggs. Public demand centers on Kestrel Feather, Rook Egg, Superior Health Potion.
Boss: the High Kestrel: Pierce hits through its guard while it rides the wind. Defend the Stoop and burst when it lands. Boss-room pressure can appear at 100%. | Read: Kestrel Ledges rewards 🏹 pierce, 🗡️ slash, 🔥 fire; no dominant mob resist lane stands out. Mob signatures pressure heavy hit, damage, debuff, damage down; the boss chart leans 🏹 pierce.
Damage lanes: weak: pierce, slash, fire
Watch resists: —
Boss chart: weak: pierce
resists: frost
Mob pressure: heavy hit, damage, debuff, damage down
Counters: defend, pierce, burst, control | 62-72 | 🪶 Kestrel / 🦎 Shelf Thief | 🪶 the High Kestrel | 🏃 the cliff ropes req 46
🪙 the rope ledges req 46 | 🪶 Kestrel Feather, 🥚 Rook Egg, 🧪 Superior Health Potion | 6% on won hunts: 🪶 Kestrel Feather, 🥚 Rook Egg, 🧪 Superior Health Potion
Won hunts can uncover Kestrel Feather, Rook Egg, Superior Health Potion.
Choose this floor for kestrel feathers and rook eggs; trade for the rest. | Kestrels ride the wind above the ledges. Bring pierce. | — | Field Order 65
win 2x Deep route hunts on Floor 3, Section M
clear Deep Signal on Floor 3, Section M
win with a spent Deep route plan on Floor 3, Section M or later
answer boss variant lesson against: Tempo-Locked / Riftclock / Echo Binder / Dreadmark / Mirror Echo / Doomsignal / Phasewalk / Storm Guard on Floor 3, Section M
answer Deep boss-room pressure: Split Beat / Blight Count / Nocturne Refrain / Null Chorus on Floor 3, Section M
mastery: 🌑 Deep climb pressure read | 🌑 Deep primary: kestrel ledges
🛡️ Guarded secondary: agility and pierce
supply: kestrel feathers and rook eggs | 🌑 Deep floor map marks kestrel ledges; can roll Black Signal; matches Deep Signal; higher-risk EXP pressure is online; boss tests tempo or cleanse
🛡️ Guarded secondary map line supports agility and pierce; boss leans Holdfast; can roll Guarded Watch; boss rewards guarded answers
⛏️ Resource can roll Loaded Cache; boss has supply-line pressure; surveys public prep supply; primes Warden Assembly logistics | 🌬️ Rides the Wind
counters: pierce, control | 🫥 Phasewalk
⛈️ Storm Guard
🫨 Mirror Echo
🧷 Holdfast | ⏱️ Split Beat
💧 Blight Count
🎼 Nocturne Refrain | Open Ground 18%
Narrow Stair 14%
Deep Signal 8% | Rook Cliffs, terrain, mystery, swift | speed control, stamina planning, opening burst, positioning | 10/10 |
| Floor 3, Section N | 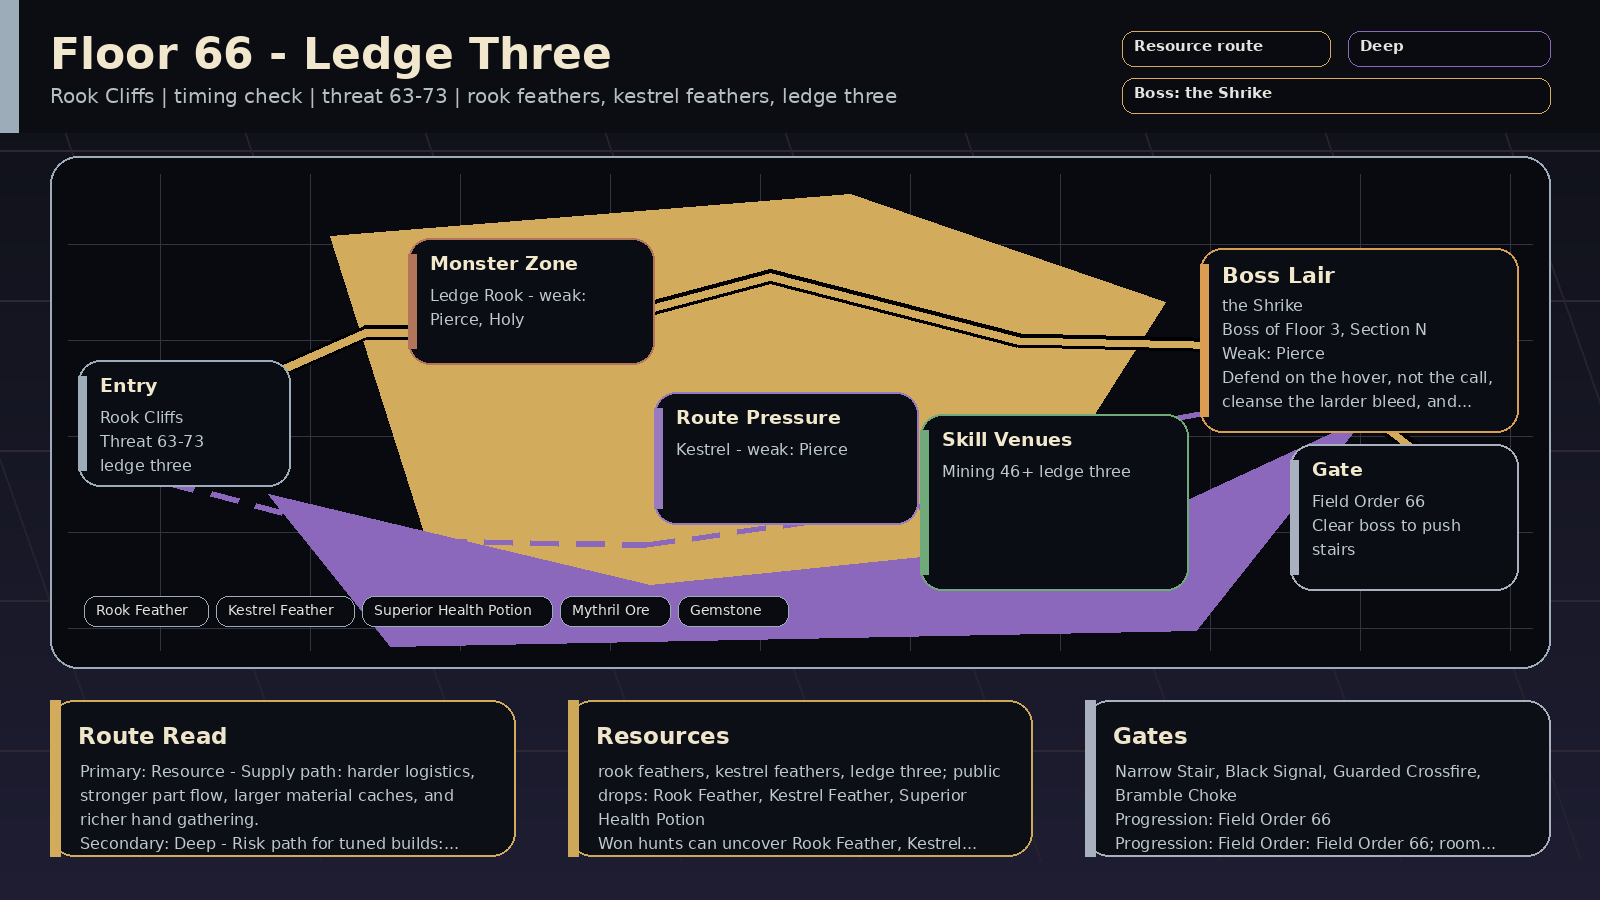 | 🌊 Thorn Lake | Rook Cliffs | Ledge Three | Payoff: rook feathers, kestrel feathers, ledge three; public drops: Rook Feather, Kestrel Feather, Superior Health Potion
Prep: Skill prep: Mining 46+
Pressure: timing check; encounters: Narrow Stair, Black Signal; boss: the Shrike
Route: Route plan: Resource primary for ledge three; Deep secondary for mining and Defend timing
Progress: Progression: Field Order: Field Order 66; room pressure 100% | Read: Ledge Three (timing check). The shrike calls once and dives from the far side.
Prep: Train Mining; prep around mining and Defend timing. Field Order: Field Order 66.
Route: Primary Resource: ledge three. Secondary Deep: mining and Defend timing.
Trade: Supply axis: rook feathers, kestrel feathers, gemstones. Public demand centers on Rook Feather, Kestrel Feather, Superior Health Potion, Mythril Ore.
Boss: the Shrike: Defend on the hover, not the call, and bring pierce. Boss-room pressure can appear at 100%. | Read: Ledge Three rewards 🏹 pierce, ✨ holy; avoid relying only on ❄️ frost, 🗡️ slash. Mob signatures pressure map read, tempo check, debuff, damage; the boss chart leans 🏹 pierce.
Damage lanes: weak: pierce, holy
Watch resists: resists: frost, slash
Boss chart: weak: pierce
resists: nature
Mob pressure: map read, tempo check, debuff, damage
Counters: map read, control, defend, pierce | 63-73 | 🐦⬛ Ledge Rook / 🪶 Kestrel | 🪶 the Shrike | ⛏️ ledge three req 46 | 🪶 Rook Feather, 🪶 Kestrel Feather, 🧪 Superior Health Potion, 🪨 Mythril Ore, 💎 Gemstone | 6% on won hunts: 🪶 Rook Feather, 🪶 Kestrel Feather, 🧪 Superior Health Potion, 🪨 Mythril Ore
Won hunts can uncover Rook Feather, Kestrel Feather, Superior Health Potion.
Choose this floor for rook feathers, kestrel feathers, gemstones; trade for the rest. | The shrike calls once and dives from the far side. | — | Field Order 66
win 2x Resource route hunts on Floor 3, Section N
clear Narrow Stair on Floor 3, Section N
recover Resource supply for Superior Health Potion / Rook Feather / Kestrel Feather on Floor 3, Section N
win with a spent Supply Contract on Floor 3, Section N or later
answer boss variant lesson against: Surveyor / Relay-Bound / Executioner / Tempo-Locked / Rupturing / Countermarch / Crusher / Cachebound on Floor 3, Section N
mastery: ⛏️ Resource climb pressure read | ⛏️ Resource primary: ledge three
🌑 Deep secondary: mining and Defend timing
supply: rook feathers, kestrel feathers, gemstones | ⛏️ Resource floor map marks ledge three; can roll Loaded Cache; surveys public prep supply; primes Warden Assembly logistics
🌑 Deep secondary map line supports mining and Defend timing; boss leans Tempo-Locked; Black Signal is in this floor's deck; higher-risk EXP pressure is online; boss tests tempo or cleanse
🛡️ Guarded can roll Guarded Watch; matches Tight Corners; boss rewards guarded answers | 📣 Calls Once | 💀 Executioner
⏱️ Tempo-Locked
🩸 Rupturing
🥁 Countermarch | 🌿 Bramble Choke
🛡️ Guarded Crossfire
🎼 Nocturne Refrain | Narrow Stair 14%
Black Signal 22%
Tight Corners 14% | Rook Cliffs, terrain, route, swift | opening burst, positioning, single-target focus, full HP | 10/10 |
| Floor 3, Section O | 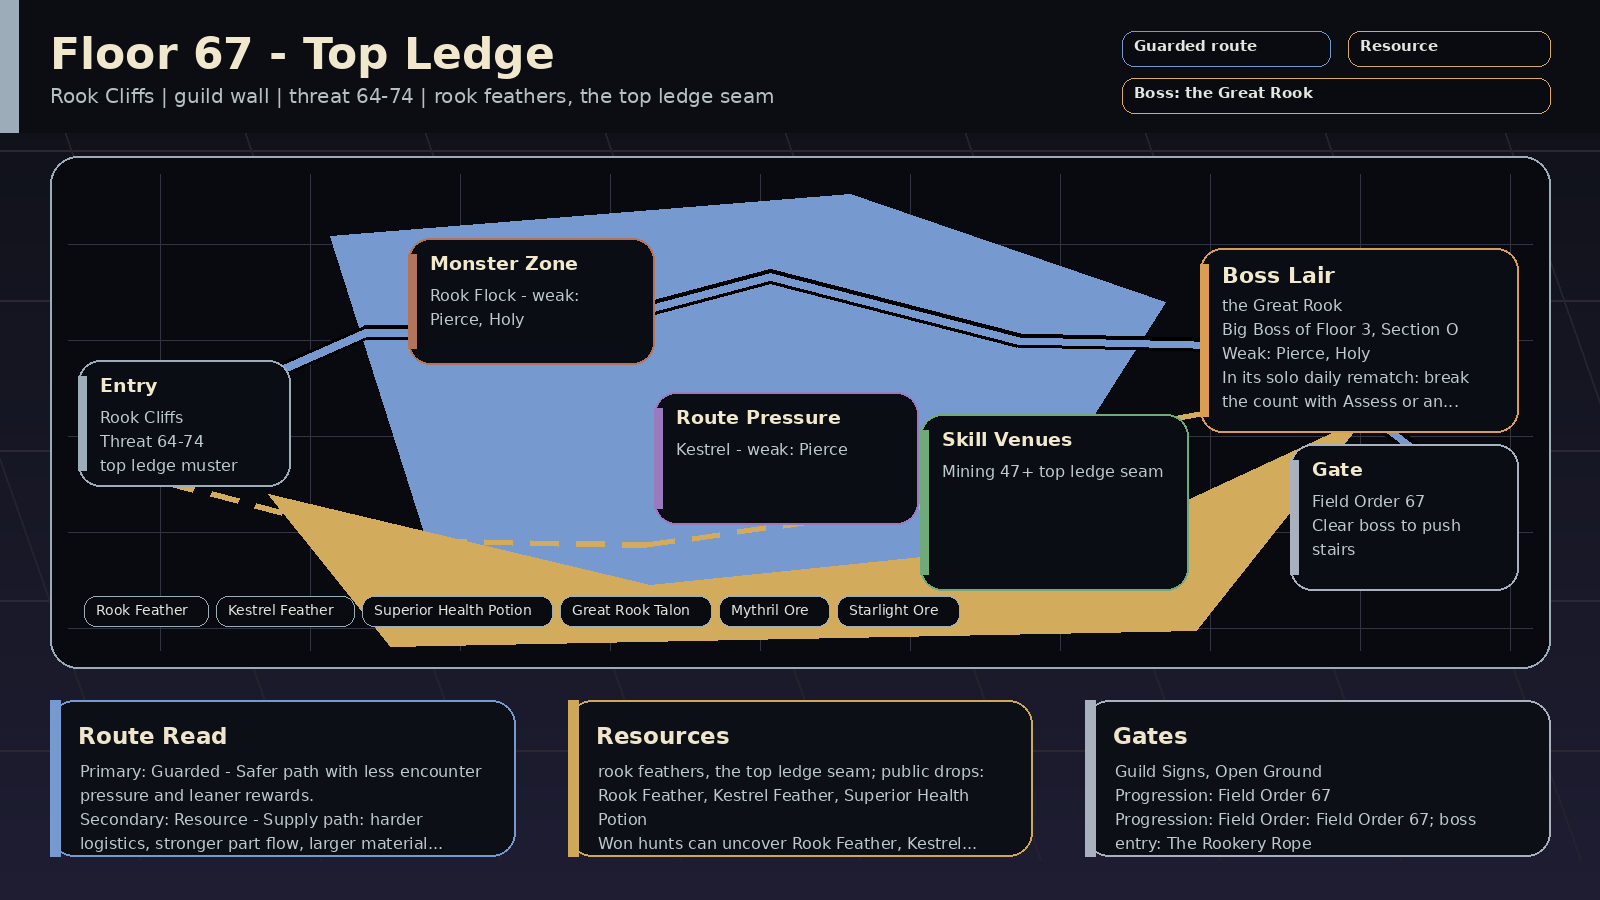 | 🌊 Thorn Lake | Rook Cliffs | Top Ledge | Payoff: rook feathers, the top ledge seam; public drops: Rook Feather, Kestrel Feather, Superior Health Potion
Prep: Skill prep: Mining 47+
Pressure: guild wall; encounters: Guild Signs, Open Ground; boss: the Great Rook
Route: Route plan: Guarded primary for top ledge muster; Resource secondary for mining and wall prep
Progress: Progression: Field Order: Field Order 67; boss entry: The Rookery Rope | Read: Top Ledge (guild wall). The Great Rook's ledge. The whole flock dives with it.
Prep: Train Mining; prep around mining and wall prep. Field Order: Field Order 67.
Route: Primary Guarded: top ledge muster. Secondary Resource: mining and wall prep.
Trade: Supply axis: rook feathers, bramble cord, starlight ore. Public demand centers on Rook Feather, Kestrel Feather, Superior Health Potion, Great Rook Talon.
Boss: the Great Rook: In its solo daily rematch: break the count with Assess or an interrupt, interrupt the Hood Snatch, Defend the dive, and hit with pierce or holy. | Read: Top Ledge rewards 🏹 pierce, ✨ holy; avoid relying only on ❄️ frost, 🗡️ slash. Mob signatures pressure positioning, heavy hit, damage, control; the boss chart leans 🏹 pierce, ✨ holy.
Damage lanes: weak: pierce, holy
Watch resists: resists: frost, slash
Boss chart: weak: pierce, holy
resists: frost
Mob pressure: positioning, heavy hit, damage, control
Counters: defend, guard, pierce | 64-74 | 🐦⬛ Rook Flock / 🪶 Kestrel | 🐦⬛ the Great Rook | ⛏️ the top ledge seam req 47 | 🪶 Rook Feather, 🪶 Kestrel Feather, 🧪 Superior Health Potion, 🪶 Great Rook Talon, 🪨 Mythril Ore, ✨ Starlight Ore | 6% on won hunts: 🪶 Rook Feather, 🪶 Kestrel Feather, 🧪 Superior Health Potion, 🪨 Mythril Ore
Won hunts can uncover Rook Feather, Kestrel Feather, Superior Health Potion.
Choose this floor for rook feathers, bramble cord, starlight ore; trade for the rest. | The Great Rook's ledge. The whole flock dives with it. | — | Field Order 67
win 2x Guarded route hunts on Floor 3, Section O
clear Guild Signs on Floor 3, Section O
defeat the Great Rook | 🛡️ Guarded primary: top ledge muster
⛏️ Resource secondary: mining and wall prep
supply: rook feathers, bramble cord, starlight ore | 🛡️ Guarded floor map marks top ledge muster; boss leans Watchmarked; can roll Guarded Watch; matches Guild Signs; boss rewards guarded answers
⛏️ Resource secondary map line supports mining and wall prep; can roll Loaded Cache; matches Guild Signs; boss has supply-line pressure; surveys public prep supply; primes Warden Assembly logistics; helps the next stair's logistics
🌑 Deep can roll Black Signal; matches Deep Signal; higher-risk EXP pressure is online; boss tests tempo or cleanse | 🐦⬛ The Flock Rises | — | — | Guild Signs 8%
Open Ground 18%
Deep Signal 8% | Rook Cliffs, social, terrain, mystery | guild board, trade prep, shared farming, speed control | 10/10 |
| Floor 3, Section P | 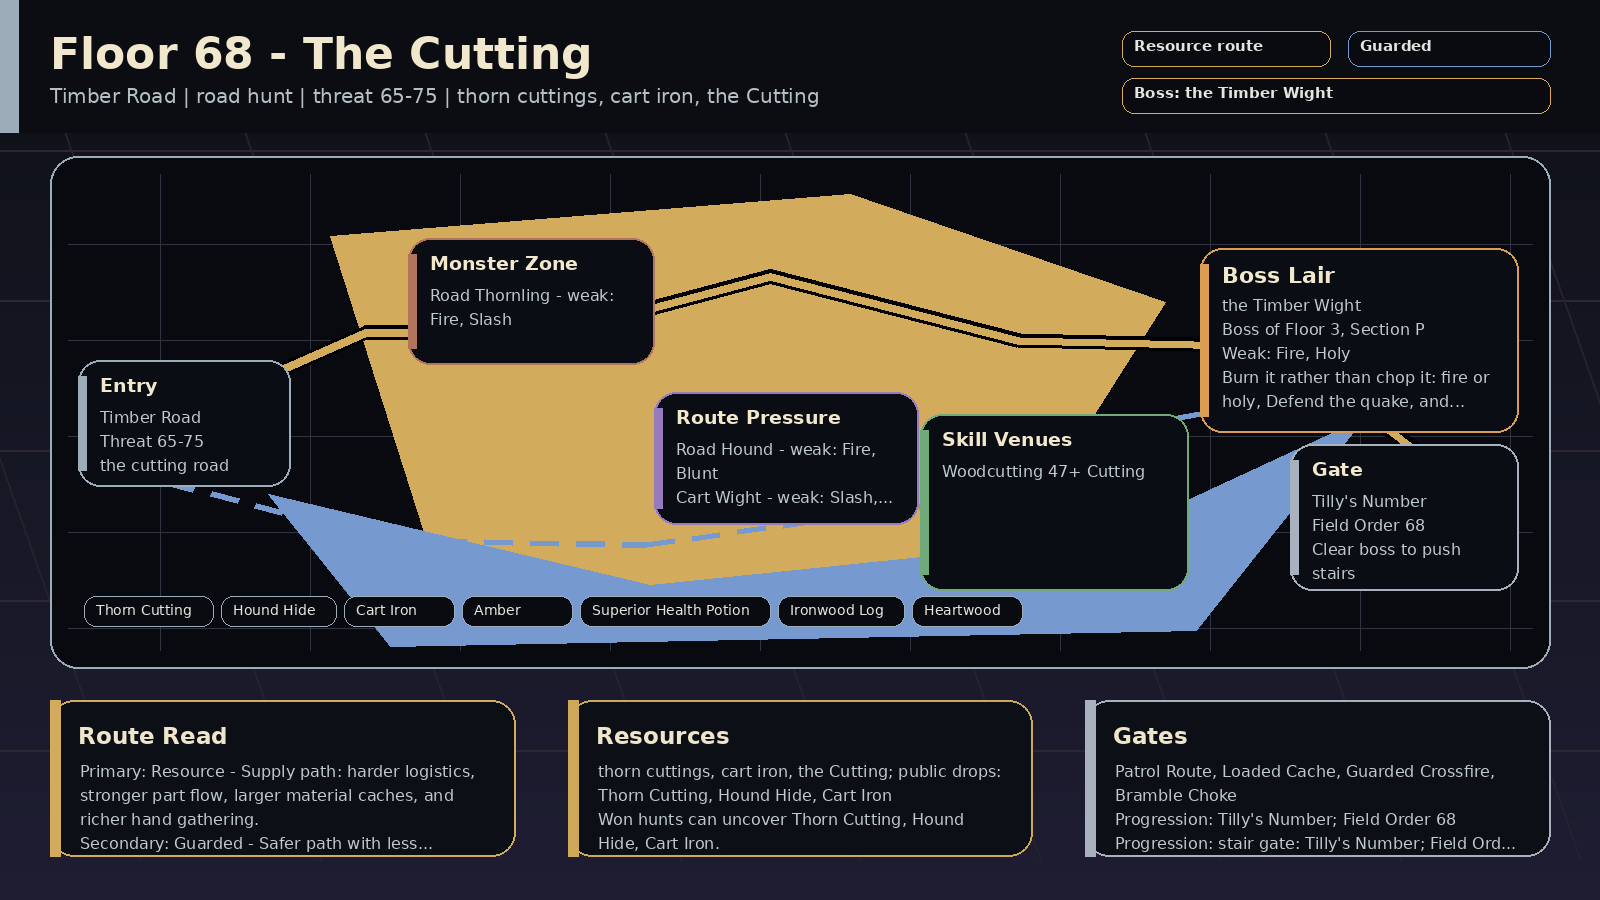 | 🌊 Thorn Lake | Timber Road | The Cutting | Payoff: thorn cuttings, cart iron, the Cutting; public drops: Thorn Cutting, Hound Hide, Cart Iron
Prep: Skill prep: Woodcutting 47+
Pressure: road hunt; encounters: Patrol Route, Loaded Cache; boss: the Timber Wight
Route: Route plan: Resource primary for the cutting road; Guarded secondary for woodcutting and fire
Progress: Progression: stair gate: Tilly's Number; Field Order: Field Order 68; room pressure 100% | Read: The Cutting (road hunt). An old cart road through the cutting. Something walks it at night.
Prep: Train Woodcutting; prep around woodcutting and fire. Stair gate: Tilly's Number.
Route: Primary Resource: the cutting road. Secondary Guarded: woodcutting and fire.
Trade: Supply axis: thorn cuttings, cart iron, heartwood. Public demand centers on Thorn Cutting, Hound Hide, Cart Iron, Amber.
Boss: the Timber Wight: Burn it before it takes root: fire or holy, and Defend the quake. Boss-room pressure can appear at 100%. | Read: The Cutting rewards 🔥 fire, 🗡️ slash, 🔨 blunt, ✨ holy; avoid relying only on 🌿 nature. Mob signatures pressure poison, cleanse check, damage, debuff; the boss chart leans 🔥 fire, ✨ holy.
Damage lanes: weak: fire, slash, blunt, holy
Watch resists: resists: nature
Boss chart: weak: fire, holy
resists: nature
Mob pressure: poison, cleanse check, damage, debuff
Counters: cleanse, sustain, burst, control | 65-75 | 🌿 Road Thornling / 🐕 Road Hound / 🛞 Cart Wight | 🪵 the Timber Wight | 🌲 the Cutting req 47 | 🌿 Thorn Cutting, 🐕 Hound Hide, ⚙️ Cart Iron, 🟠 Amber, 🧪 Superior Health Potion, 🪵 Ironwood Log, 🌳 Heartwood | 6% on won hunts: 🌿 Thorn Cutting, 🐕 Hound Hide, ⚙️ Cart Iron, 🟠 Amber
Won hunts can uncover Thorn Cutting, Hound Hide, Cart Iron.
Choose this floor for thorn cuttings, cart iron, heartwood; trade for the rest. | An old cart road through the cutting. Something walks it at night. | Tilly's Number
beat or calm Longshanks
answer map read pressure with counterplay
train Agility at the cliff ropes on Floor 3, Section M
defeat the Great Rook | Field Order 68
win 2x Resource route hunts on Floor 3, Section P
clear Loaded Cache on Floor 3, Section P
recover Resource supply for Thorn Cutting / Superior Health Potion / Hound Hide on Floor 3, Section P
win with a spent Supply Contract on Floor 3, Section P or later
answer boss variant lesson against: Cachebound / Orebound / Scrap-Fused / Reclaimer / Quartermaster / Seam-Sealed / Supply-Locked / Haulmaster on Floor 3, Section P
mastery: ⛏️ Resource climb pressure read | ⛏️ Resource primary: the cutting road
🛡️ Guarded secondary: woodcutting and fire
supply: thorn cuttings, cart iron, heartwood | ⛏️ Resource floor map marks the cutting road; Loaded Cache is in this floor's deck; matches Loaded Cache, Patrol Route; surveys public prep supply; primes Warden Assembly logistics
🛡️ Guarded secondary map line supports woodcutting and fire; boss leans Rampart; can roll Guarded Watch; matches Tight Corners; boss rewards guarded answers
🌑 Deep can roll Black Signal; higher-risk EXP pressure is online | 🪵 Beams Groan | 💥 Crusher
🌲 Ironroot
🧱 Rampart
🌿 Brambleward | 🌿 Bramble Choke
📦 Supply Audit
📒 Toll Audit | Patrol Route 16%
Loaded Cache 24%
Tight Corners 14% | Timber Road, patrol, route, terrain | full HP, correct damage type, escape plan, inventory space | 10/10 |
| Floor 3, Section Q | 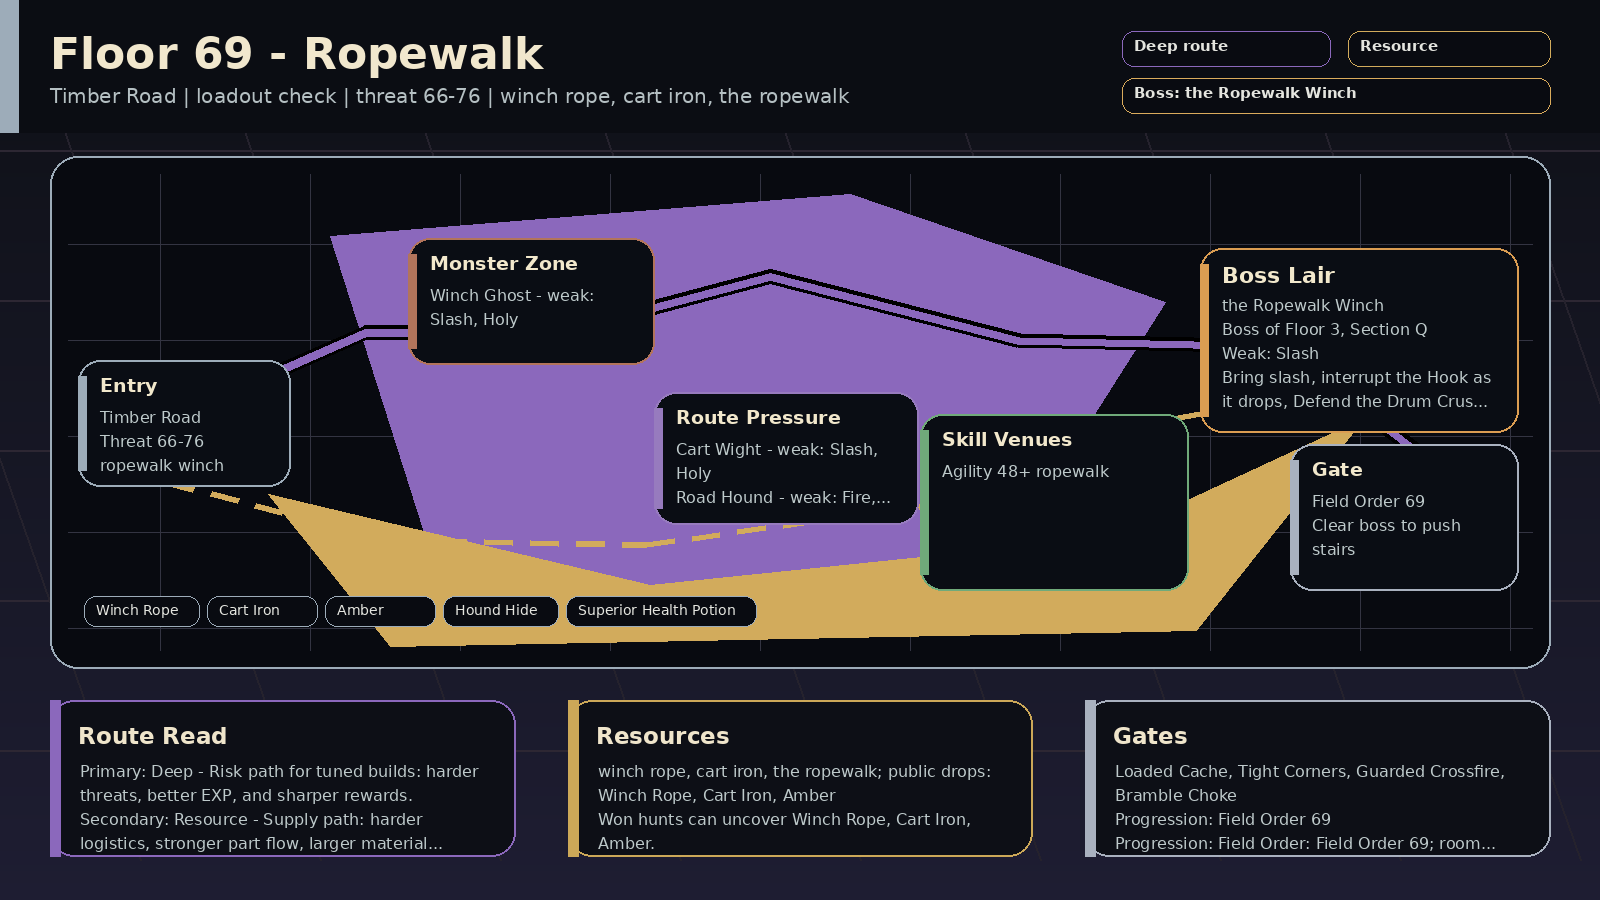 | 🌊 Thorn Lake | Timber Road | Ropewalk | Payoff: winch rope, cart iron, the ropewalk; public drops: Winch Rope, Cart Iron, Amber
Prep: Skill prep: Agility 48+
Pressure: loadout check; encounters: Loaded Cache, Tight Corners; boss: the Ropewalk Winch
Route: Route plan: Deep primary for ropewalk winch; Resource secondary for agility and tools
Progress: Progression: Field Order: Field Order 69; room pressure 100% | Read: Ropewalk (loadout check). The winch still hauls the same cart up the ropewalk. Bring tools.
Prep: Train Agility; prep around agility and tools. Field Order: Field Order 69.
Route: Primary Deep: ropewalk winch. Secondary Resource: agility and tools.
Trade: Supply axis: winch rope, cart iron, hound hides. Public demand centers on Winch Rope, Cart Iron, Amber, Hound Hide.
Boss: the Ropewalk Winch: Bring slash or pierce, interrupt the Hook as it drops, Defend the Drum Crush, and slow the rope. Boss-room pressure can appear at 100%. | Read: Ropewalk rewards 🗡️ slash, ✨ holy, 🔥 fire, 🔨 blunt; no dominant mob resist lane stands out. Mob signatures pressure heavy hit, positioning, damage, debuff; the boss chart leans 🗡️ slash, 🏹 pierce.
Damage lanes: weak: slash, holy, fire, blunt
Watch resists: —
Boss chart: weak: slash, pierce
resists: blunt
Mob pressure: heavy hit, positioning, damage, debuff
Counters: defend, speed control, guard, burst | 66-76 | 👻 Winch Ghost / 🛞 Cart Wight / 🐕 Road Hound | 🪢 the Ropewalk Winch | 🏃 the ropewalk req 48 | 🪢 Winch Rope, ⚙️ Cart Iron, 🟠 Amber, 🐕 Hound Hide, 🧪 Superior Health Potion | 6% on won hunts: 🪢 Winch Rope, ⚙️ Cart Iron, 🟠 Amber, 🐕 Hound Hide
Won hunts can uncover Winch Rope, Cart Iron, Amber.
Choose this floor for winch rope, cart iron, hound hides; trade for the rest. | The winch still hauls the same cart up the ropewalk. Bring tools. | — | Field Order 69
win 2x Deep route hunts on Floor 3, Section Q
clear Loaded Cache on Floor 3, Section Q
win with a spent Deep route plan on Floor 3, Section Q or later
answer boss variant lesson against: Orebound / Scrap-Fused / Supply-Locked / Bastion / Brambleward / Blackwake / Eclipse / Dark Rift on Floor 3, Section Q
answer Deep boss-room pressure: Blight Count / Nocturne Refrain / Null Chorus / Split Beat on Floor 3, Section Q
mastery: 🌑 Deep climb pressure read | 🌑 Deep primary: ropewalk winch
⛏️ Resource secondary: agility and tools
supply: winch rope, cart iron, hound hides | 🌑 Deep floor map marks ropewalk winch; can roll Black Signal; higher-risk EXP pressure is online; boss tests tempo or cleanse
⛏️ Resource secondary map line supports agility and tools; boss leans Orebound, Scrap-Fused; Loaded Cache is in this floor's deck; matches Loaded Cache; boss has supply-line pressure; surveys public prep supply; primes Warden Assembly logistics
🛡️ Guarded Guarded Watch is in this floor's deck; matches Tight Corners; boss rewards guarded answers | 🪢 The Drum Turns | ⛓️ Orebound
🧲 Scrap-Fused
📦 Supply-Locked
🏰 Bastion | 🌿 Bramble Choke
🪓 Breaker Window
🛡️ Guarded Crossfire | Loaded Cache 24%
Tight Corners 14%
Guarded Watch 16% | Timber Road, route, terrain, mystic | inventory space, tools, armor breaking, blunt damage | 10/10 |
| Floor 3, Section R | 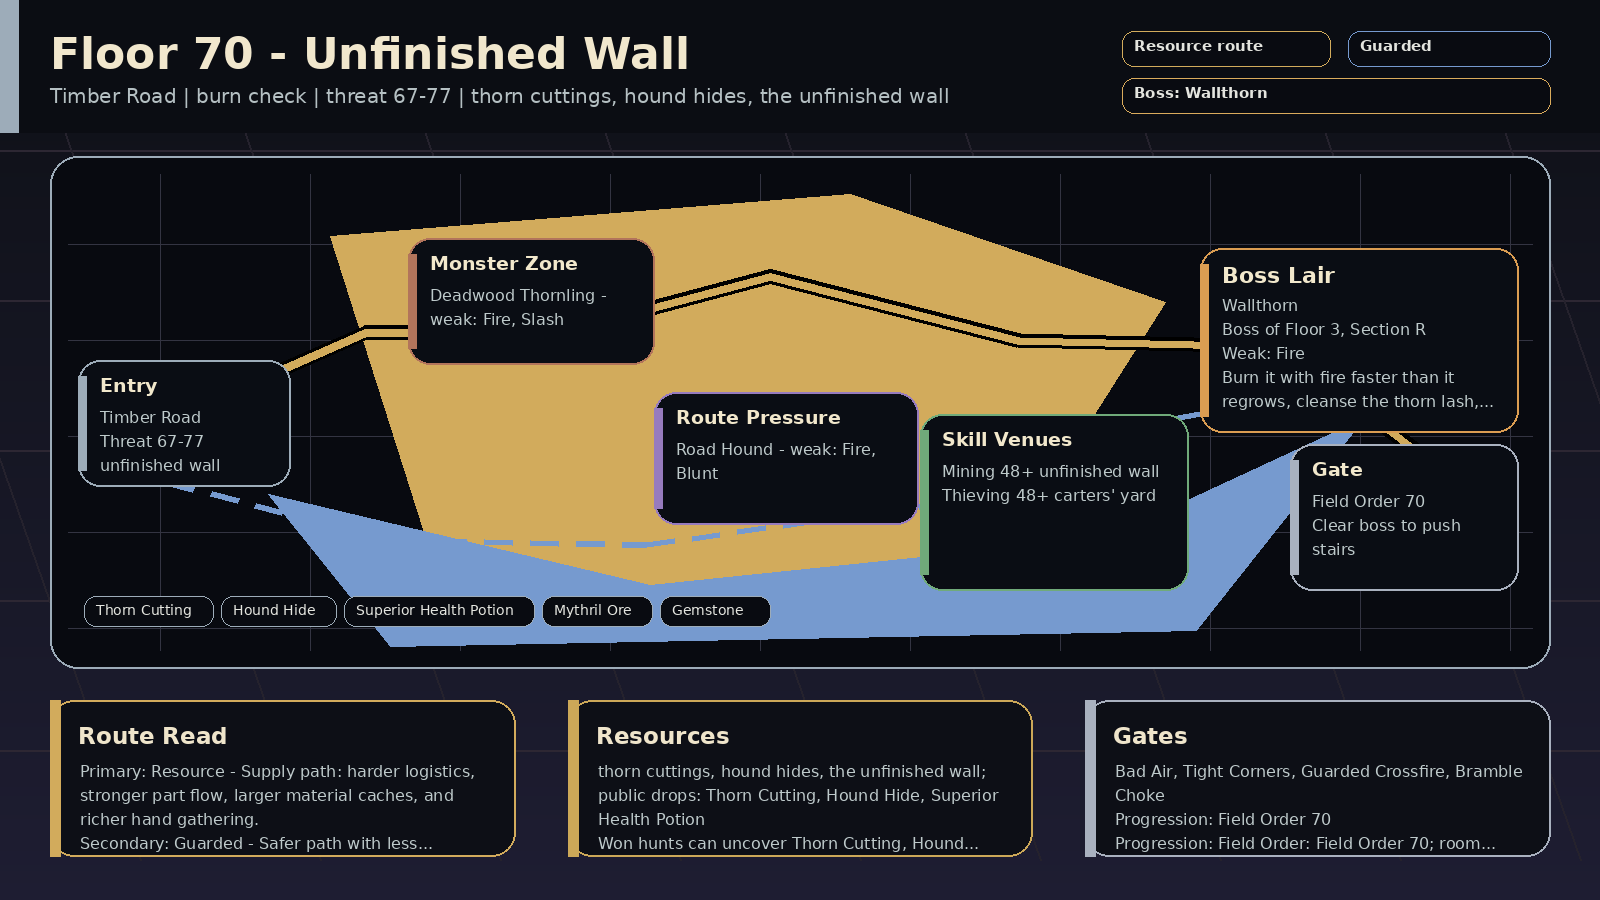 | 🌊 Thorn Lake | Timber Road | Unfinished Wall | Payoff: thorn cuttings, hound hides, the unfinished wall; public drops: Thorn Cutting, Hound Hide, Superior Health Potion
Prep: Skill prep: Mining 48+, Thieving 48+
Pressure: burn check; encounters: Bad Air, Tight Corners; boss: Wallthorn
Route: Route plan: Resource primary for unfinished wall; Guarded secondary for mining and fire
Progress: Progression: Field Order: Field Order 70; room pressure 100% | Read: Unfinished Wall (burn check). The wall grows back as briar. Bring fire.
Prep: Train Mining, Thieving; prep around mining and fire. Field Order: Field Order 70.
Route: Primary Resource: unfinished wall. Secondary Guarded: mining and fire.
Trade: Supply axis: thorn cuttings, hound hides, gemstones. Public demand centers on Thorn Cutting, Hound Hide, Superior Health Potion, Mythril Ore.
Boss: Wallthorn: Burn it with fire faster than it regrows, Defend the Wall Topple, and burst right after a Briar Course. Boss-room pressure can appear at 100%. | Read: Unfinished Wall rewards 🔥 fire, 🗡️ slash, 🔨 blunt; avoid relying only on 🌿 nature. Mob signatures pressure poison, cleanse check, damage, debuff; the boss chart leans 🔥 fire.
Damage lanes: weak: fire, slash, blunt
Watch resists: resists: nature
Boss chart: weak: fire
resists: nature
Mob pressure: poison, cleanse check, damage, debuff
Counters: cleanse, sustain, burst, control | 67-77 | 🌿 Deadwood Thornling / 🐕 Road Hound | 🧱 Wallthorn | ⛏️ the unfinished wall req 48
🪙 the carters' yard req 48 | 🌿 Thorn Cutting, 🐕 Hound Hide, 🧪 Superior Health Potion, 🪨 Mythril Ore, 💎 Gemstone | 6% on won hunts: 🌿 Thorn Cutting, 🐕 Hound Hide, 🧪 Superior Health Potion, 🪨 Mythril Ore
Won hunts can uncover Thorn Cutting, Hound Hide, Superior Health Potion.
Choose this floor for thorn cuttings, hound hides, gemstones; trade for the rest. | The wall grows back as briar. Bring fire. | — | Field Order 70
win 2x Resource route hunts on Floor 3, Section R
clear Old Cache on Floor 3, Section R
recover Resource supply for Thorn Cutting / Superior Health Potion / Hound Hide on Floor 3, Section R
win with a spent Supply Contract on Floor 3, Section R or later
answer boss variant lesson against: Cachebound / Orebound / Scrap-Fused / Reclaimer / Quartermaster / Seam-Sealed / Supply-Locked / Haulmaster on Floor 3, Section R
mastery: ⛏️ Resource climb pressure read | ⛏️ Resource primary: unfinished wall
🛡️ Guarded secondary: mining and fire
supply: thorn cuttings, hound hides, gemstones | ⛏️ Resource floor map marks unfinished wall; can roll Loaded Cache; matches Old Cache; surveys public prep supply; primes Warden Assembly logistics
🛡️ Guarded secondary map line supports mining and fire; boss leans Brambleward; can roll Guarded Watch; matches Tight Corners; boss rewards guarded answers
🌑 Deep can roll Black Signal; matches Bad Air; higher-risk EXP pressure is online; boss tests tempo or cleanse | 🌿 Briar Course
counters: fire, burst | 🌿 Brambleward
🌲 Ironroot
➕ Mender
🚪 Gatewarden | 🌿 Bramble Choke
💧 Blight Count
🛡️ Guarded Crossfire | Bad Air 12%
Tight Corners 14%
Old Cache 10% | Timber Road, hazard, terrain, reward | antidotes, cleanse skills, food belt, blunt damage | 10/10 |
| Floor 3, Section S | 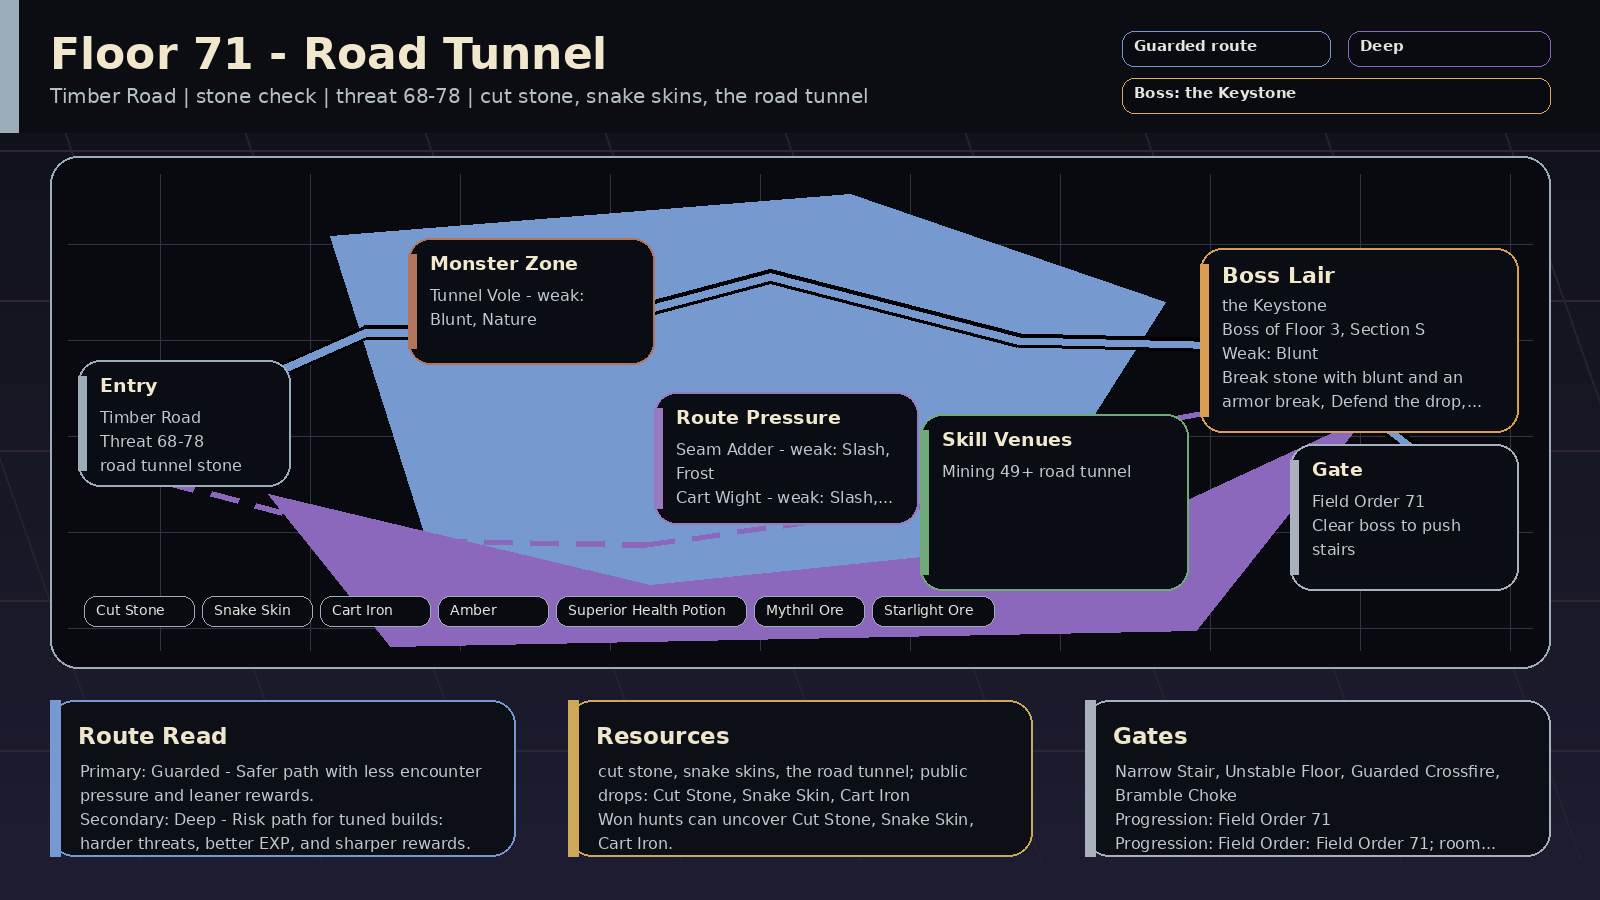 | 🌊 Thorn Lake | Timber Road | Road Tunnel | Payoff: cut stone, snake skins, the road tunnel; public drops: Cut Stone, Snake Skin, Cart Iron
Prep: Skill prep: Mining 49+
Pressure: stone check; encounters: Narrow Stair, Unstable Floor; boss: the Keystone
Route: Route plan: Guarded primary for road tunnel stone; Deep secondary for mining and blunt damage
Progress: Progression: Field Order: Field Order 71; room pressure 100% | Read: Road Tunnel (stone check). The tunnel's keystone walks. Blunt breaks stone.
Prep: Train Mining; prep around mining and blunt damage. Field Order: Field Order 71.
Route: Primary Guarded: road tunnel stone. Secondary Deep: mining and blunt damage.
Trade: Supply axis: cut stone, snake skins, starlight ore. Public demand centers on Cut Stone, Snake Skin, Cart Iron, Amber.
Boss: the Keystone: Hit it with blunt, drive pierce into its mortar lines, or use an armor break. Defend the drop, and burst when cracks show. Boss-room pressure can appear at 100%. | Read: Road Tunnel rewards 🔨 blunt, 🌿 nature, 🗡️ slash, ❄️ frost; no dominant mob resist lane stands out. Mob signatures pressure positioning, heavy hit, damage, control; the boss chart leans 🔨 blunt, 🏹 pierce.
Damage lanes: weak: blunt, nature, slash, frost, holy
Watch resists: —
Boss chart: weak: blunt, pierce
resists: frost
Mob pressure: positioning, heavy hit, damage, control
Counters: defend, guard, cleanse, sustain | 68-78 | 🐀 Tunnel Vole / 🐍 Seam Adder / 🛞 Cart Wight | 🪨 the Keystone | ⛏️ the road tunnel req 49 | 🧱 Cut Stone, 🐍 Snake Skin, ⚙️ Cart Iron, 🟠 Amber, 🧪 Superior Health Potion, 🪨 Mythril Ore, ✨ Starlight Ore | 6% on won hunts: 🧱 Cut Stone, 🐍 Snake Skin, ⚙️ Cart Iron, 🟠 Amber
Won hunts can uncover Cut Stone, Snake Skin, Cart Iron.
Choose this floor for cut stone, snake skins, starlight ore; trade for the rest. | The tunnel's keystone walks. Blunt breaks stone. | — | Field Order 71
win 2x Guarded route hunts on Floor 3, Section S
clear Tight Corners on Floor 3, Section S
win with a spent Guarded route plan on Floor 3, Section S or later
answer boss variant lesson against: Sentinel / Rampart / Bastion / Garrison / Standard-Bearer / Sealed Guard / Brambleward / Linebreaker on Floor 3, Section S
answer Guarded boss-room pressure: Bramble Choke / Guarded Crossfire / Breaker Window / Null Chorus on Floor 3, Section S
mastery: 🛡️ Guarded climb pressure read | 🛡️ Guarded primary: road tunnel stone
🌑 Deep secondary: mining and blunt damage
supply: cut stone, snake skins, starlight ore | 🛡️ Guarded floor map marks road tunnel stone; boss leans Bastion, Rampart; can roll Guarded Watch; matches Tight Corners; boss rewards guarded answers
🌑 Deep secondary map line supports mining and blunt damage; can roll Black Signal; matches Unstable Floor; higher-risk EXP pressure is online; boss tests tempo or cleanse
⛏️ Resource can roll Loaded Cache; boss has supply-line pressure; surveys public prep supply; primes Warden Assembly logistics | 🪨 The Wedge Shifts | 🏰 Bastion
🧱 Rampart
🚧 Sentinel
🌿 Brambleward | 🌿 Bramble Choke
🧰 Cache Collapse
🛡️ Guarded Crossfire | Narrow Stair 14%
Unstable Floor 12%
Tight Corners 14% | Timber Road, terrain, hazard, standard | opening burst, positioning, single-target focus, accuracy through skills | 10/10 |
| Floor 3, Section T | 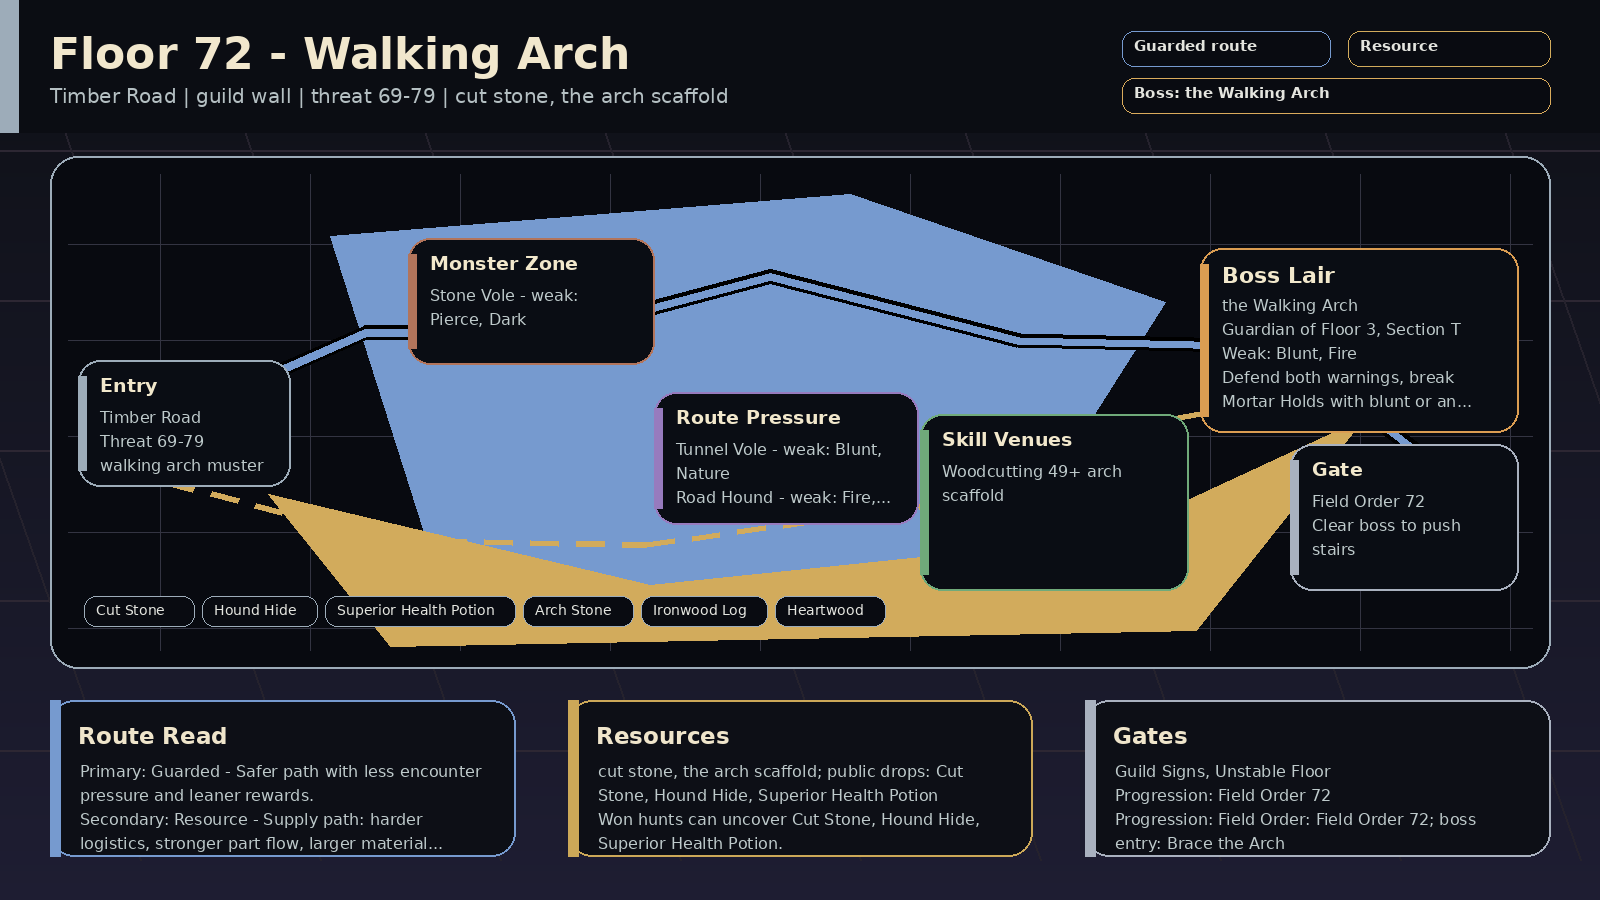 | 🌊 Thorn Lake | Timber Road | Walking Arch | Payoff: cut stone, the arch scaffold; public drops: Cut Stone, Hound Hide, Superior Health Potion
Prep: Skill prep: Woodcutting 49+
Pressure: guild wall; encounters: Guild Signs, Unstable Floor; boss: the Walking Arch
Route: Route plan: Guarded primary for walking arch muster; Resource secondary for woodcutting and wall prep
Progress: Progression: Field Order: Field Order 72; boss entry: Brace the Arch | Read: Walking Arch (guild wall). The arch walks the road it used to span. A crew breaks it faster.
Prep: Train Woodcutting; prep around woodcutting and wall prep. Field Order: Field Order 72.
Route: Primary Guarded: walking arch muster. Secondary Resource: woodcutting and wall prep.
Trade: Supply axis: cut stone, cart iron, heartwood. Public demand centers on Cut Stone, Hound Hide, Superior Health Potion, Arch Stone.
Boss: the Walking Arch: Defend both warnings, break Mortar Holds with blunt or an armor break, burn the briar in its joints with fire, and burst when the keystone slips. | Read: Walking Arch rewards 🏹 pierce, 🌑 dark, 🔨 blunt, 🌿 nature; avoid relying only on 🗡️ slash. Mob signatures pressure defense guard, damage, stance, positioning; the boss chart leans 🔨 blunt, 🔥 fire.
Damage lanes: weak: pierce, dark, blunt, nature, fire
Watch resists: resists: slash
Boss chart: weak: blunt, fire
resists: frost
Mob pressure: defense guard, damage, stance, positioning
Counters: burst, pierce, defend, guard | 69-79 | 🐀 Stone Vole / 🐀 Tunnel Vole / 🐕 Road Hound | 🌉 the Walking Arch | 🌲 the arch scaffold req 49 | 🧱 Cut Stone, 🐕 Hound Hide, 🧪 Superior Health Potion, 🧱 Arch Stone, 🪵 Ironwood Log, 🌳 Heartwood | 6% on won hunts: 🧱 Cut Stone, 🐕 Hound Hide, 🧪 Superior Health Potion, 🪵 Ironwood Log
Won hunts can uncover Cut Stone, Hound Hide, Superior Health Potion.
Choose this floor for cut stone, cart iron, heartwood; trade for the rest. | The arch walks the road it used to span. A crew breaks it faster. | — | Field Order 72
win 2x Guarded route hunts on Floor 3, Section T
clear Guarded Watch on Floor 3, Section T
defeat the Walking Arch | 🛡️ Guarded primary: walking arch muster
⛏️ Resource secondary: woodcutting and wall prep
supply: cut stone, cart iron, heartwood | 🛡️ Guarded floor map marks walking arch muster; boss leans Bastion, Garrison; Guarded Watch is in this floor's deck; matches Guild Signs; boss rewards guarded answers
⛏️ Resource secondary map line supports woodcutting and wall prep; can roll Loaded Cache; matches Guild Signs; boss has supply-line pressure; surveys public prep supply; primes Warden Assembly logistics; helps the next stair's logistics
🌑 Deep can roll Black Signal; matches Unstable Floor; higher-risk EXP pressure is online; boss tests tempo or cleanse | 🌉 The Arch Walks | — | — | Guild Signs 8%
Unstable Floor 12%
Guarded Watch 16% | Timber Road, social, hazard, route | guild board, trade prep, shared farming, accuracy through skills | 10/10 |
| Floor 3, Section U | 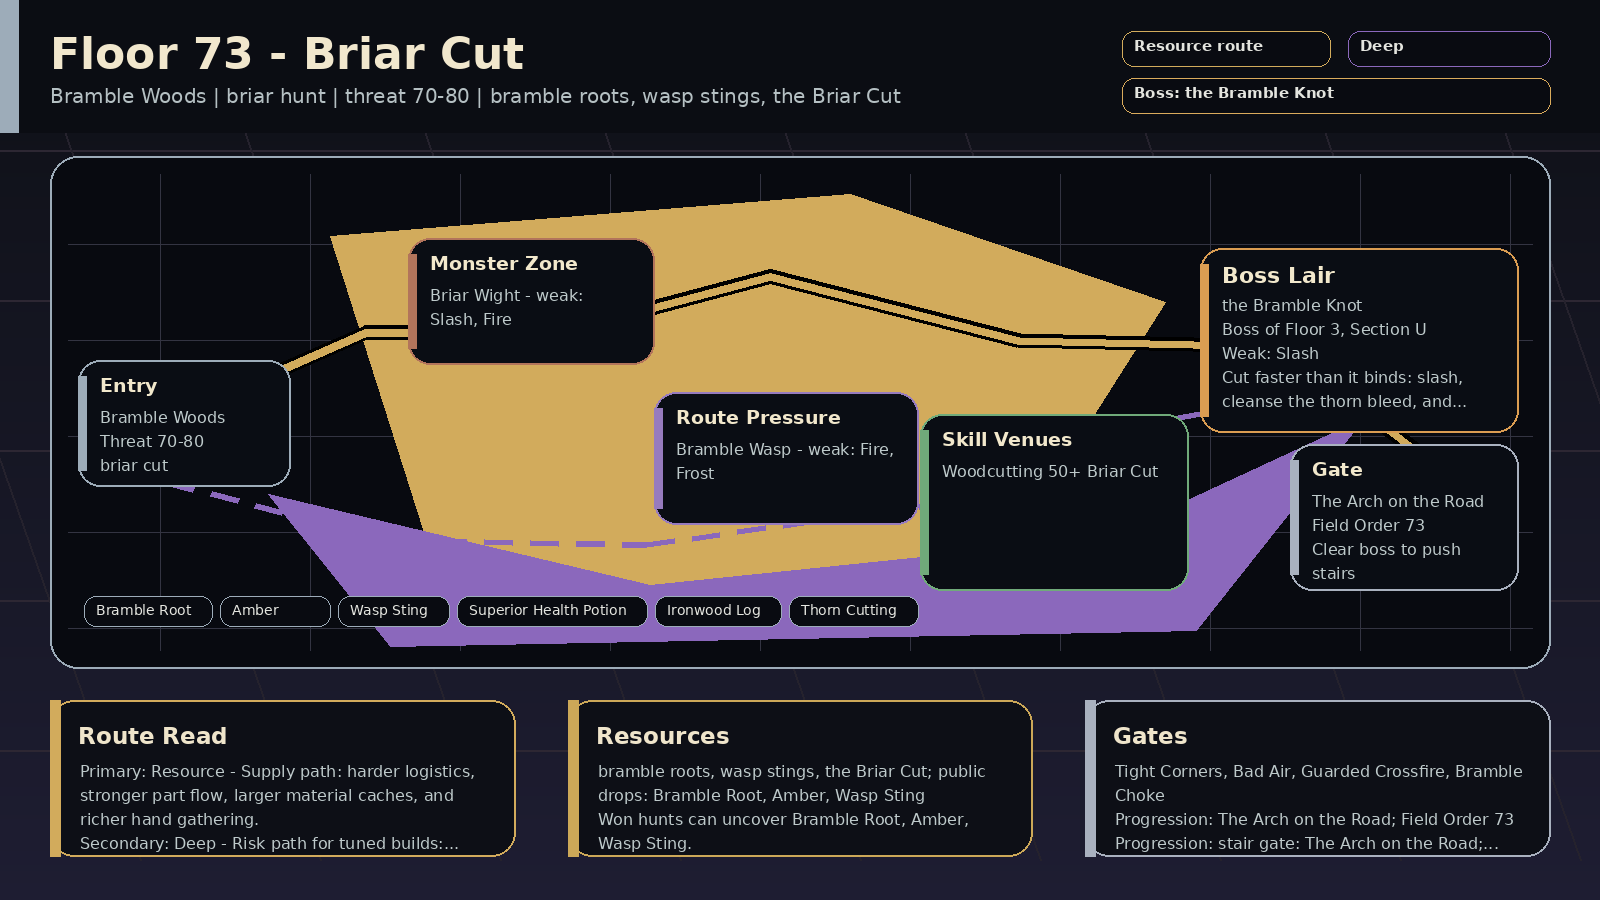 | 🌊 Thorn Lake | Bramble Woods | Briar Cut | Payoff: bramble roots, wasp stings, the Briar Cut; public drops: Bramble Root, Amber, Wasp Sting
Prep: Skill prep: Woodcutting 50+
Pressure: briar hunt; encounters: Tight Corners, Bad Air; boss: the Bramble Knot
Route: Route plan: Resource primary for briar cut; Deep secondary for woodcutting and slash
Progress: Progression: stair gate: The Arch on the Road; Field Order: Field Order 73; room pressure 100% | Read: Briar Cut (briar hunt). The thorn is thicker here than at the Landing. It has been growing here longer.
Prep: Train Woodcutting; prep around woodcutting and slash. Stair gate: The Arch on the Road.
Route: Primary Resource: briar cut. Secondary Deep: woodcutting and slash.
Trade: Supply axis: bramble roots, wasp stings, thorn cuttings. Public demand centers on Bramble Root, Amber, Wasp Sting, Superior Health Potion.
Boss: the Bramble Knot: Cut or stab faster than it binds: slash or pierce, and Defend the Root Cleave. Boss-room pressure can appear at 100%. | Read: Briar Cut rewards 🗡️ slash, 🔥 fire, ❄️ frost; avoid relying only on 🏹 pierce. Mob signatures pressure slow, control, bleed, damage; the boss chart leans 🗡️ slash, 🏹 pierce.
Damage lanes: weak: slash, fire, frost
Watch resists: resists: pierce
Boss chart: weak: slash, pierce
resists: nature
Mob pressure: slow, control, bleed, damage
Counters: cleanse, slash, burst, sustain | 70-80 | 🌿 Briar Wight / 🐝 Bramble Wasp | 🌿 the Bramble Knot | 🌲 the Briar Cut req 50 | 🌿 Bramble Root, 🟠 Amber, 🐝 Wasp Sting, 🧪 Superior Health Potion, 🪵 Ironwood Log, 🌿 Thorn Cutting | 6% on won hunts: 🌿 Bramble Root, 🟠 Amber, 🐝 Wasp Sting, 🧪 Superior Health Potion
Won hunts can uncover Bramble Root, Amber, Wasp Sting.
Choose this floor for bramble roots, wasp stings, thorn cuttings; trade for the rest. | The thorn is thicker here than at the Landing. It has been growing here longer. | The Arch on the Road
train Woodcutting at the Cutting on Floor 3, Section P
deliver 2x Bramble Cord
defeat the Walking Arch | Field Order 73
win 2x Resource route hunts on Floor 3, Section U
clear Old Cache on Floor 3, Section U
recover Resource supply for Wasp Sting / Superior Health Potion / Thorn Cutting on Floor 3, Section U
win with a spent Supply Contract on Floor 3, Section U or later
answer boss variant lesson against: Blight Ledger / Brambleward / Ravenous / Snareweb / Gravetide / Ironroot / Cachebound / Orebound on Floor 3, Section U
mastery: ⛏️ Resource climb pressure read | ⛏️ Resource primary: briar cut
🌑 Deep secondary: woodcutting and slash
supply: bramble roots, wasp stings, thorn cuttings | ⛏️ Resource floor map marks briar cut; can roll Loaded Cache; matches Old Cache; boss has supply-line pressure; surveys public prep supply; primes Warden Assembly logistics
🌑 Deep secondary map line supports woodcutting and slash; can roll Black Signal; matches Bad Air; higher-risk EXP pressure is online; boss tests tempo or cleanse
🛡️ Guarded boss leans Brambleward; can roll Guarded Watch; matches Tight Corners; boss rewards guarded answers | 🌿 Vine Tightens
counters: slash, burst | 🌿 Brambleward
🦷 Ravenous
🕸️ Snareweb
🌊 Gravetide | 🌿 Bramble Choke
💧 Blight Count
🧰 Cache Collapse | Tight Corners 14%
Bad Air 12%
Old Cache 10% | Bramble Woods, terrain, hazard, reward | blunt damage, defense pierce, longer sustain, antidotes | 10/10 |
| Floor 3, Section V | 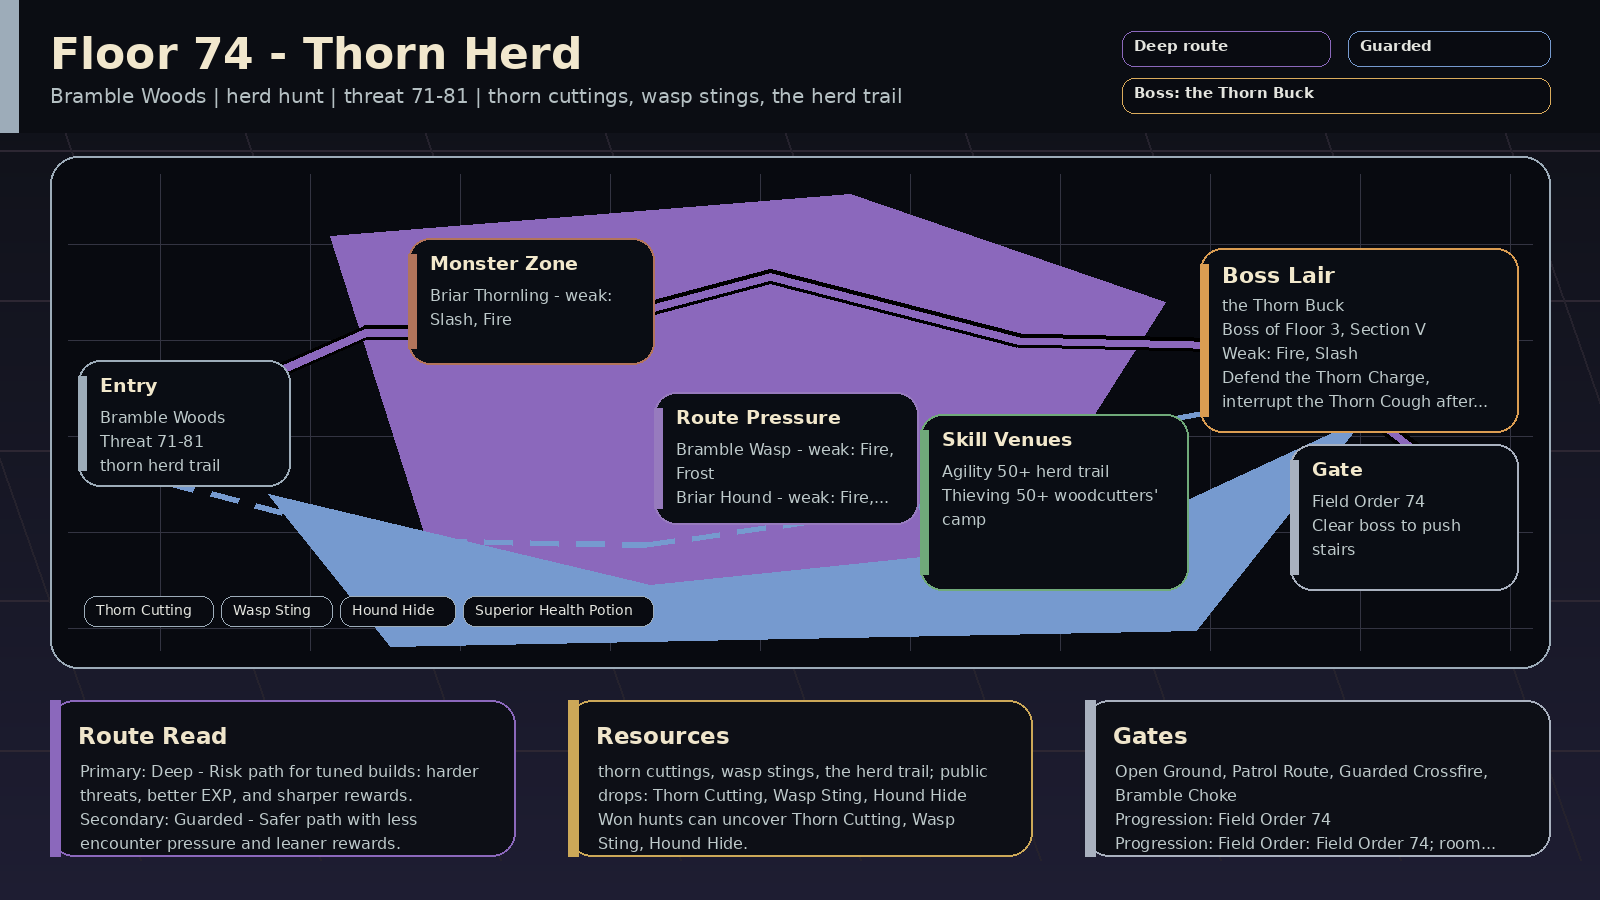 | 🌊 Thorn Lake | Bramble Woods | Thorn Herd | Payoff: thorn cuttings, wasp stings, the herd trail; public drops: Thorn Cutting, Wasp Sting, Hound Hide
Prep: Skill prep: Agility 50+, Thieving 50+
Pressure: herd hunt; encounters: Open Ground, Patrol Route; boss: the Thorn Buck
Route: Route plan: Deep primary for thorn herd trail; Guarded secondary for agility and Defend timing
Progress: Progression: Field Order: Field Order 74; room pressure 100% | Read: Thorn Herd (herd hunt). Deer the thorn has half grown over. The Thorn Buck leads them.
Prep: Train Agility, Thieving; prep around agility and Defend timing. Field Order: Field Order 74.
Route: Primary Deep: thorn herd trail. Secondary Guarded: agility and Defend timing.
Trade: Supply axis: thorn cuttings, wasp stings, hound hides. Public demand centers on Thorn Cutting, Wasp Sting, Hound Hide, Superior Health Potion.
Boss: the Thorn Buck: Defend the Thorn Charge, interrupt the Thorn Cough after the Deep Breath, and burn the growth with fire. Boss-room pressure can appear at 100%. | Read: Thorn Herd rewards 🗡️ slash, 🔥 fire, ❄️ frost, 🔨 blunt; avoid relying only on 🏹 pierce. Mob signatures pressure slow, control, bleed, damage; the boss chart leans 🔥 fire, 🏹 pierce.
Damage lanes: weak: slash, fire, frost, blunt
Watch resists: resists: pierce
Boss chart: weak: fire, pierce
resists: nature
Mob pressure: slow, control, bleed, damage
Counters: cleanse, slash, burst, sustain | 71-81 | 🌿 Briar Thornling / 🐝 Bramble Wasp / 🐕 Briar Hound | 🦌 the Thorn Buck | 🏃 the herd trail req 50
🪙 the woodcutters' camp req 50 | 🌿 Thorn Cutting, 🐝 Wasp Sting, 🐕 Hound Hide, 🧪 Superior Health Potion | 6% on won hunts: 🌿 Thorn Cutting, 🐝 Wasp Sting, 🐕 Hound Hide, 🧪 Superior Health Potion
Won hunts can uncover Thorn Cutting, Wasp Sting, Hound Hide.
Choose this floor for thorn cuttings, wasp stings, hound hides; trade for the rest. | Deer the thorn has half grown over. The Thorn Buck leads them. | — | Field Order 74
win 2x Deep route hunts on Floor 3, Section V
clear Bad Air on Floor 3, Section V
win with a spent Deep route plan on Floor 3, Section V or later
answer boss variant lesson against: Starless / Abyssal / Umbral Choir / Blight Ledger / Echo-Marked / Gravecaller / Dreadmark / Night Chorus on Floor 3, Section V
answer Deep boss-room pressure: Blight Count / Nocturne Refrain / Null Chorus / Split Beat on Floor 3, Section V
mastery: 🌑 Deep climb pressure read | 🌑 Deep primary: thorn herd trail
🛡️ Guarded secondary: agility and Defend timing
supply: thorn cuttings, wasp stings, hound hides | 🌑 Deep floor map marks thorn herd trail; can roll Black Signal; matches Bad Air; higher-risk EXP pressure is online; boss tests tempo or cleanse
🛡️ Guarded secondary map line supports agility and Defend timing; boss leans Brambleward; can roll Guarded Watch; boss rewards guarded answers
⛏️ Resource can roll Loaded Cache; matches Patrol Route; boss has supply-line pressure; surveys public prep supply; primes Warden Assembly logistics | 🦌 Antlers Scrape | 🌿 Brambleward
〽️ Echo-Marked
🌌 Night Chorus
🐺 Packbound | 🌿 Bramble Choke
🎼 Nocturne Refrain
⏱️ Split Beat | Open Ground 18%
Patrol Route 16%
Bad Air 12% | Bramble Woods, terrain, patrol, hazard | speed control, stamina planning, opening burst, full HP | 10/10 |
| Floor 3, Section W | 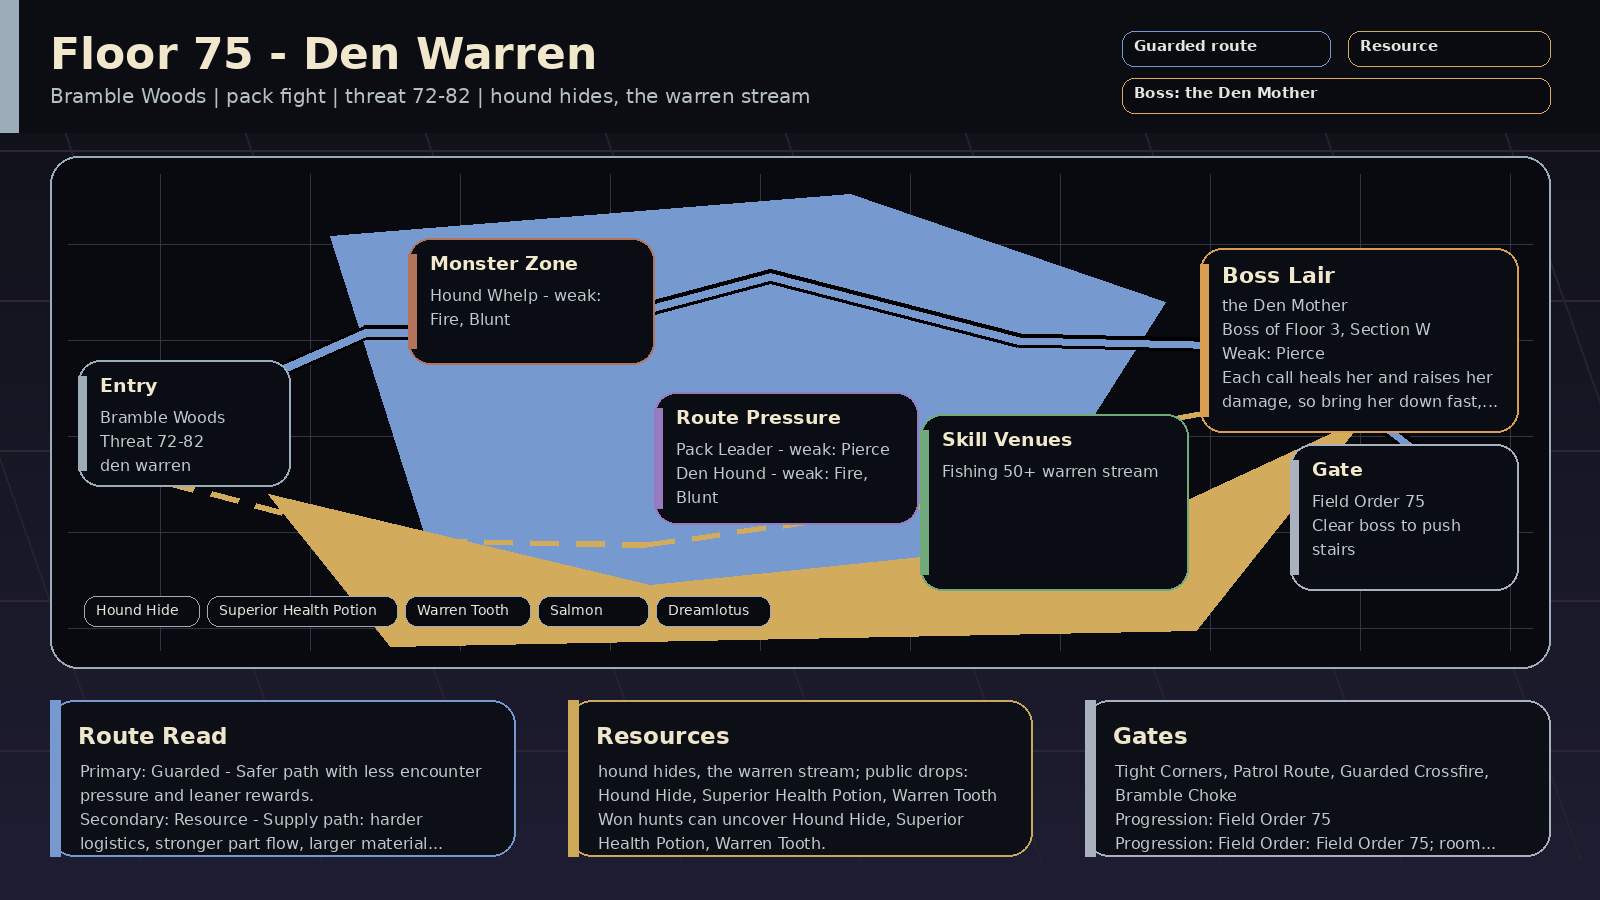 | 🌊 Thorn Lake | Bramble Woods | Den Warren | Payoff: hound hides, the warren stream; public drops: Hound Hide, Superior Health Potion, Warren Tooth
Prep: Skill prep: Fishing 50+
Pressure: pack fight; encounters: Tight Corners, Patrol Route; boss: the Den Mother
Route: Route plan: Guarded primary for den warren; Resource secondary for fishing and pack control
Progress: Progression: Field Order: Field Order 75; room pressure 100% | Read: Den Warren (pack fight). Every hound in the woods comes from here.
Prep: Train Fishing; prep around fishing and pack control. Field Order: Field Order 75.
Route: Primary Guarded: den warren. Secondary Resource: fishing and pack control.
Trade: Supply axis: hound hides and hound whistles. Public demand centers on Hound Hide, Superior Health Potion, Warren Tooth, Salmon.
Boss: the Den Mother: Each call heals her and raises her damage, so bring her down fast, Defend the Pack Rush, and bring pierce. A Hound Whistle calms her once she is at 50% health or less with her guard down, and only a Defended Pack Rush brings that: right after you Defend it. Boss-room pressure can appear at 100%. | Read: Den Warren rewards 🔥 fire, 🔨 blunt, 🏹 pierce; avoid relying only on 🗡️ slash. Mob signatures pressure slow, control, bleed, damage; the boss chart leans 🏹 pierce.
Damage lanes: weak: fire, blunt, pierce
Watch resists: resists: slash
Boss chart: weak: pierce
resists: frost
Mob pressure: slow, control, bleed, damage
Counters: cleanse, slash, burst, control | 72-82 | 🐕 Hound Whelp / 🐕 Pack Leader / 🐕 Den Hound | 🐕 the Den Mother | 🎣 the warren stream req 50 | 🐕 Hound Hide, 🧪 Superior Health Potion, 🦷 Warren Tooth, 🐟 Salmon, 🪷 Dreamlotus | 6% on won hunts: 🐕 Hound Hide, 🧪 Superior Health Potion, 🦷 Warren Tooth, 🐟 Salmon
Won hunts can uncover Hound Hide, Superior Health Potion, Warren Tooth.
Choose this floor for hound hides and hound whistles; trade for the rest. | Every hound in the woods comes from here. | — | Field Order 75
win 2x Guarded route hunts on Floor 3, Section W
clear Guarded Watch on Floor 3, Section W
win with a spent Guarded route plan on Floor 3, Section W or later
answer boss variant lesson against: Brambleward / Executioner / Packbound / Ravenous / Snareweb / Sentinel / Rampart / Bastion on Floor 3, Section W
answer Guarded boss-room pressure: Bramble Choke / Guarded Crossfire / Breaker Window / Null Chorus on Floor 3, Section W
mastery: 🛡️ Guarded climb pressure read | 🛡️ Guarded primary: den warren
⛏️ Resource secondary: fishing and pack control
supply: hound hides and hound whistles | 🛡️ Guarded floor map marks den warren; Guarded Watch is in this floor's deck; matches Tight Corners; boss rewards guarded answers
⛏️ Resource secondary map line supports fishing and pack control; can roll Loaded Cache; matches Patrol Route; surveys public prep supply; primes Warden Assembly logistics
🌑 Deep can roll Black Signal; higher-risk EXP pressure is online; boss tests tempo or cleanse | 🐕 Calls the Whelps
counters: burst | 💀 Executioner
🌿 Brambleward
🐺 Packbound
🦷 Ravenous | 🌿 Bramble Choke
🛡️ Guarded Crossfire
🪓 Breaker Window | Tight Corners 14%
Patrol Route 16%
Guarded Watch 16% | Bramble Woods, terrain, patrol, route | blunt damage, defense pierce, longer sustain, full HP | 10/10 |
| Floor 3, Section X | 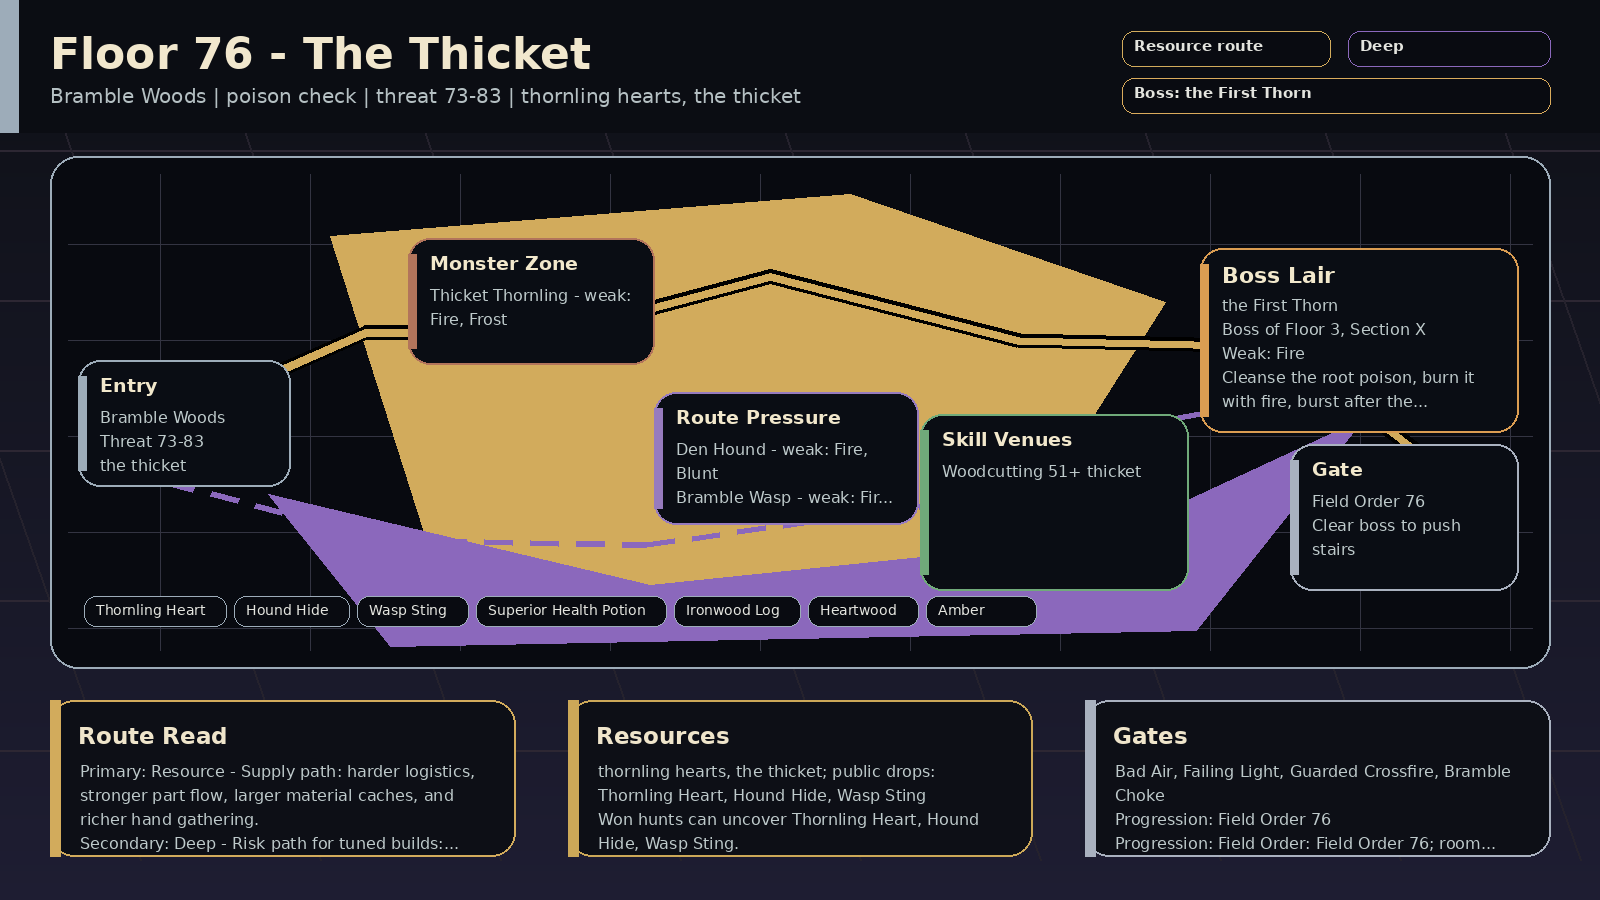 | 🌊 Thorn Lake | Bramble Woods | The Thicket | Payoff: thornling hearts, the thicket; public drops: Thornling Heart, Hound Hide, Wasp Sting
Prep: Skill prep: Woodcutting 51+
Pressure: poison check; encounters: Bad Air, Failing Light; boss: the First Thorn
Route: Route plan: Resource primary for the thicket; Deep secondary for woodcutting and cleanse prep
Progress: Progression: Field Order: Field Order 76; room pressure 100% | Read: The Thicket (poison check). Where the Bramble Stag was a fawn, and where the thorn is rooted.
Prep: Train Woodcutting; prep around woodcutting and cleanse prep. Field Order: Field Order 76.
Route: Primary Resource: the thicket. Secondary Deep: woodcutting and cleanse prep.
Trade: Supply axis: thornling hearts, wasp stings, heartwood. Public demand centers on Thornling Heart, Hound Hide, Wasp Sting, Superior Health Potion.
Boss: the First Thorn: Cleanse the root poison, hit it with fire or pierce, Defend the Thorn Burst, and burst in the opening it leaves. Boss-room pressure can appear at 100%. | Read: The Thicket rewards 🔥 fire, ❄️ frost, 🔨 blunt; avoid relying only on 🌿 nature, 🗡️ slash. Mob signatures pressure bleed, cleanse check, damage, sustain; the boss chart leans 🔥 fire, 🏹 pierce.
Damage lanes: weak: fire, frost, blunt
Watch resists: resists: nature, slash
Boss chart: weak: fire, pierce
resists: nature
Mob pressure: bleed, cleanse check, damage, sustain
Counters: cleanse, sustain, burst, control | 73-83 | 🌿 Thicket Thornling / 🐕 Den Hound / 🐝 Bramble Wasp | 🌿 the First Thorn | 🌲 the thicket req 51 | 💚 Thornling Heart, 🐕 Hound Hide, 🐝 Wasp Sting, 🧪 Superior Health Potion, 🪵 Ironwood Log, 🌳 Heartwood, 🟠 Amber | 6% on won hunts: 💚 Thornling Heart, 🐕 Hound Hide, 🐝 Wasp Sting, 🧪 Superior Health Potion
Won hunts can uncover Thornling Heart, Hound Hide, Wasp Sting.
Choose this floor for thornling hearts, wasp stings, heartwood; trade for the rest. | Where the Bramble Stag was a fawn, and where the thorn is rooted. | — | Field Order 76
win 2x Resource route hunts on Floor 3, Section X
clear Loaded Cache on Floor 3, Section X
recover Resource supply for Thornling Heart / Wasp Sting / Superior Health Potion on Floor 3, Section X
win with a spent Supply Contract on Floor 3, Section X or later
answer boss variant lesson against: Blight Ledger / Brambleward / Mender / Abyssal / Dreadmark / Cachebound / Orebound / Scrap-Fused on Floor 3, Section X
mastery: ⛏️ Resource climb pressure read | ⛏️ Resource primary: the thicket
🌑 Deep secondary: woodcutting and cleanse prep
supply: thornling hearts, wasp stings, heartwood | ⛏️ Resource floor map marks the thicket; boss leans Blight Ledger; Loaded Cache is in this floor's deck; matches Loaded Cache; surveys public prep supply; primes Warden Assembly logistics
🌑 Deep secondary map line supports woodcutting and cleanse prep; boss leans Blight Ledger; can roll Black Signal; matches Bad Air; higher-risk EXP pressure is online; boss tests tempo or cleanse
🛡️ Guarded boss leans Brambleward; can roll Guarded Watch; boss rewards guarded answers | 🌿 Roots Pulse
counters: cleanse, sustain | 💧 Blight Ledger
🌿 Brambleward
➕ Mender
🕳️ Abyssal | 💧 Blight Count
🪓 Breaker Window
🎼 Nocturne Refrain | Bad Air 12%
Failing Light 12%
Loaded Cache 24% | Bramble Woods, hazard, route, tank | antidotes, cleanse skills, food belt, accuracy through skills | 10/10 |
| Floor 3, Section Y | 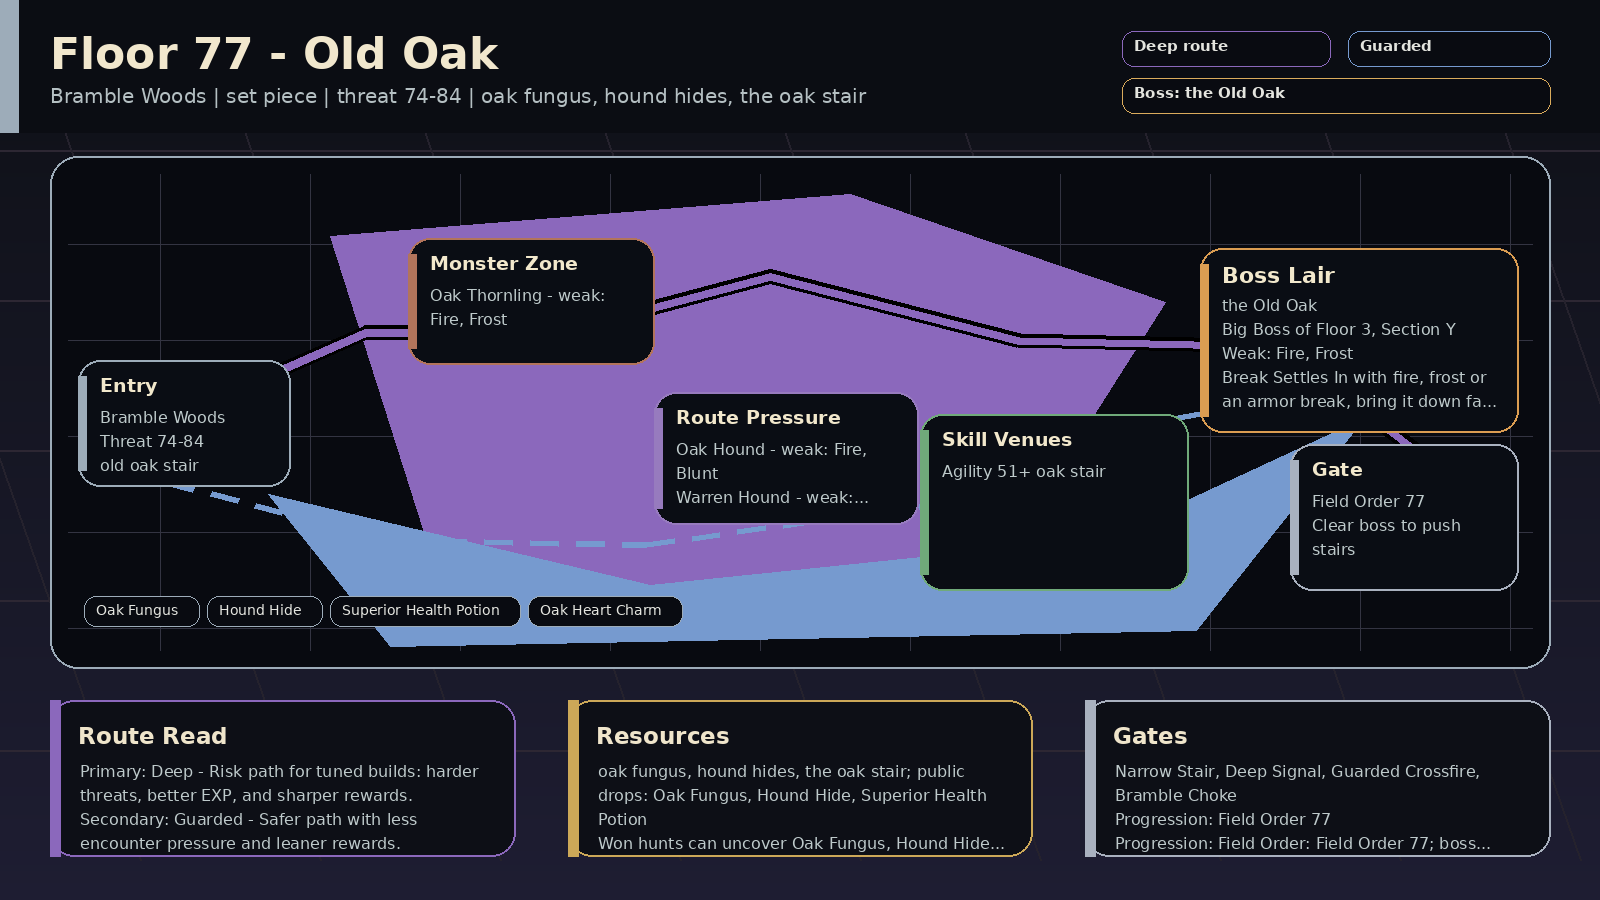 | 🌊 Thorn Lake | Bramble Woods | Old Oak | Payoff: oak fungus, hound hides, the oak stair; public drops: Oak Fungus, Hound Hide, Superior Health Potion
Prep: Skill prep: Agility 51+
Pressure: set piece; encounters: Narrow Stair, Deep Signal; boss: the Old Oak
Route: Route plan: Deep primary for old oak stair; Guarded secondary for agility and map reading
Progress: Progression: Field Order: Field Order 77; boss entry: Under the Oak; room pressure 100% | Read: Old Oak (set piece). A stair inside a tree. It goes down further than it should.
Prep: Train Agility; prep around agility and map reading. Field Order: Field Order 77.
Route: Primary Deep: old oak stair. Secondary Guarded: agility and map reading.
Trade: Supply axis: oak fungus, hound hides, heartwood. Public demand centers on Oak Fungus, Hound Hide, Superior Health Potion, Oak Heart Charm.
Boss: the Old Oak: Break Settles In with fire, pierce or an armor break, Defend the Oak Quake, and burst when the heartwood splits. Boss-room pressure can appear at 100%. | Read: Old Oak rewards 🔥 fire, ❄️ frost, 🔨 blunt, 🏹 pierce; avoid relying only on 🌿 nature, 🗡️ slash. Mob signatures pressure heavy hit, damage, slow, control; the boss chart leans 🔥 fire, 🏹 pierce.
Damage lanes: weak: fire, frost, blunt, pierce, holy
Watch resists: resists: nature, slash
Boss chart: weak: fire, pierce
resists: nature
Mob pressure: heavy hit, damage, slow, control
Counters: defend, pierce, cleanse, slash | 74-84 | 🌳 Oak Thornling / 🐕 Oak Hound / 🐕 Warren Hound | 🌳 the Old Oak | 🏃 the oak stair req 51 | 🍄 Oak Fungus, 🐕 Hound Hide, 🧪 Superior Health Potion, 🌳 Oak Heart Charm | 6% on won hunts: 🍄 Oak Fungus, 🐕 Hound Hide, 🧪 Superior Health Potion
Won hunts can uncover Oak Fungus, Hound Hide, Superior Health Potion.
Choose this floor for oak fungus, hound hides, heartwood; trade for the rest. | A stair inside a tree. It goes down further than it should. | — | Field Order 77
win 2x Deep route hunts on Floor 3, Section Y
clear Deep Signal on Floor 3, Section Y
win with a spent Deep route plan on Floor 3, Section Y or later
answer boss variant lesson against: Starless / Abyssal / Umbral Choir / Blight Ledger / Echo-Marked / Gravecaller / Dreadmark / Night Chorus on Floor 3, Section Y
answer Deep boss-room pressure: Nocturne Refrain / Split Beat / Blight Count / Null Chorus on Floor 3, Section Y
mastery: 🌑 Deep climb pressure read | 🌑 Deep primary: old oak stair
🛡️ Guarded secondary: agility and map reading
supply: oak fungus, hound hides, heartwood | 🌑 Deep floor map marks old oak stair; can roll Black Signal; matches Deep Signal, Unstable Floor; higher-risk EXP pressure is online; boss tests tempo or cleanse
🛡️ Guarded secondary map line supports agility and map reading; boss leans Rampart; can roll Guarded Watch; boss rewards guarded answers
⛏️ Resource can roll Loaded Cache; boss has supply-line pressure; surveys public prep supply; primes Warden Assembly logistics | 🌳 Settles In
counters: fire, pierce, armor break | 🕳️ Abyssal
🌑 Dreadmark
🕯️ Gravecaller
💥 Crusher | 🎼 Nocturne Refrain
⏱️ Split Beat
💧 Blight Count | Narrow Stair 14%
Deep Signal 8%
Unstable Floor 12% | Bramble Woods, terrain, mystery, hazard | opening burst, positioning, single-target focus, codex checks | 10/10 |
| Floor 3, Section Z | 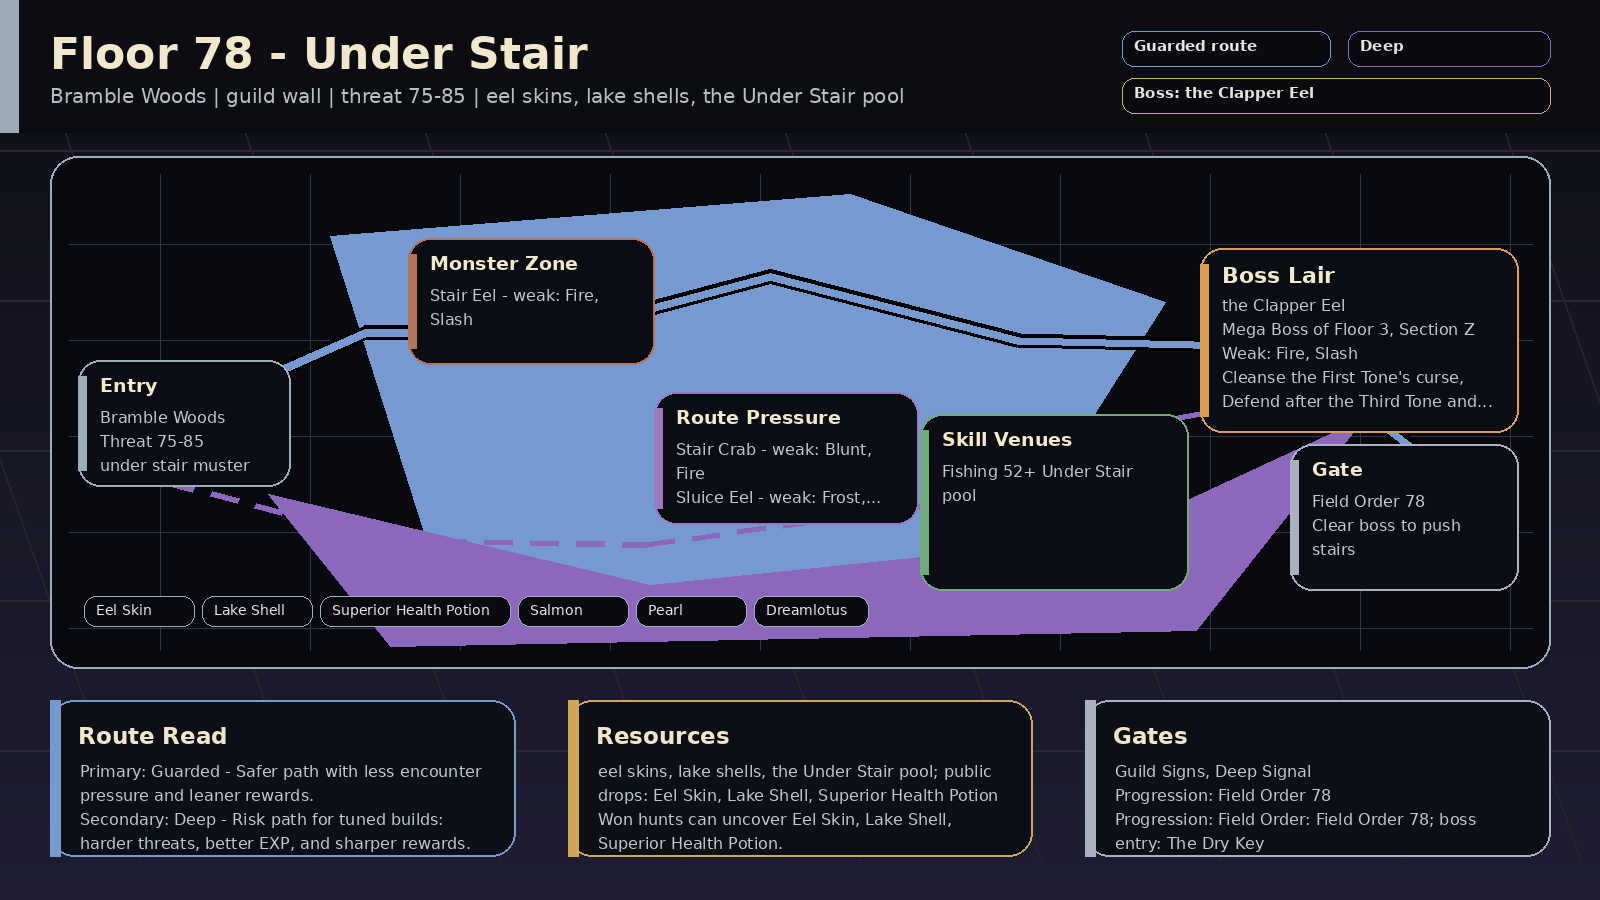 | 🌊 Thorn Lake | Bramble Woods | Under Stair | Payoff: eel skins, lake shells, the Under Stair pool; public drops: Eel Skin, Lake Shell, Superior Health Potion
Prep: Skill prep: Fishing 52+
Pressure: guild wall; encounters: Guild Signs, Deep Signal; boss: the Clapper Eel
Route: Route plan: Guarded primary for under stair muster; Deep secondary for fishing and wall prep
Progress: Progression: Field Order: Field Order 78; boss entry: The Dry Key | Read: Under Stair (guild wall). Dry steps under the lake. The bell's clapper eel rings the water.
Prep: Train Fishing; prep around fishing and wall prep. Field Order: Field Order 78.
Route: Primary Guarded: under stair muster. Secondary Deep: fishing and wall prep.
Trade: Supply axis: eel skins, lake shells, dry keys. Public demand centers on Eel Skin, Lake Shell, Superior Health Potion, Salmon.
Boss: the Clapper Eel: Interrupt The Ring after the Third Tone to stop its curse, and Defend it and the Early Ring when the tone holds. Cleanse the First Tone's curse, and break the coil with fire or slash. | Read: Under Stair rewards 🔥 fire, 🗡️ slash, 🔨 blunt, ❄️ frost; avoid relying only on 🏹 pierce. Mob signatures pressure debuff, damage down, damage, heavy hit; the boss chart leans 🔥 fire, 🗡️ slash.
Damage lanes: weak: fire, slash, blunt, frost
Watch resists: resists: pierce
Boss chart: weak: fire, slash
resists: frost
Mob pressure: debuff, damage down, damage, heavy hit
Counters: burst, control, defend, cleanse | 75-85 | 🐟 Stair Eel / 🦀 Stair Crab / 🐟 Sluice Eel | 🔔 the Clapper Eel | 🎣 the Under Stair pool req 52 | 🐟 Eel Skin, 🐚 Lake Shell, 🧪 Superior Health Potion, 🐟 Salmon, ⚪ Pearl, 🪷 Dreamlotus | 6% on won hunts: 🐟 Eel Skin, 🐚 Lake Shell, 🧪 Superior Health Potion, 🐟 Salmon
Won hunts can uncover Eel Skin, Lake Shell, Superior Health Potion.
Choose this floor for eel skins, lake shells, dry keys; trade for the rest. | Dry steps under the lake. The bell's clapper eel rings the water. | — | Field Order 78
win 2x Guarded route hunts on Floor 3, Section Z
clear Guild Signs on Floor 3, Section Z
defeat the Clapper Eel | 🛡️ Guarded primary: under stair muster
🌑 Deep secondary: fishing and wall prep
supply: eel skins, lake shells, dry keys | 🛡️ Guarded floor map marks under stair muster; can roll Guarded Watch; matches Guild Signs; boss rewards guarded answers
🌑 Deep secondary map line supports fishing and wall prep; boss leans Umbral Choir; Black Signal is in this floor's deck; matches Deep Signal; higher-risk EXP pressure is online; boss tests tempo or cleanse
⛏️ Resource can roll Loaded Cache; matches Guild Signs; boss has supply-line pressure; surveys public prep supply; primes Warden Assembly logistics | 🔔 First Tone
counters: cleanse, holy, control | — | — | Guild Signs 8%
Deep Signal 8%
Black Signal 22% | Bramble Woods, social, mystery, route | guild board, trade prep, shared farming, codex checks | 10/10 |